Styling Imported Layers
This page is about reference data you brought into the project — a survey, a parcel set, a utility layer, an aerial you dropped on the map. Select it in the Layers panel and the Properties panel on the right edits how it draws.
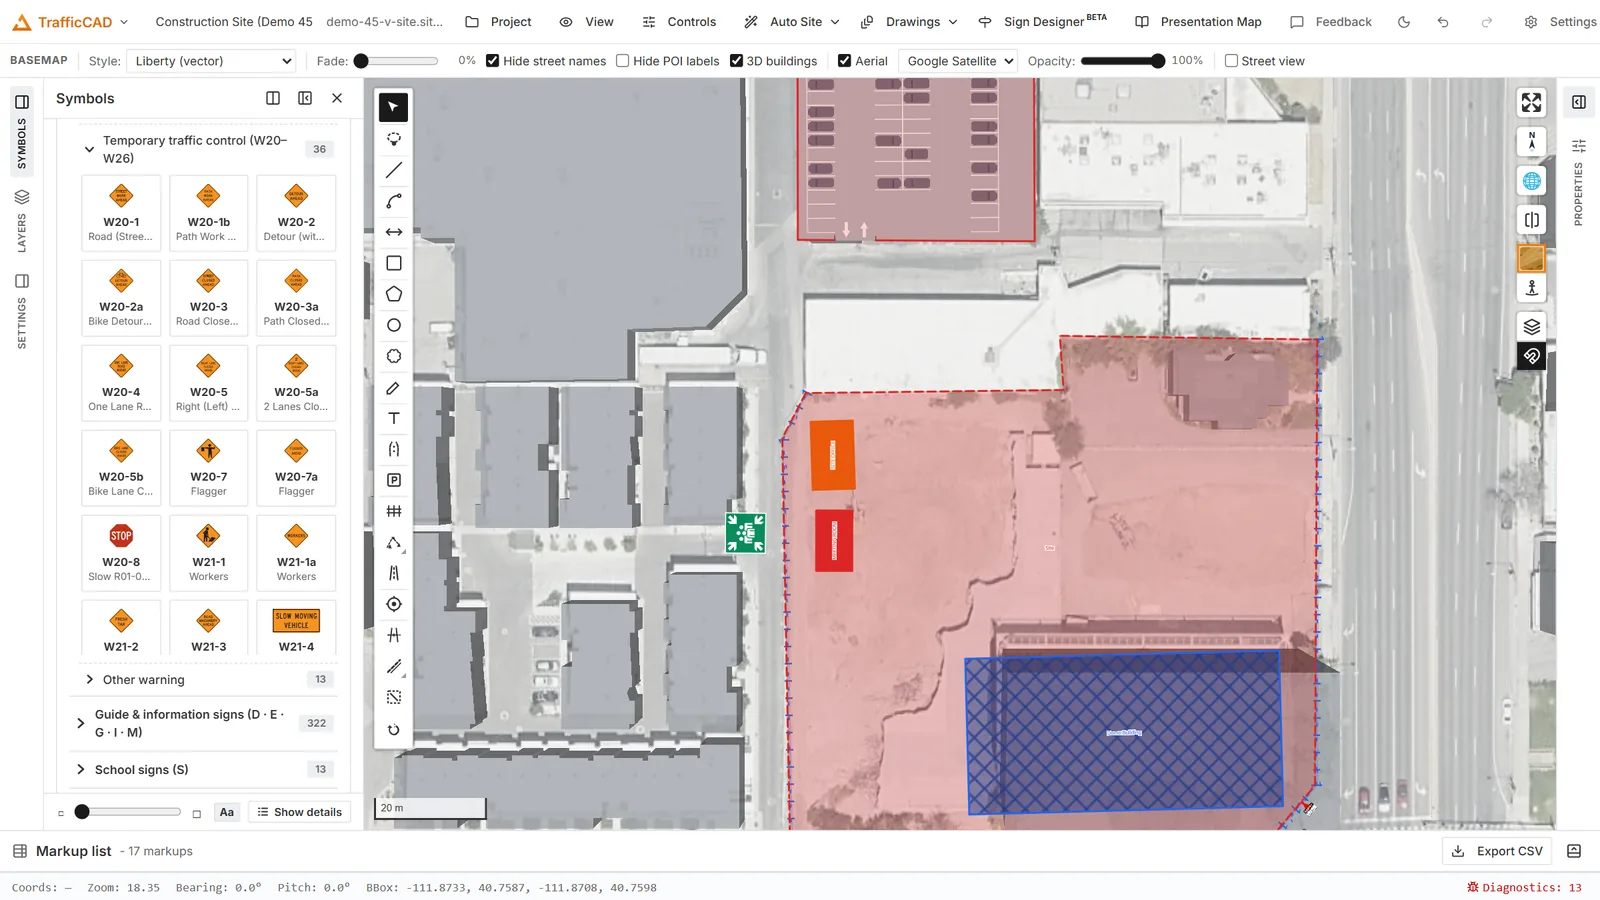
Reference data reads best when it stays quiet — the plan content is what should carry the drawing.
Plan objects are styled elsewhere
Signs, devices, markups, roads, and markings are not styled here. They carry their own properties and standards-driven appearance — see Markup Tools & Styles, Sign Display, Labels & Leaders, and Pavement Markings. Styling reference data never changes how a plan object prints.
Vector layers
For an imported vector layer the panel covers:
- Fill: fill colour and fill opacity for polygons.
- Stroke: line colour and width for lines and polygon outlines.
- Points: circle radius for point layers.
- Labels: text colour, size, halo colour, and halo width.
- 3D extrusion: turn polygons into extruded blocks, with a height field, height scale, base height, and colour. Useful for showing existing buildings alongside a 3D work zone.
You can also set a per-style minimum and maximum zoom so a style only applies within a zoom range — handy for keeping a dense reference layer out of the way until you zoom in.
Keep reference data quiet
Reference layers read best in a low-contrast grey or a single muted hue with a thin stroke. The plan content — signs, devices, markings, dimensions — should be the only thing on the sheet competing for attention.
Raster layers
For an imported raster the panel exposes image adjustments:
- Brightness (minimum and maximum)
- Saturation
- Contrast
- Hue rotation (in degrees)
These tune the look of a GeoTIFF or COG without changing the underlying data. For adjusting the aerial imagery the plan is drawn on, use the Basemap panel instead — see Aerial Imagery & 3D Views.
Legends
To display a legend for your layers on the map, open it from the Controls menu. For a legend that prints on a plan sheet, see Schedules, Legends & Quantities.