Publish & Share
From a finished plan to a titled PDF set with a live link in the field. About ten minutes, starting from any plan you've drawn.
1. Frame the first sheet
Click Drawings in the top toolbar — the workspace opens on a blank sheet S-1. Click Viewport in the top bar, then drag a box on the map to frame the view (Shift keeps the sheet aspect). The first viewport becomes the sheet's plan view, fitted to the nearest engineering scale.
2. Fill the title block
In the right inspector: Project / location, Work description, Traffic plan no., Drawn by, Date, Company, Client — and Upload logo… once. Pick the title-block style: Bottom bar (traffic plan) or Right strip (engineering) with its revision table.
3. Add the supporting items
From the top bar:
- Notes — the GENERAL NOTES box, pre-seeded with MUTCD citations; edit to suit.
- Tables… → Sign schedule and Device schedule — live quantities with the MOUNTING column.
- Sign legend — code/name/dims/qty, columns toggleable.
- Details… → Mounting — all types in plan — the dimensioned install elevations field crews build from.
- A 3D inset for context ("3D VIEW — NOT TO SCALE").
Drag items into place (they snap to a 1/16″ grid; Ctrl-drag duplicates). Need a closeup? Viewport and drag its extent — set its scale explicitly.
4. Add sheets
The Sheets navigator's crop button starts S-2 from a fresh extent — stage the phases or split a long corridor. Sheets renumber and reorder by drag.
5. Start the live link
Project → Collaborate… → set Who can edit → Only you can edit (others watch) → Start session → Copy link. Back in Drawings, add a QR code item and paste the link — caption "Scan for live map". The printed sheet now opens the living plan on any phone.
6. Preview, then export
Preview PDF shows exactly what exports — symbols stay editable in Bluebeam/Acrobat. Then Export PDF: one page per sheet, vector linework at true scale, signs and devices as real annotations a reviewer can move in Revu, work areas as polygons, selectable text throughout.
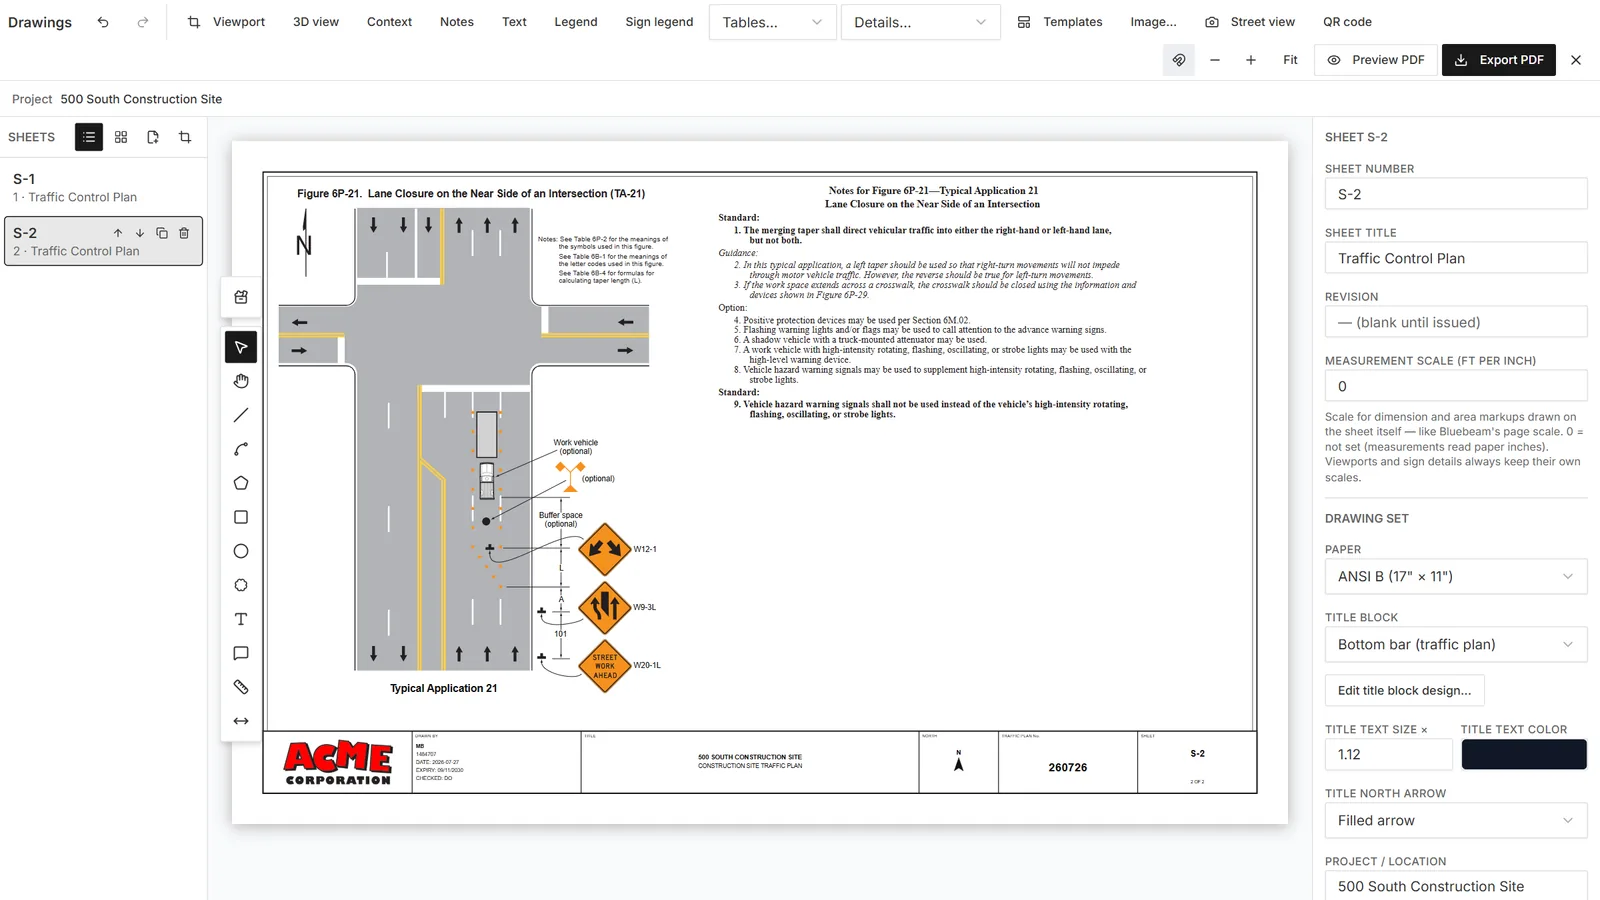
The finished deliverable — plan and 3D viewports, title block, legend, and cited tables, all at true paper scale.
7. Send it
Email the PDF for the permit, and the QR on the printed sheet carries the live view into the field.
If a colleague needs the model itself rather than a print, use Save to TrafficCAD Cloud from the TrafficCAD menu — the project lands in your organization's project list, where anyone on your team can open it at its current revision. No file to email, no argument about whose copy is newest.
Reference: Drawings & Plan Sheets · Exporting PDFs & Bluebeam · Sharing & Collaboration · Projects
Next steps: Measure & Document a Site to put quantities on the sheet · Review the Plan in 3D & Street View before the next one goes out.