Getting Started
TrafficCAD is a map-native editor for traffic control plans and site plans: place real MUTCD signs and devices on a live map with CAD-grade precision, generate true-to-scale sheets, and export PDFs whose markups stay editable in Bluebeam.
It runs in any modern browser — Chrome, Edge, Firefox, or Safari. There is no CAD licence to buy, no plug-in to install, and nothing to configure before you draw your first plan.
Create your account
TrafficCAD is subscription software, sold per seat. You choose a plan first, then set up the workspace that plan belongs to.
- Choose a plan on the pricing page, or open app.trafficcad.com and pick one on the Choose your TrafficCAD plan screen. Every plan includes cloud projects, permit-ready PDF export, and the full MUTCD libraries; they differ in collaboration and the engineering modules. Annual billing is cheaper per seat than monthly, and you can switch later.
- Set your seat count and continue to checkout. Seats can be added at any time from the dashboard.
- Pay. Checkout is handled by Stripe; TrafficCAD never sees your card details.
- Finish setting up your account. After payment you land on Finish setting up your account. Re-enter the Email you paid with — it is checked against the payment, so nobody else can claim your workspace — then choose a password, give your full name, and name your workspace. Press Create my workspace and you are signed straight in.
Naming your workspace
Your workspace is where projects, teammates, and billing live — usually your company or agency name. You can rename it at any time, so don't agonise over it.
After that first setup, sign in at app.trafficcad.com with your email and password, or with Continue with Google. If you forget your password, use Forgot password? on the sign-in screen.
Joining a team
If a colleague has already bought seats, you don't buy your own. Ask an owner or admin of the workspace to invite you; the invite link drops you at Join your team, where you create your login and press Join to land in the shared workspace. Roles and seat management are covered in Sharing & Collaboration.
Your first ten minutes
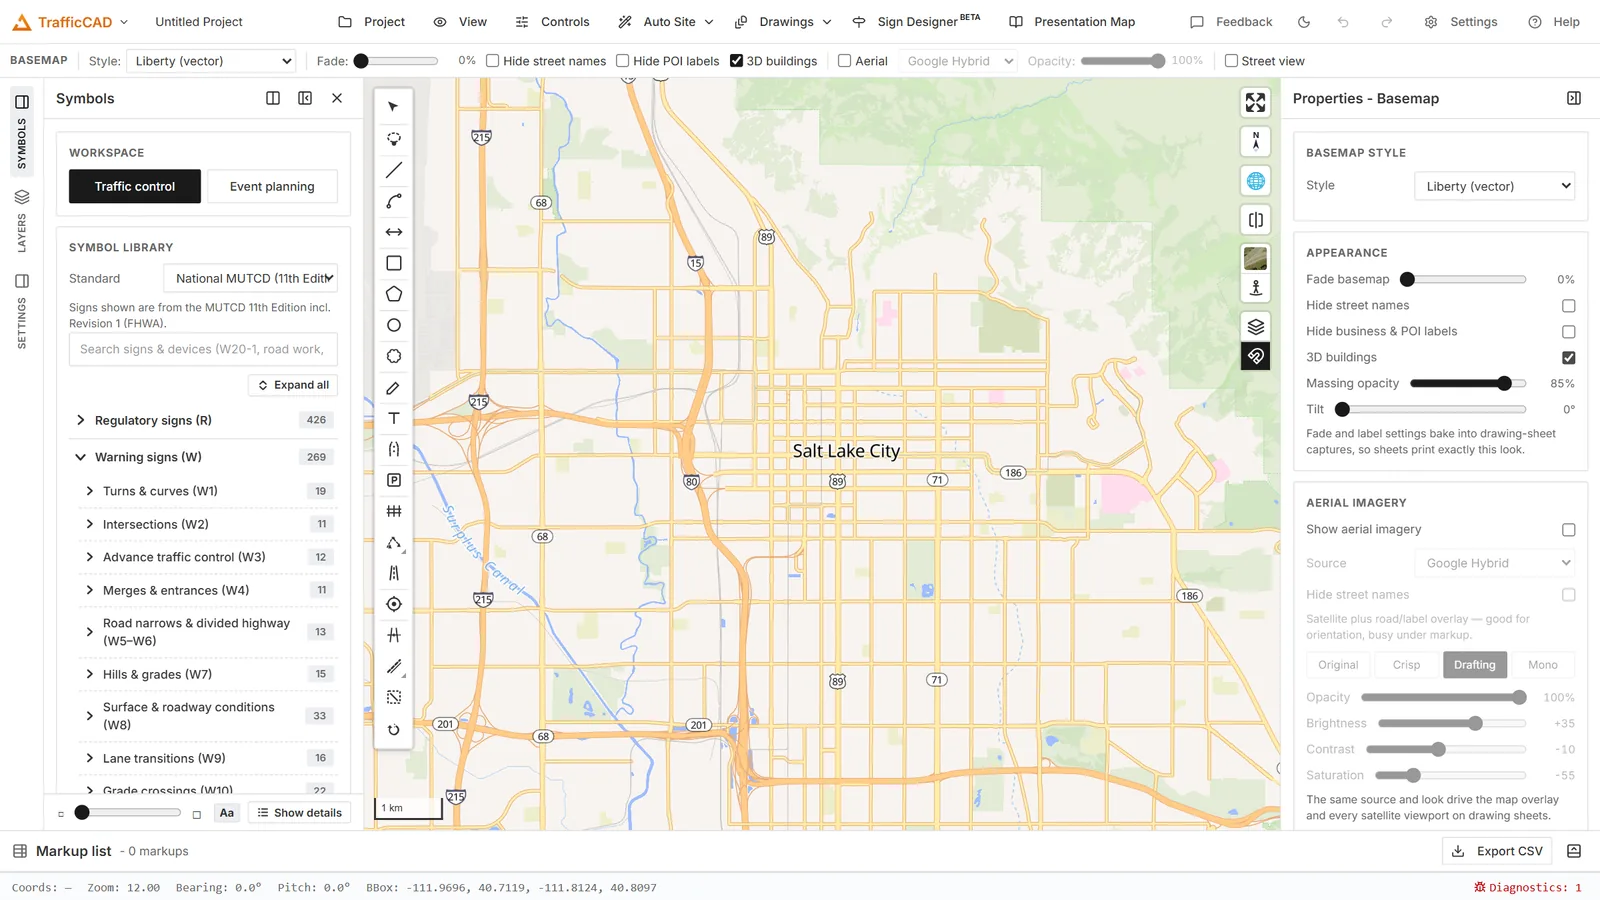
First launch: the map with the left rail (Symbols, Layers, Settings), the right properties panel, and the toolbar across the top.
- Find your site. Use the search control to jump to an address or place. If you always work in the same city, set it once under Settings → Map → Default city (the gear in the toolbar) and every new session opens there.
- Build the site model. Press Auto Site in the toolbar. TrafficCAD reads the live map and turns it into editable CAD layers — roads with real widths, lanes and speed limits, plus sidewalks, buildings, and parking — over high-resolution aerial imagery. See Roads, Vectorize & Site Modeling.
- Place something. Open Symbols in the left rail, search for a sign by code or plain name (
W20-1,road work), and click on the map to place it. See Sign & Device Library. - Measure it. Pick the dimension tool and draw between two objects; the dimension reads true ground distance in feet and inches and follows the objects if you move them. See Dimensions & Callouts.
- Save your project. Project → Save to TrafficCAD Cloud keeps it on your dashboard and available to your team, or Project → Save a Local Copy... writes a portable
.sitecad.jsonproject file that reopens exactly as you left it. See Projects.
Then head to Your First Traffic Plan — the end-to-end tutorial that takes a blank map to a finished lane closure.
Prefer to poke at a finished plan first?
Project → Open From → Sample projects... has complete example projects — a lane closure and a construction site — that open as your own copy. Nothing you do to a sample affects anyone else, so they are a safe place to take things apart. See Projects.
Where to go next
The User Guide documents every feature — from vectorizing a street and generating a TTC plan to the Sign Designer, pavement markings, fencing, event planning, and the Drawings workspace. The Tutorials walk the main workflows end to end.
If something looks wrong after an update, start with Troubleshooting — most display glitches are a stale browser cache.