Visualization Settings
Tune how the map reads: 3D buildings, points of interest, street labels, satellite imagery sources, and the brightness, contrast, and saturation of the aerial. Under two minutes.
The recording this tutorial follows (1:31).
1. Zoom into the project site
Start on the site you're working. The basemap toolbar above the map holds the quick view toggles; everything on it also lives in Properties → Basemap.
2. Toggle 3D buildings
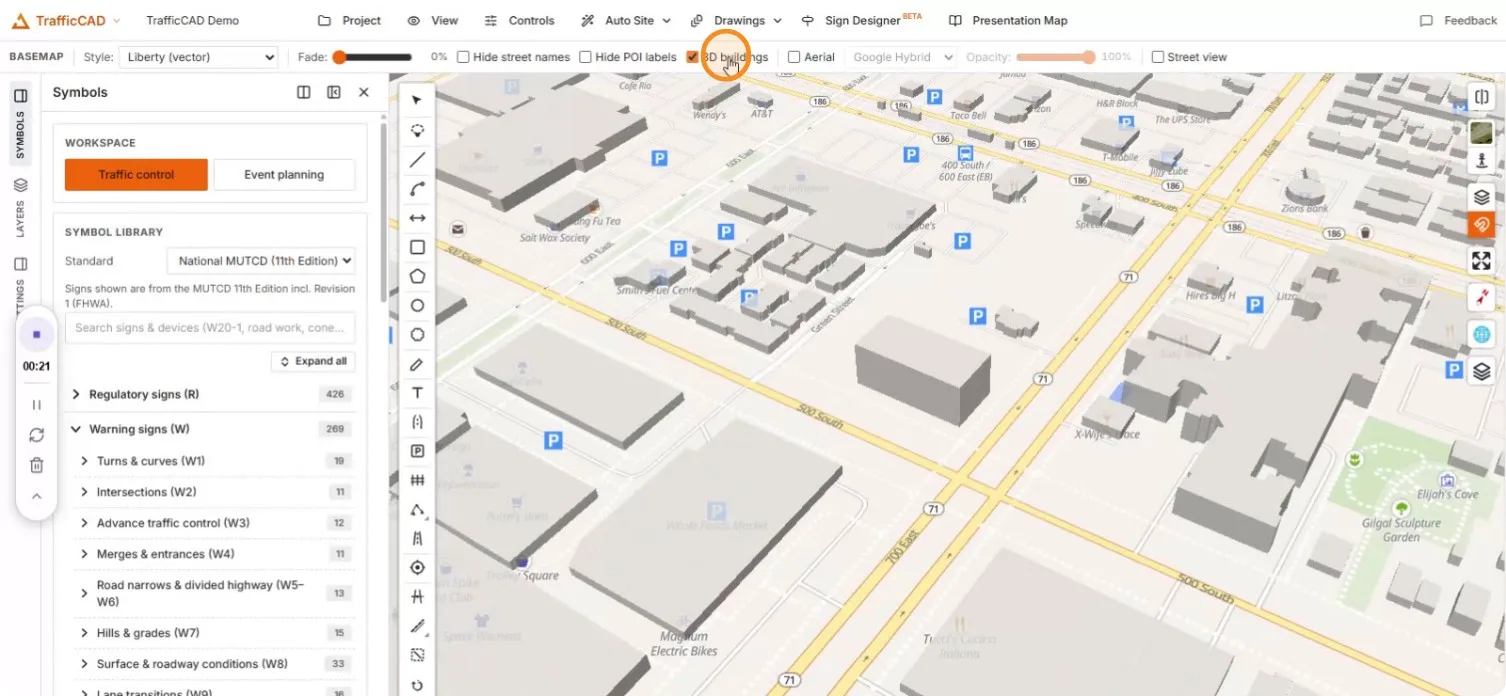
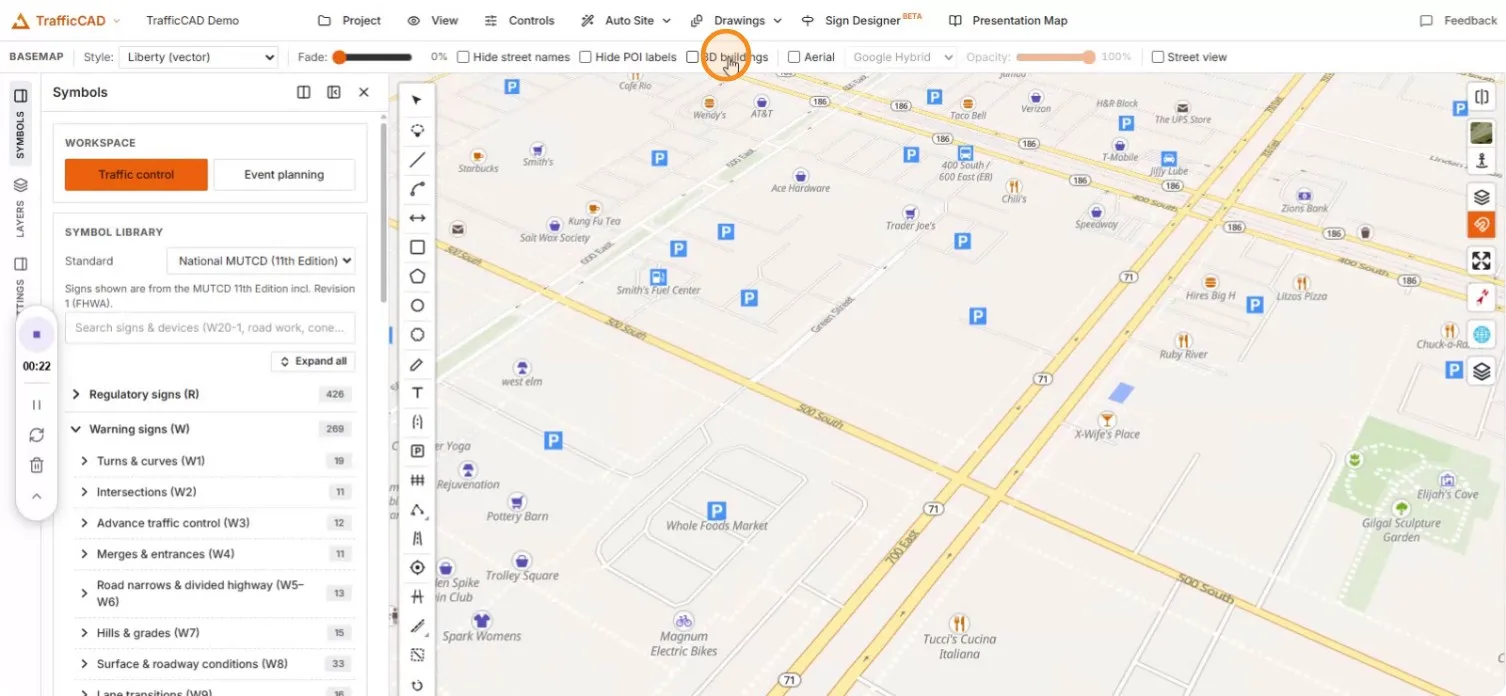
3D buildings extrudes gray building massing over the basemap — useful for judging context around the site.
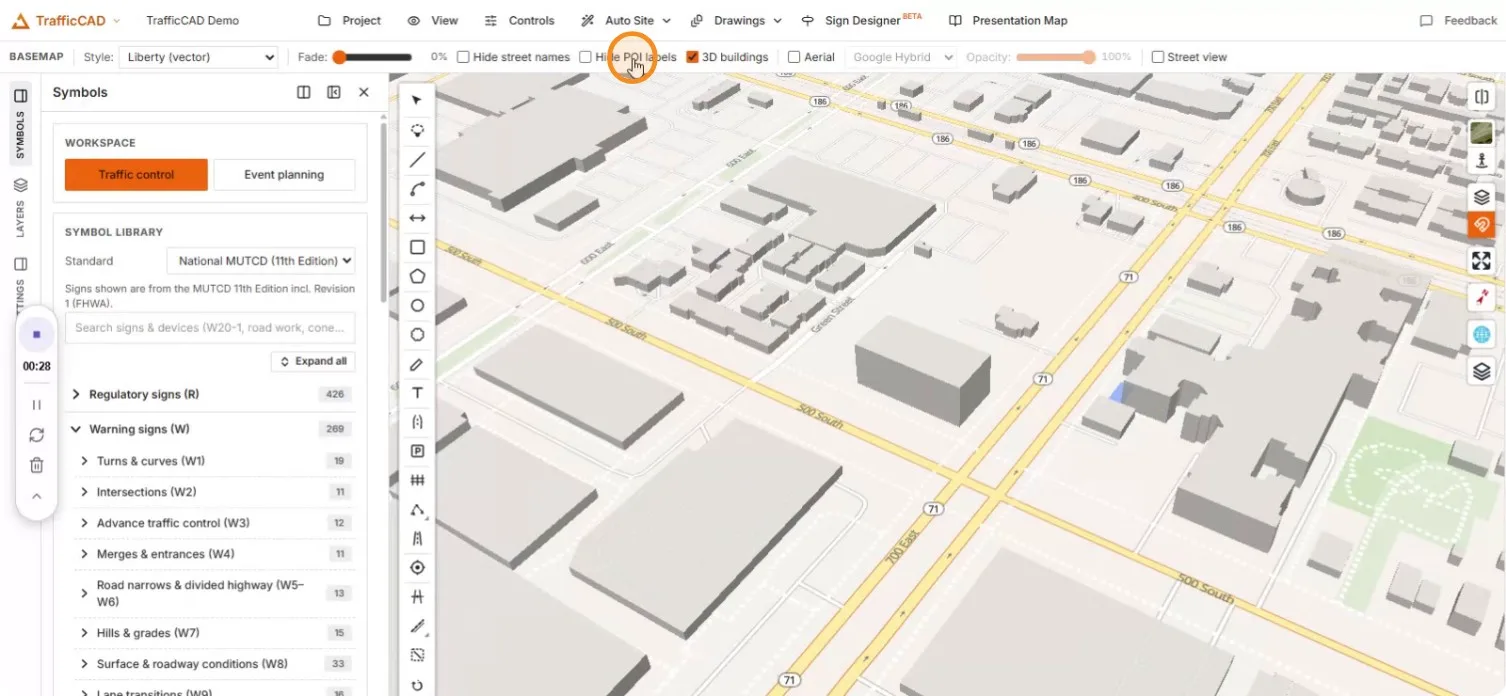
3. Hide points of interest
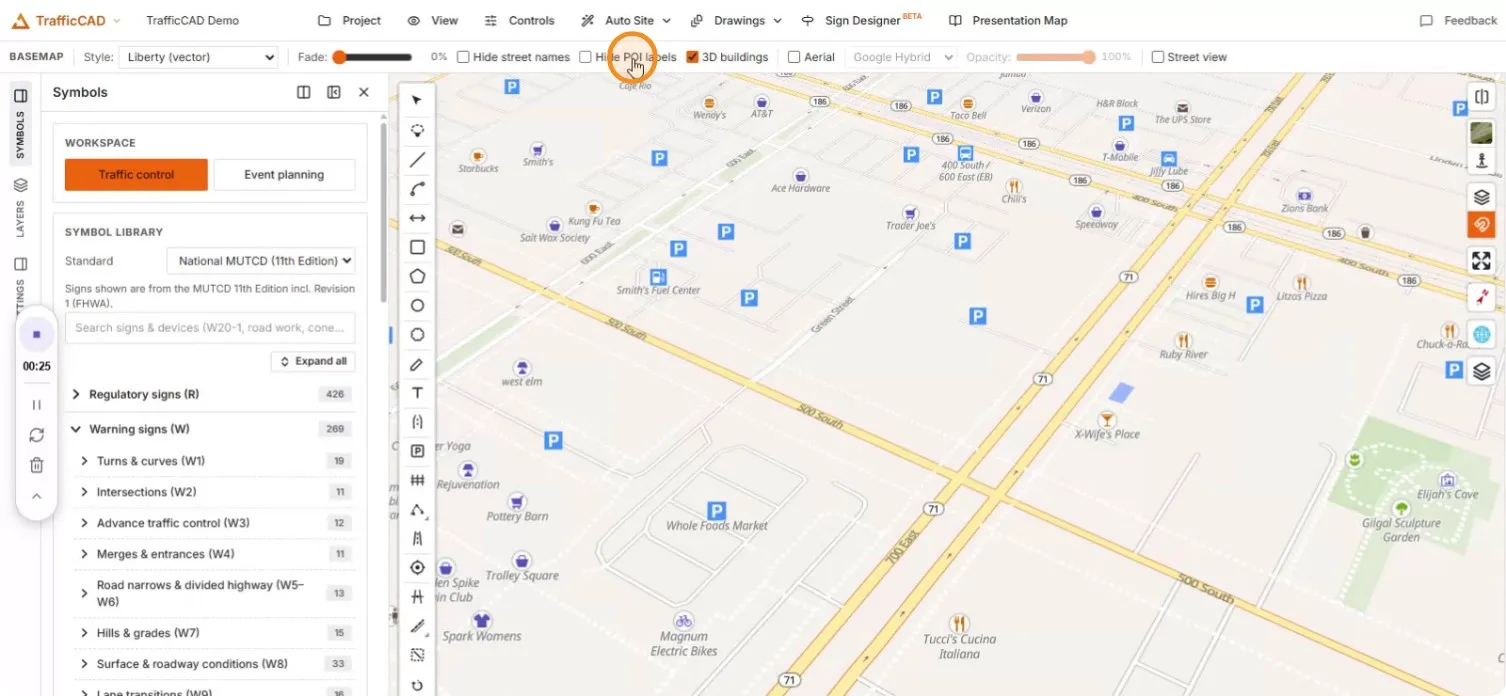
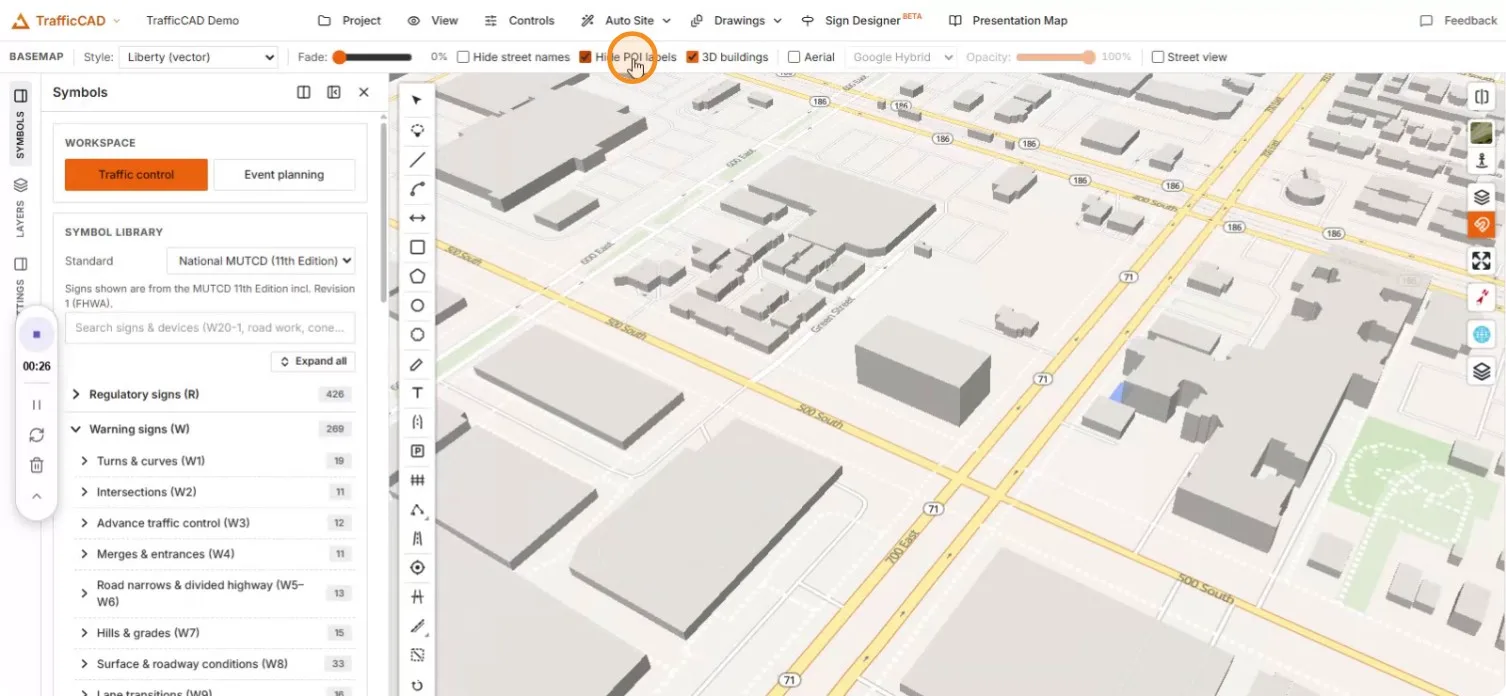
Hide POI labels clears business icons for a map focused on your project data.
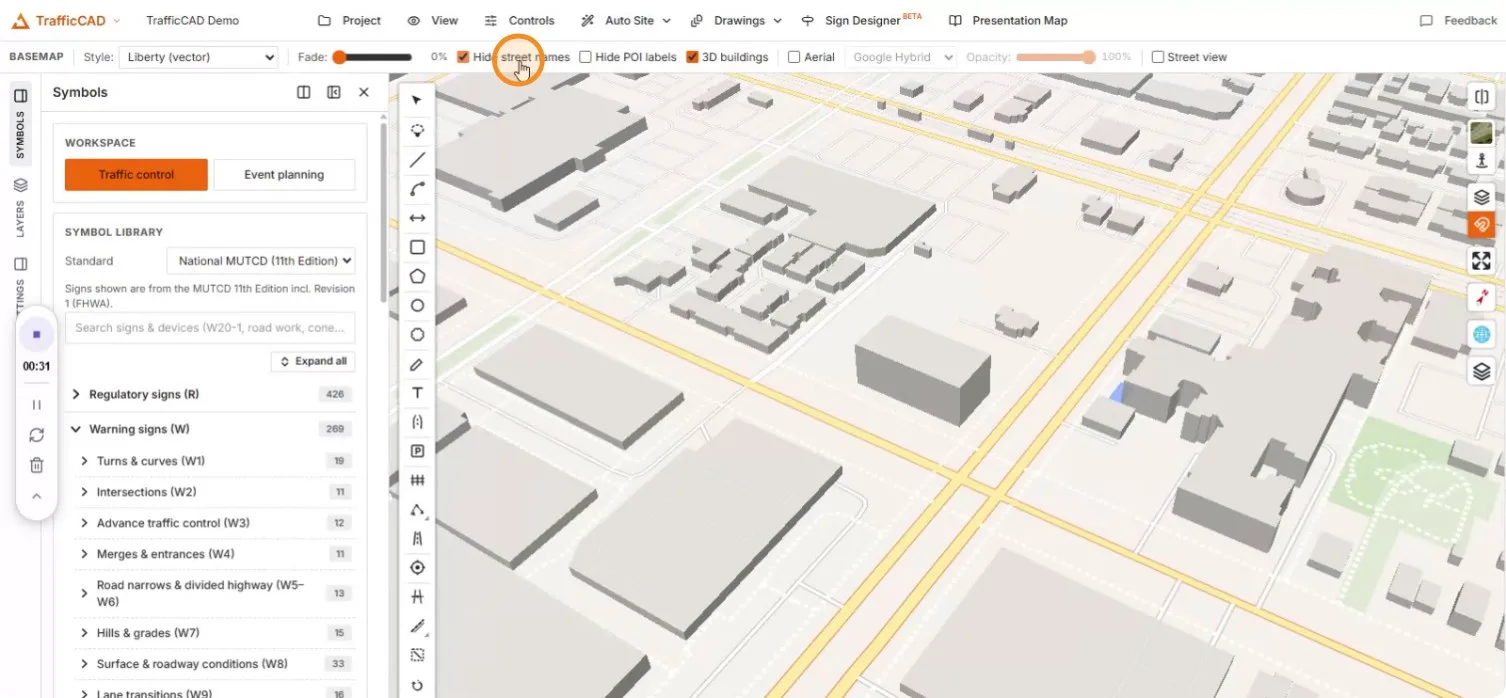
4. Hide street names
Hide street names removes the remaining text for a completely clean canvas.
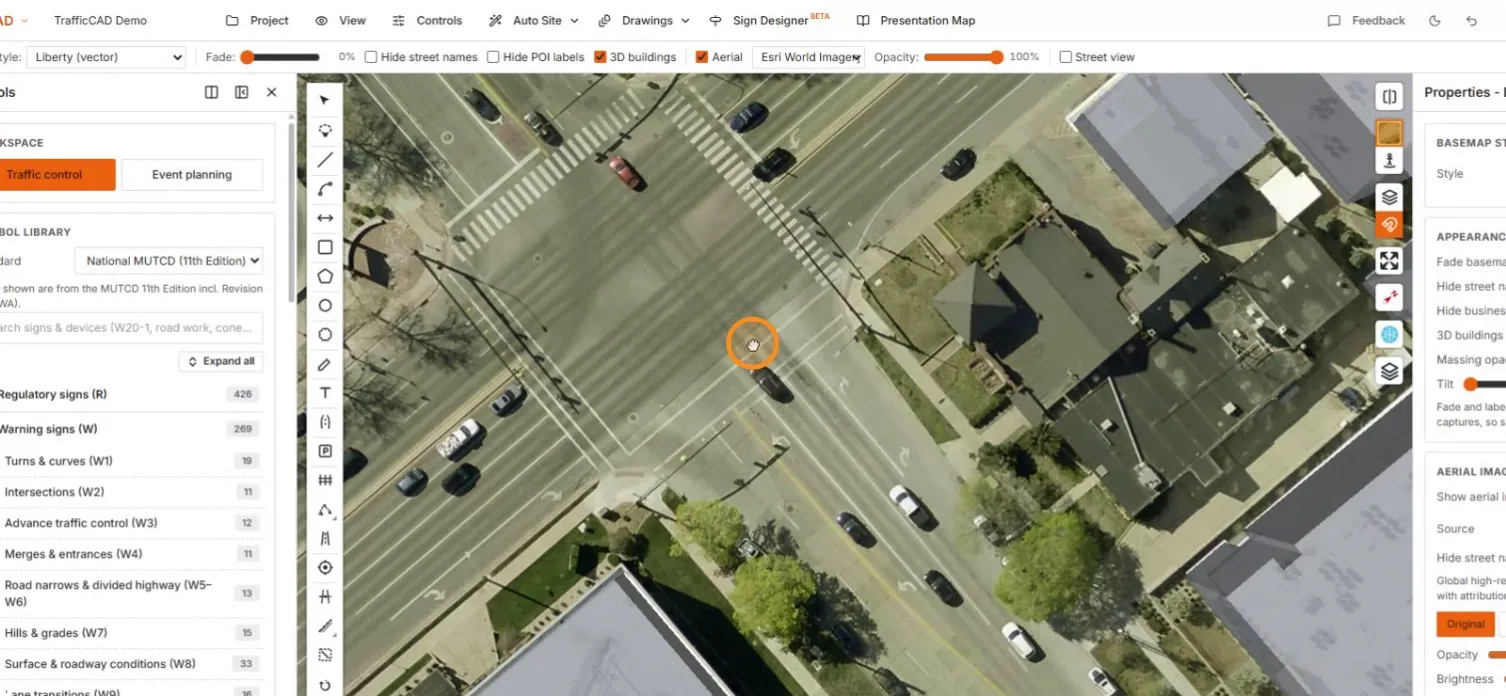
5. Switch to satellite imagery
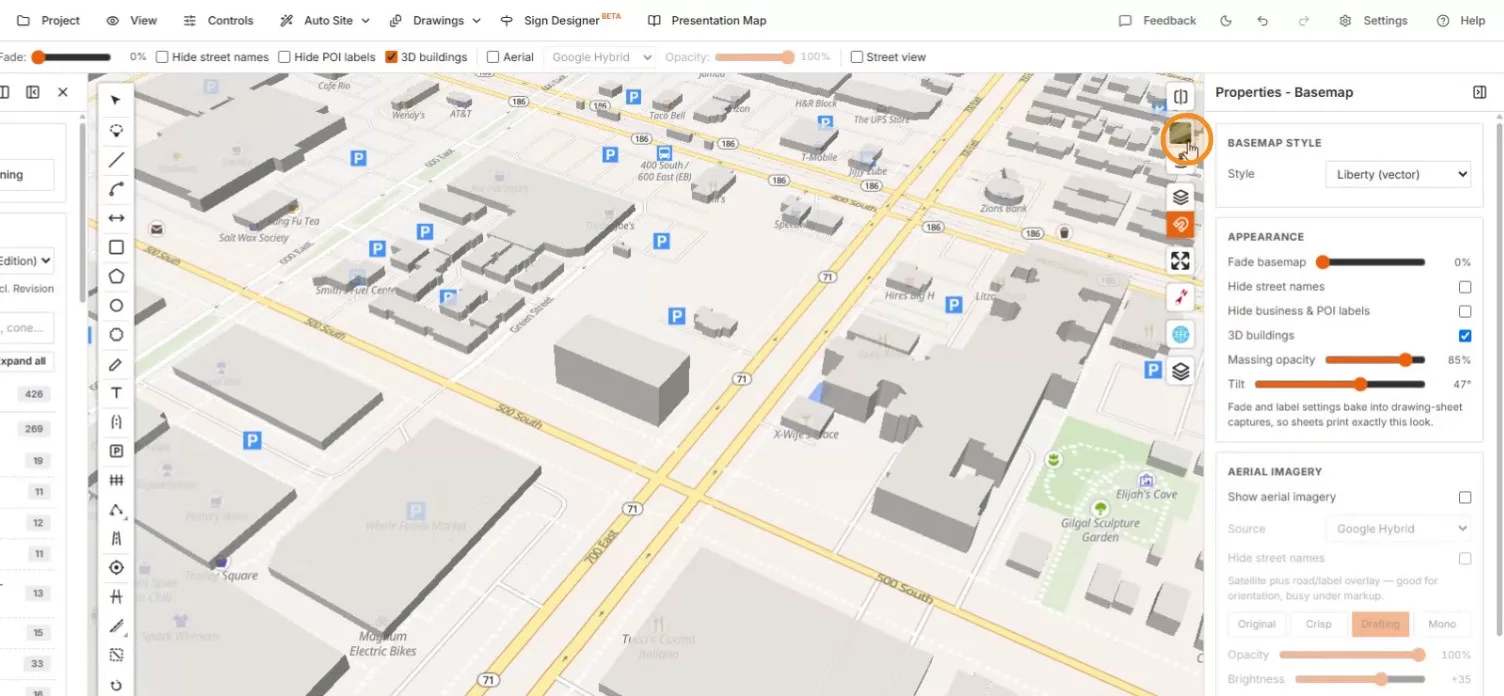
Open Properties → Basemap for the full set: basemap style, fade, massing opacity, tilt, and the aerial imagery section.
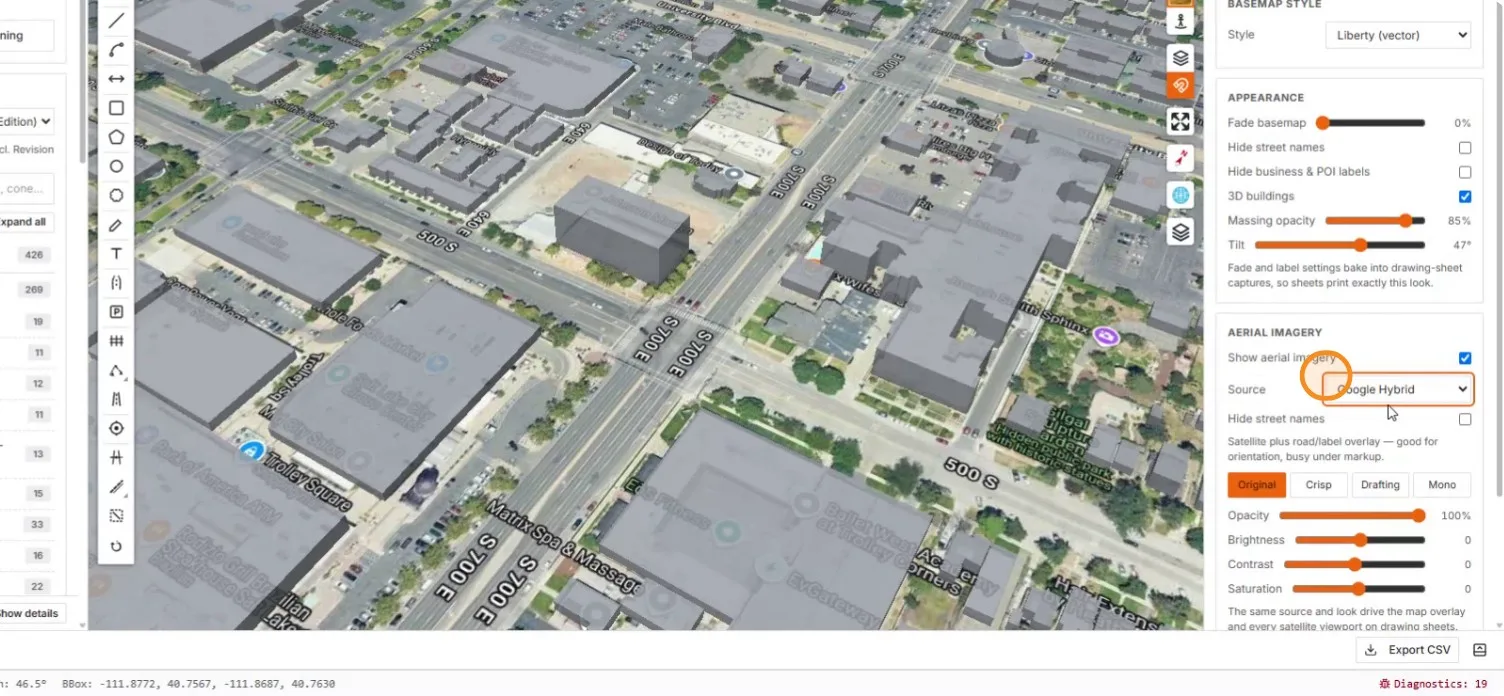
Turn on Aerial and pick a source — Google Satellite, Google Hybrid, Esri World Imagery, and more.
6. Tune the imagery appearance
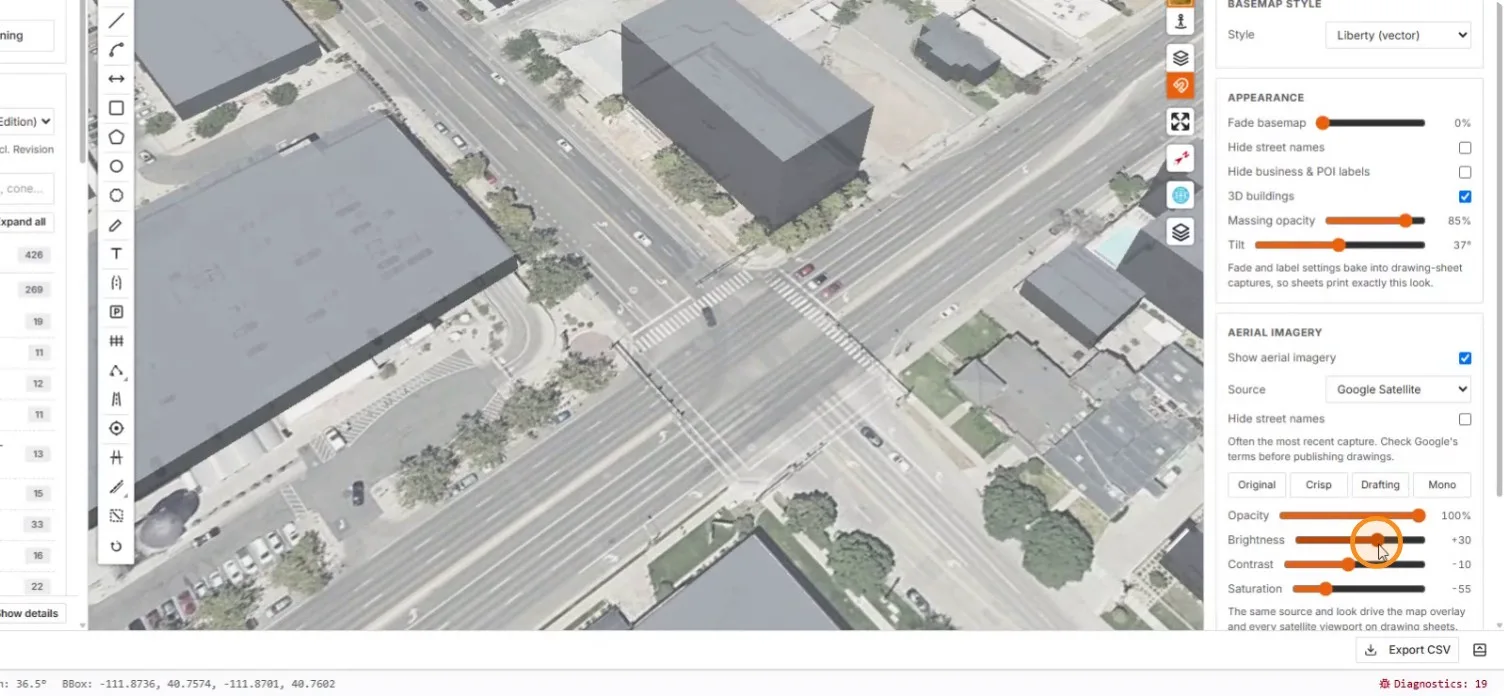
Brightness, contrast, and saturation sliders let you fade the photo back so your linework leads. The same look drives every satellite viewport on your drawing sheets.
Drafting look
The Original / Crisp / Drafting / Mono presets under Aerial imagery are one-click versions of these slider moves — Drafting is the desaturated, brightened look used throughout these demos.
Reference: Aerial Imagery & 3D Views · Map Controls & Tools
Next steps: Review in 3D & Street View — take the tuned view into a drive-through design review.