Managing Layers
The Layers panel lists everything drawn on the map, from the topmost layer down to the basemap. Open it with the Layers button on the map (top right, under the aerial / street-view toggle) or from the Layers button on the left rail.
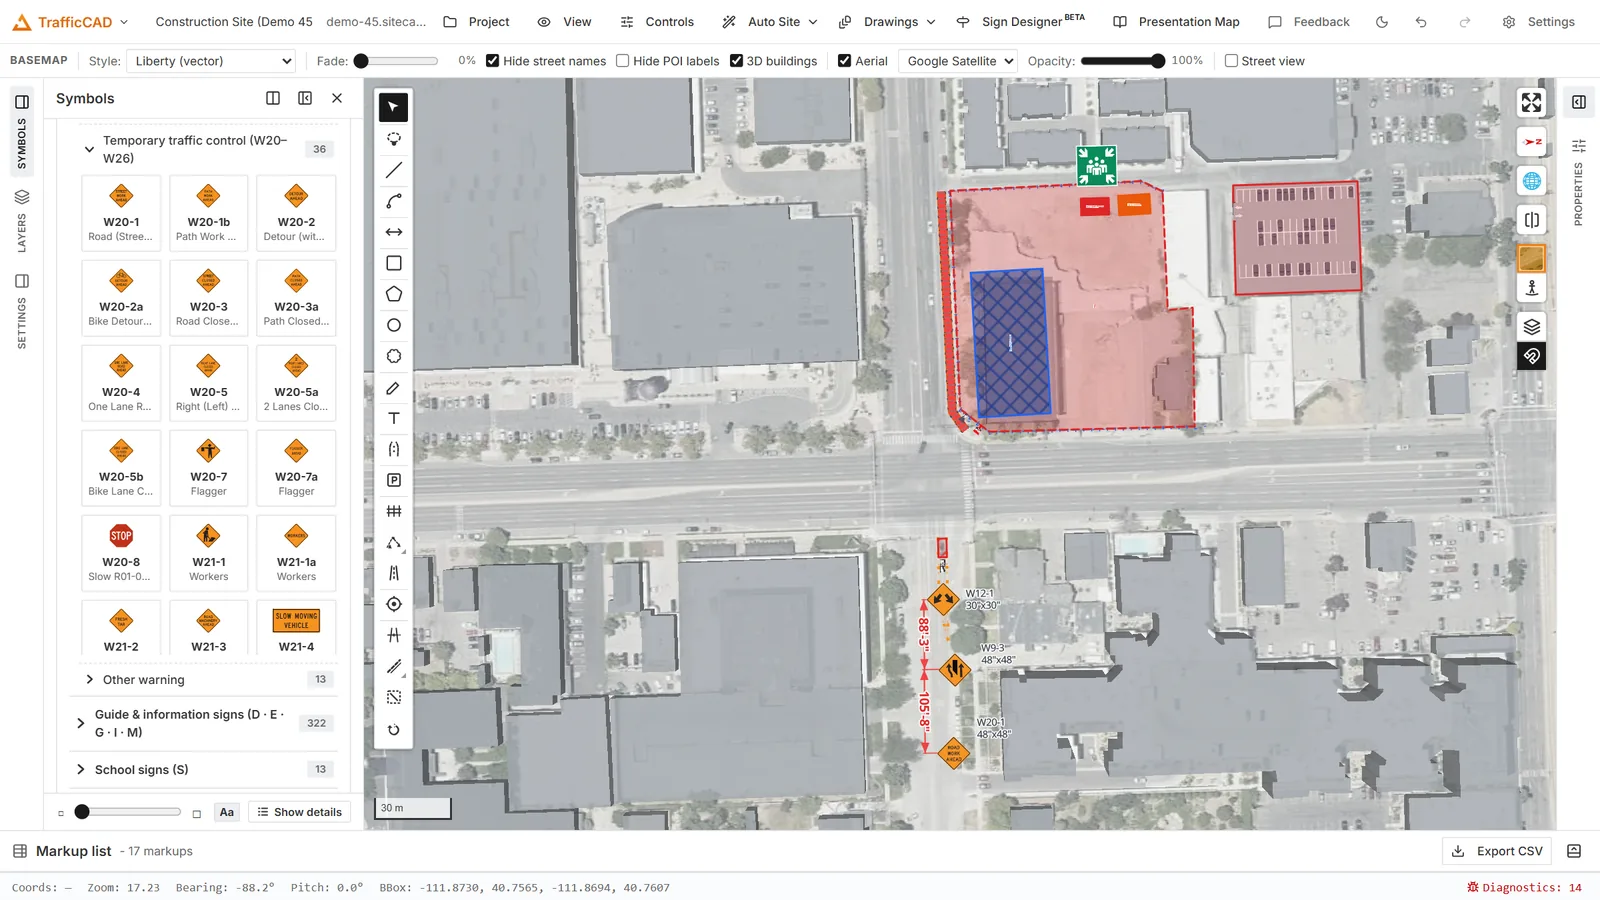
Everything on the map lives on a layer — roads, the work zone, signs, and dimensions each on their own, so a whole discipline hides in one click.
Layer order and visibility
- Visibility: click the eye button to show or hide a layer. The Hide all layers button at the top of the panel hides every layer at once.
- Order: drag a layer to reorder it, or use the move up and move down actions. Layers higher in the list draw on top. The basemap (Background) always stays at the bottom.
- Opacity: each layer has an opacity slider from 0 to 100 percent. Double-click the value to type an exact number.
Groups
Layers can be organised into groups — useful once a project carries a site model, a marking set, and several plan phases at once.
- New group creates an empty group; New group from layer wraps the selected layer in one.
- Move to group / Remove from group move a layer in and out.
- A group has its own visibility toggle and opacity slider that apply to everything inside it.
- Ungroup (keep layers) dissolves the group but keeps its layers; Delete group and layers removes both.
Double-click a layer or group name to rename it.
Per-layer actions
Each layer's row menu exposes:
- Zoom to layer: fit the map to the layer's extent.
- Identify features: click features on the map to see their attributes in a popup. For raster layers this becomes Inspect pixels.
- Labels: toggle text labels for layers that carry a label field.
- Remove layer: delete the layer from the project.
Sketch layers appear here too
The sketch layers your markups live on are mirrored into this panel, so one list shows both your imported reference data and your plan content. Toggling a sketch layer's visibility or reordering it here does the same thing as doing it in the sketch layer list — the two stay in step.
Plan objects that TrafficCAD manages for you — generated traffic control plans, roads and their markings, fences, device runs — arrive on their own named layers, so you can hide an entire phase or discipline in one click.
The basemap
The Background entry at the bottom of the panel is the basemap. Toggle its visibility and adjust its opacity here, or double-click it to change which basemap is shown.
For the full set of aerial imagery providers, adjustments, and the satellite/street-view toggle, see Aerial Imagery & 3D Views.