Settings & Preferences
The gear button in the toolbar opens Settings, which holds four sections: Map, Layout, Appearance, and Company info.
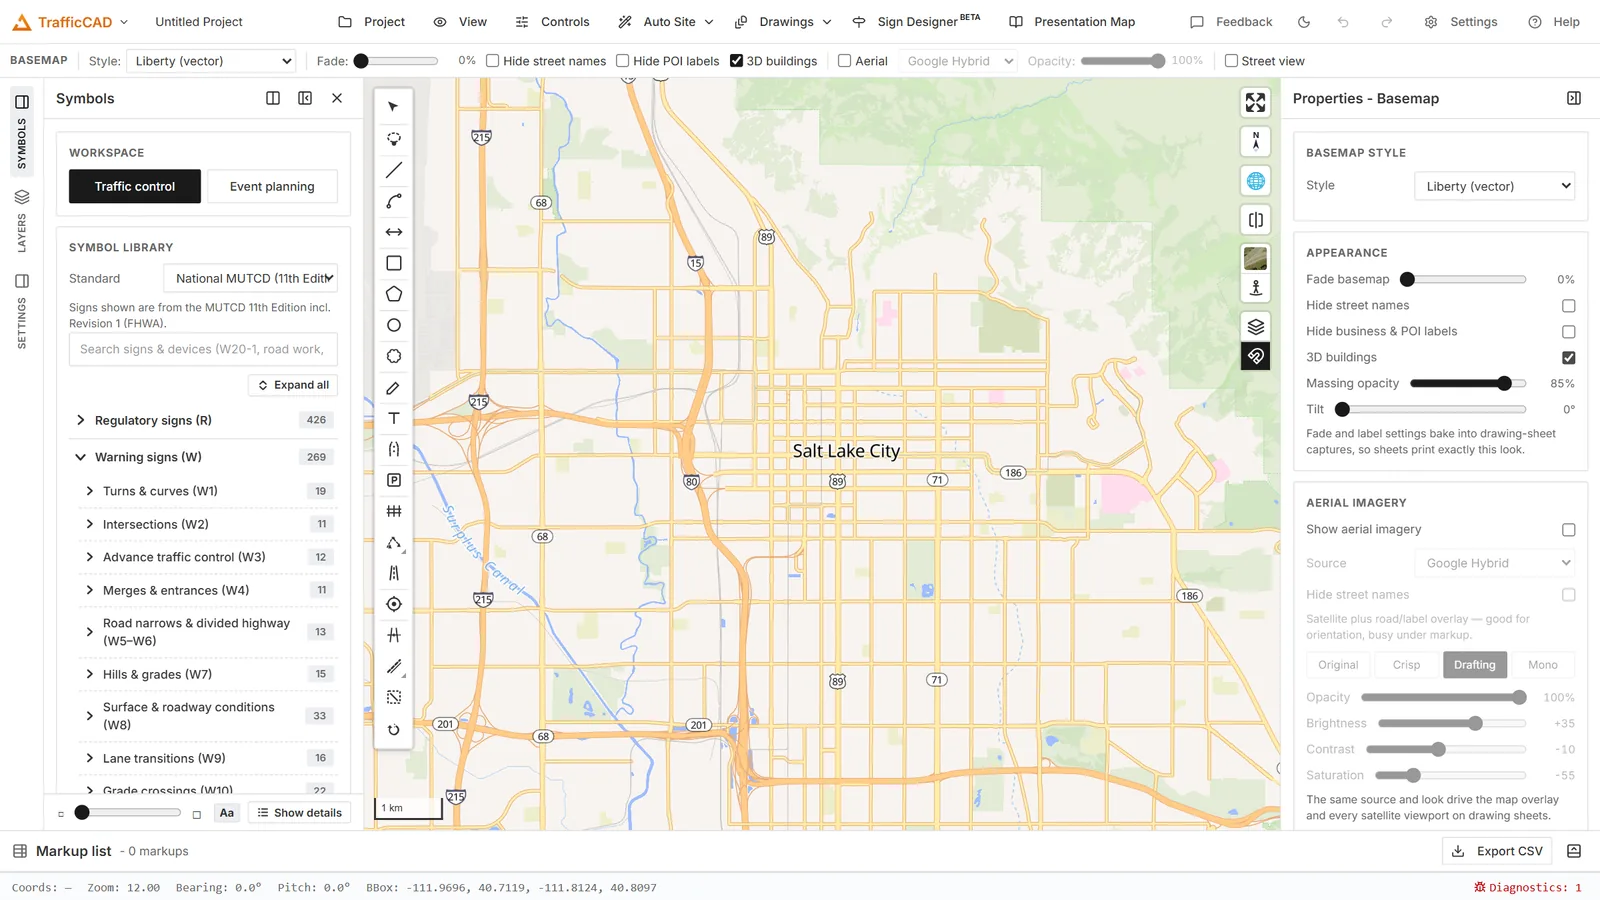
The workspace on first launch. Settings (the gear, far right) holds the Map, Layout, and Appearance preferences.
Two different Settings
This page covers the application Settings dialog. The Settings button on the left rail is a different thing — it holds the drafting preferences for the plan itself, in blocks: Snap grid, Measurements, Project, and a read-only summary of Company info. Those are covered in Snap Grid & Snapping and Dimensions & Callouts.
Map
Default city
TrafficCAD opens the map at this city when it starts. Type a City, State — for example Austin, TX — and press Set; the address is looked up once and stored as the startup view. Clear removes it, and the map goes back to opening on the world view.
Opening a saved project still uses that project's own view, so a default city never fights with a project you deliberately opened.
Map constraints
| Setting | Description |
|---|---|
| Restrict map bounds | Limit panning to a bounding box. |
| West / South / East / North | The limits of that box. |
| Min zoom / Max zoom | The allowed zoom range (0 to 24). |
| Max pitch | The maximum tilt angle (0 to 85 degrees). |
| Render world copies | Show repeated copies of the world when zoomed out. |
Use Current View captures the current map extent and turns on Restrict map bounds in one step.
Set bounds in the flat projection
In the Globe projection the map can still drift slightly outside a captured box. Switch to the Mercator projection before using Use Current View if the bounds need to be exact.
These preferences are saved in the project file.
Layout
Layout toggles the chrome around the map:
- Toolbar — Show toolbar labels puts text next to the toolbar buttons instead of icons only; Show project info in the toolbar shows the project name and path.
- Panels — Show Layers panel, Show Properties panel, and Show Attribute panel control per-panel visibility.
Panels also auto-hide on small screens for a responsive layout.
Appearance
Choose a light or dark Mode, and an Accent color that applies on top of it — Mono, Violet, Emerald, Rose, Amber, or a Custom colour you enter as a hex code.
Appearance does not change your plans
The accent colour is interface chrome only. Sign faces, pavement-marking colours, and device colours are fixed by the MUTCD and are never retinted by the theme.
Company info
Settings → Company info is your firm as it appears on drawings. Every field is optional, and every one prints nothing when blank:
| Field | Where it prints |
|---|---|
| Company name | The title block's brand cell, in place of "TrafficCAD". |
| Subtitle | One line under the company name or logo — a department, discipline, or office. Blank by default, and nothing prints there unless you fill it in. |
| Disclaimer / notes | Under the logo on every sheet. One line per row; long lines wrap. |
| Company logo | The brand cell itself, replacing the name. PNG, JPEG, or SVG; large images are scaled down to 600 px on the long edge. |
The panel shows a live Title block preview so you can check the wording without exporting a sheet. Press Save Settings to apply.
Company info belongs to the workspace, not the device
On a signed-in TrafficCAD Cloud workspace, Company info is stored on the workspace and applies to everyone on your team — one firm, one title block. Only an owner or admin can change it; other members see the fields filled in and read-only. Teammates pick up a change the next time they load TrafficCAD.
Signed out, on the desktop app, or on a self-hosted deployment, the same fields save to that device.
You can also set the logo during onboarding — the sign-up screen offers Company logo right below the company name, and it lands on the workspace for the whole team.
What the settings apply to
New drawings start from your Company info. Existing sheets keep the block they were drawn with, so a plan set issued last year does not silently re-brand when you change firm details. To change one document, use Drawings → Title block: it carries its own Company, Subtitle (under the name), Disclaimer (under the logo), and logo. Edits in the sheet export dialog likewise apply to that project only and never overwrite your defaults.
Project details on sheets
Project name, number, client, and author are set on the left rail's Settings panel under Project. Those values prefill the title block in the sheet export dialog, so you fill them in once rather than on every sheet.