Vectorize & Re-stripe a Street
Turn a real block into an editable road model and change its lane configuration — the afternoon-of-tracing job, in about five minutes.
1. Vectorize the block
Open the Auto Site dropdown (the arrow next to the toolbar button), keep Roads and Sidewalks & paths checked, and click Generate. Then drag a box on the map around a block or two — the status banner warns if the drawn area is too large.
The streets arrive as parametric Road markups, split at every intersection — plus buildings, parking, and paths as styled layers. Note the status banner: each road already carries its OSM width, lanes, speed, and one-way direction.
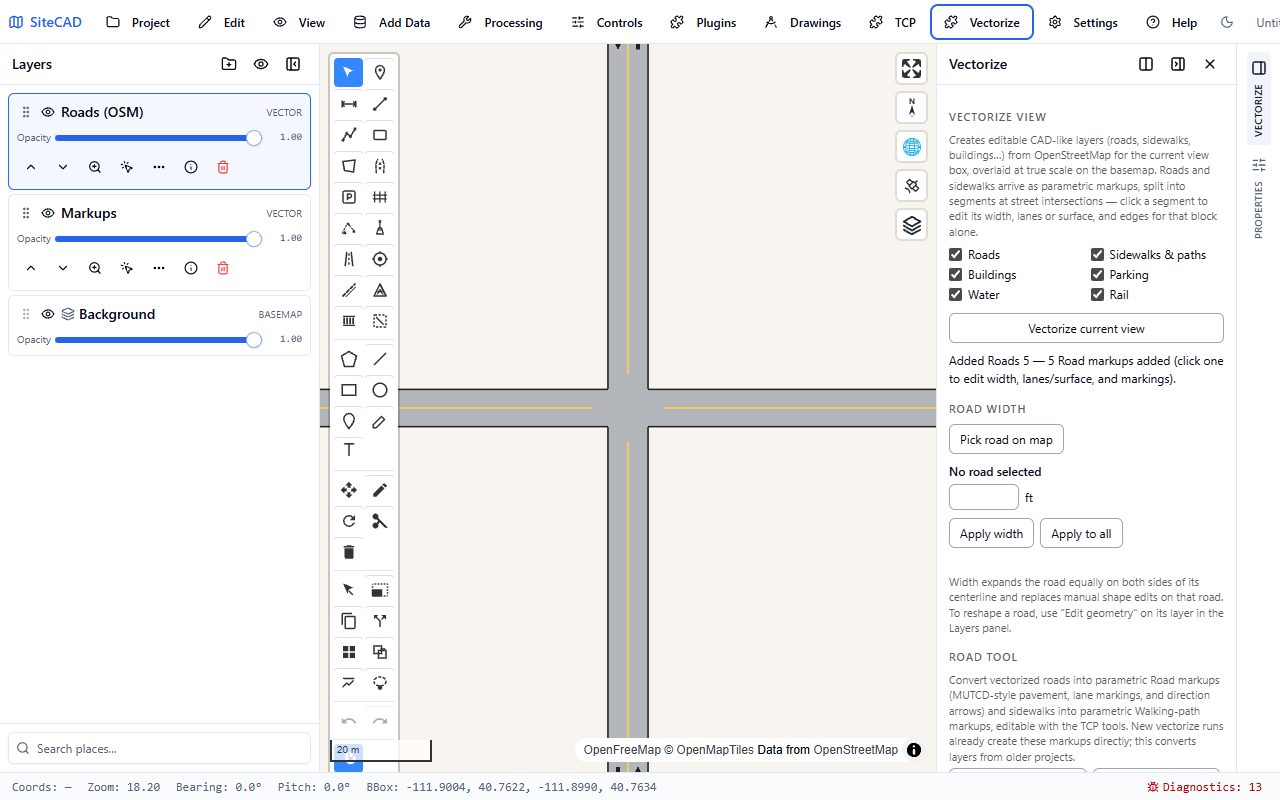
The vectorized view: every block is a separate, selectable road segment.
2. Pick a block
Click one road segment. Because roads split at intersections, you're editing this block only. The Selected road panel opens.
3. Re-lane it
Change Lanes forward from 2 to 3. Lane-count edits keep the lane width, so the total width grows with the new lane — and the marking engine restripes the block: lane lines re-space, arrows re-seat, and the center line stays put.
Now give it a Center lane → Two-way left-turn lane (3B.05) — the TWLTL arrives with its broken-edge markings, at code cadence.
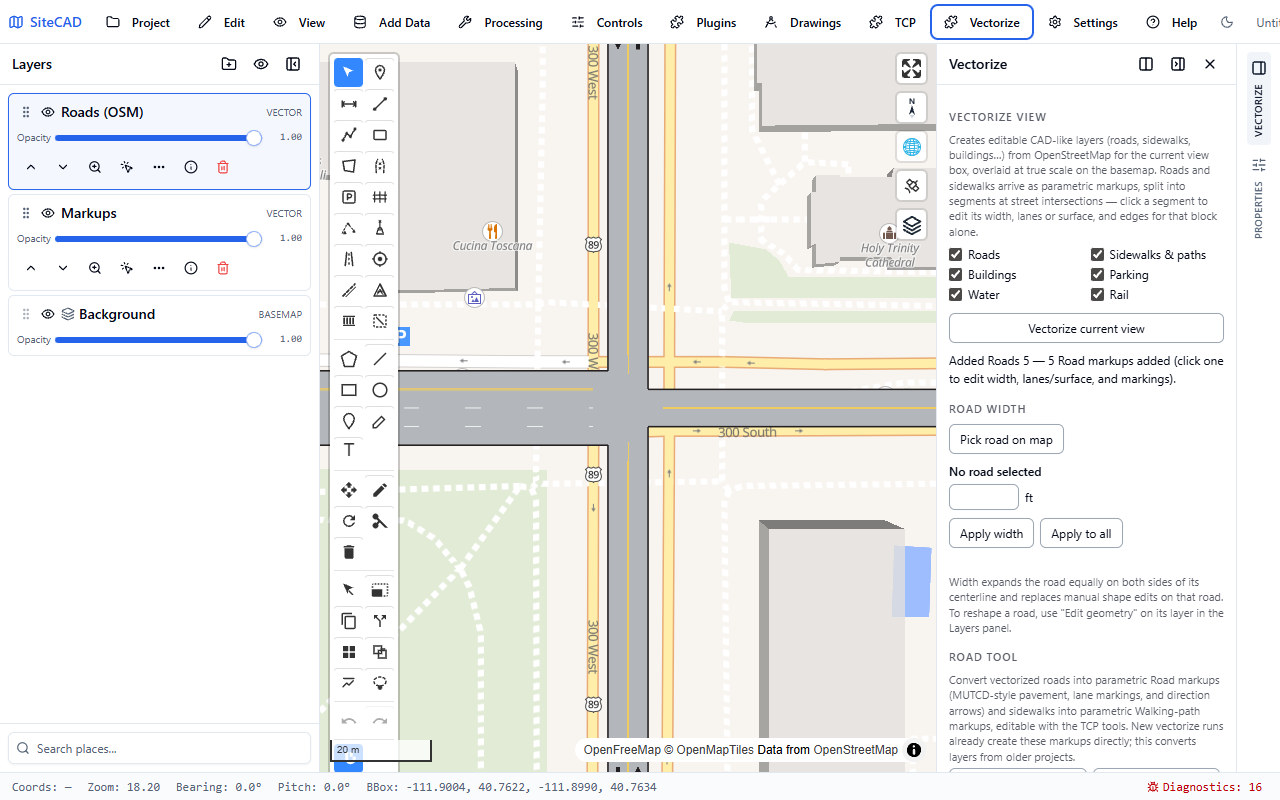
The re-laned block restripes itself; the blocks across the junction are untouched.
4. Treat the intersection
Under Intersection treatments, set End B (the end forward traffic
arrives at): Control → Stop (stop line), Crosswalk → Continental
bars, and lane use left, through, right with ONLY words on. The
stop bar lands at the crossing pavement edge, the crosswalk draws in
style, and each lane gets its arrow.
5. Add a bike lane
In Bicycle lanes, enable the right side: 6 ft wide, 2 ft buffer with Auto hatching, Separated (markers) for tubular posts, and Green pavement if your agency uses it. Everything is Chapter 9E geometry at ground scale.
6. Check the findings
Any marking that deviates from Part 3 shows a cited finding in the panel — the four-lane double-yellow rule, taper lengths on auxiliary lanes, crosswalk minimum widths. Fix or own each one.
7. Width corrections (optional)
If the mapped width is off, type the surveyed value into Selected road → Total width (ft) — or drag the lane diagram's edge ticks until the modeled pavement sits on what the imagery actually shows (select the road and the diagram appears right on the pavement; every boundary is a drag handle).
Reference: Roads, Vectorize & Site Modeling · Pavement Markings
Next steps: Model a Corridor Lane by Lane — the same block edited on the pavement instead of in the panel: lane kinds, per-lane widths, turn bays with storage and taper dimensions, and divided carriageways.