Skip to content

Place & Edit Signs

Place an assembly-point sign and control exactly how it displays — facing the camera, flat on the ground, fixed heading, true ground size — then define a site parking area with auto-generated stalls, an entrance, a label, and styling. About four minutes.

The recording this tutorial follows (3:34).

1. Place an assembly (muster) point sign

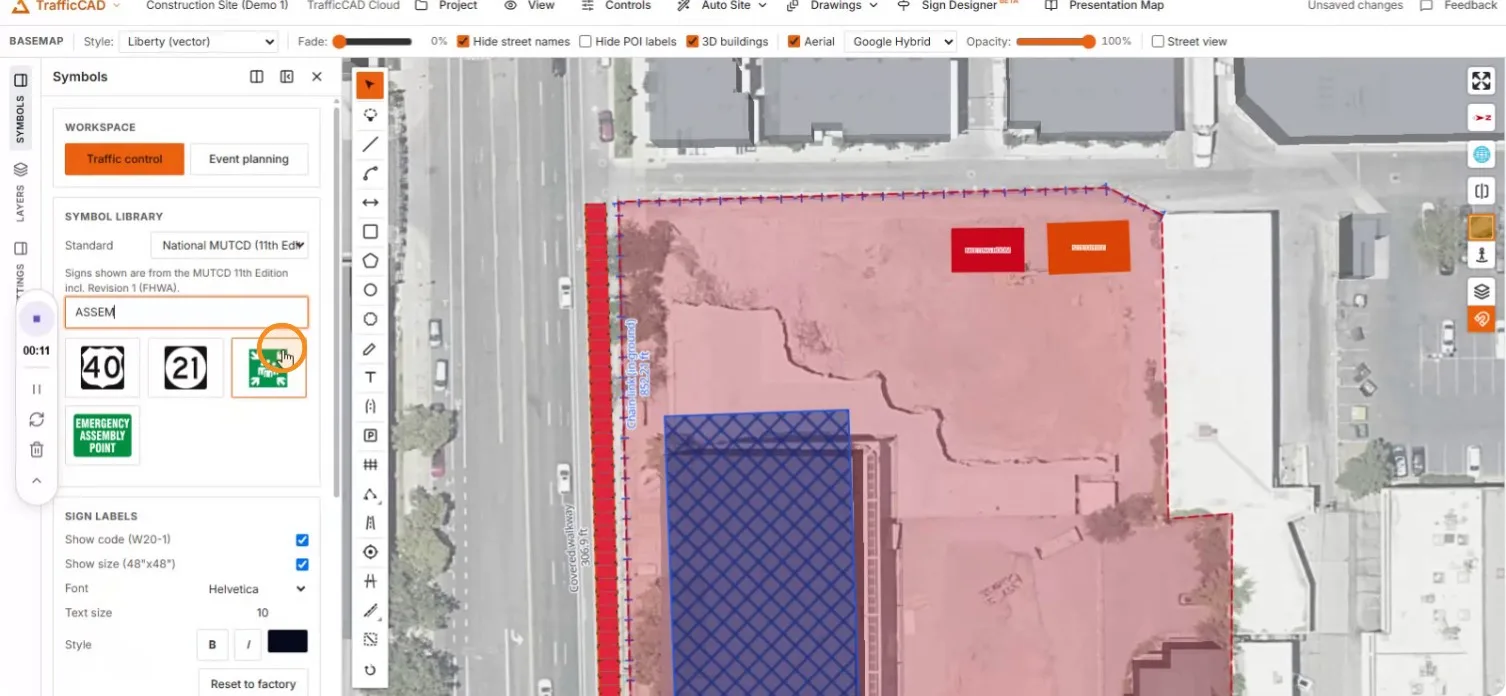
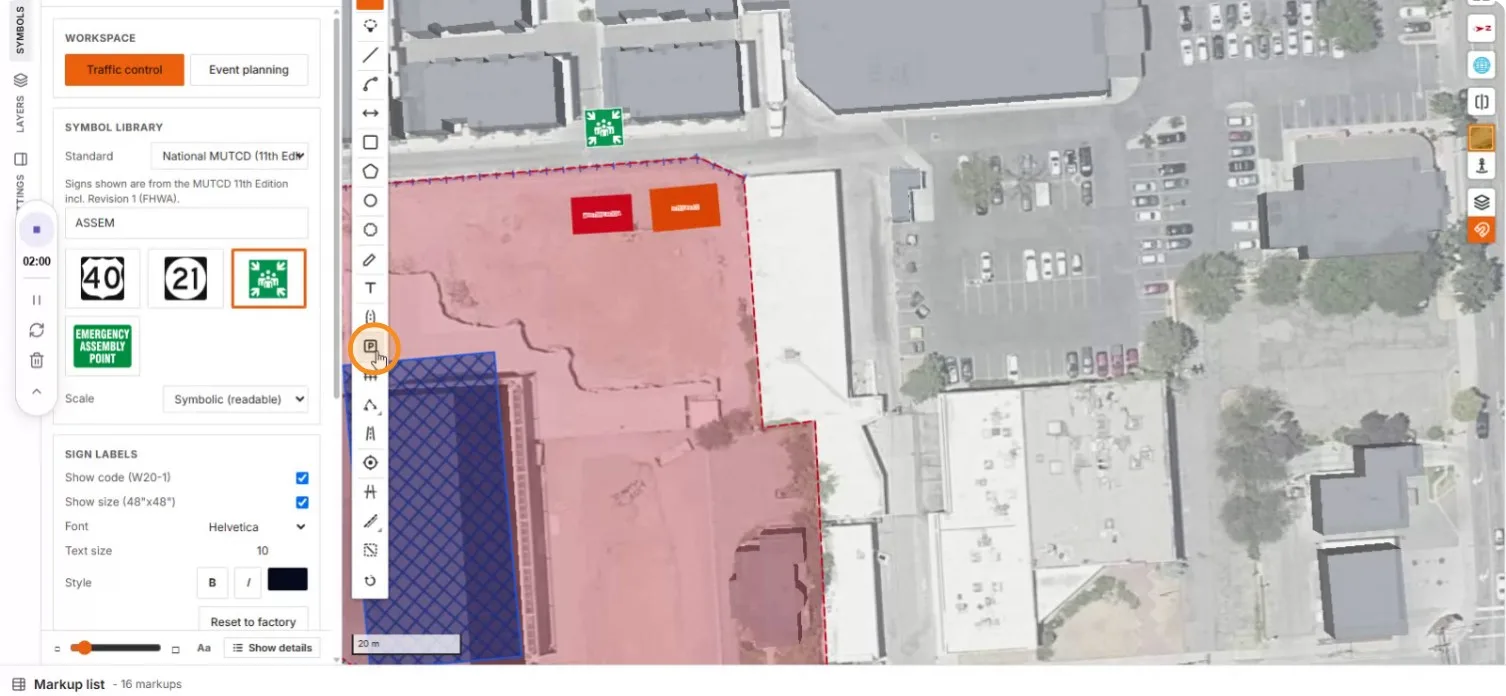
Search the symbol library and place the sign at the emergency gathering location.
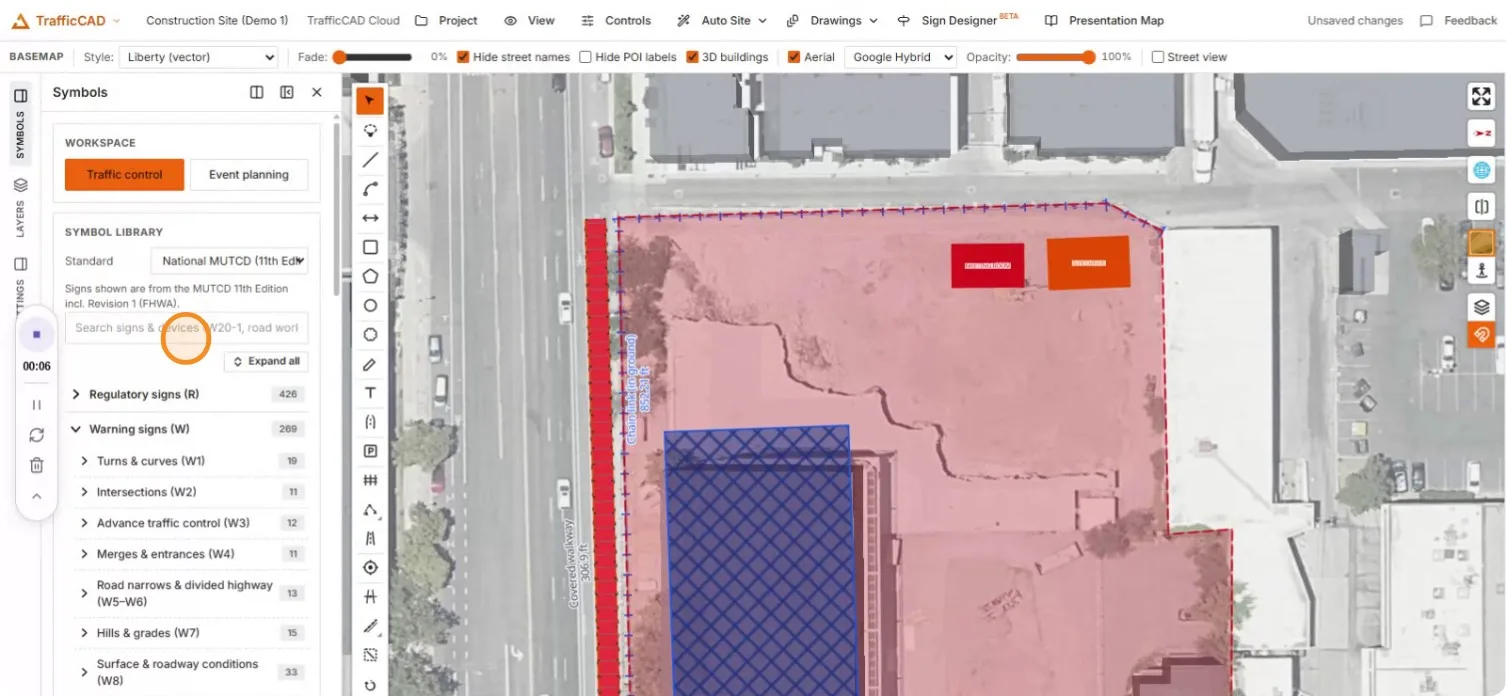
The symbol library with the sign search box highlighted

Searching "ASSEM" — muster point and EMERGENCY ASSEMBLY POINT results

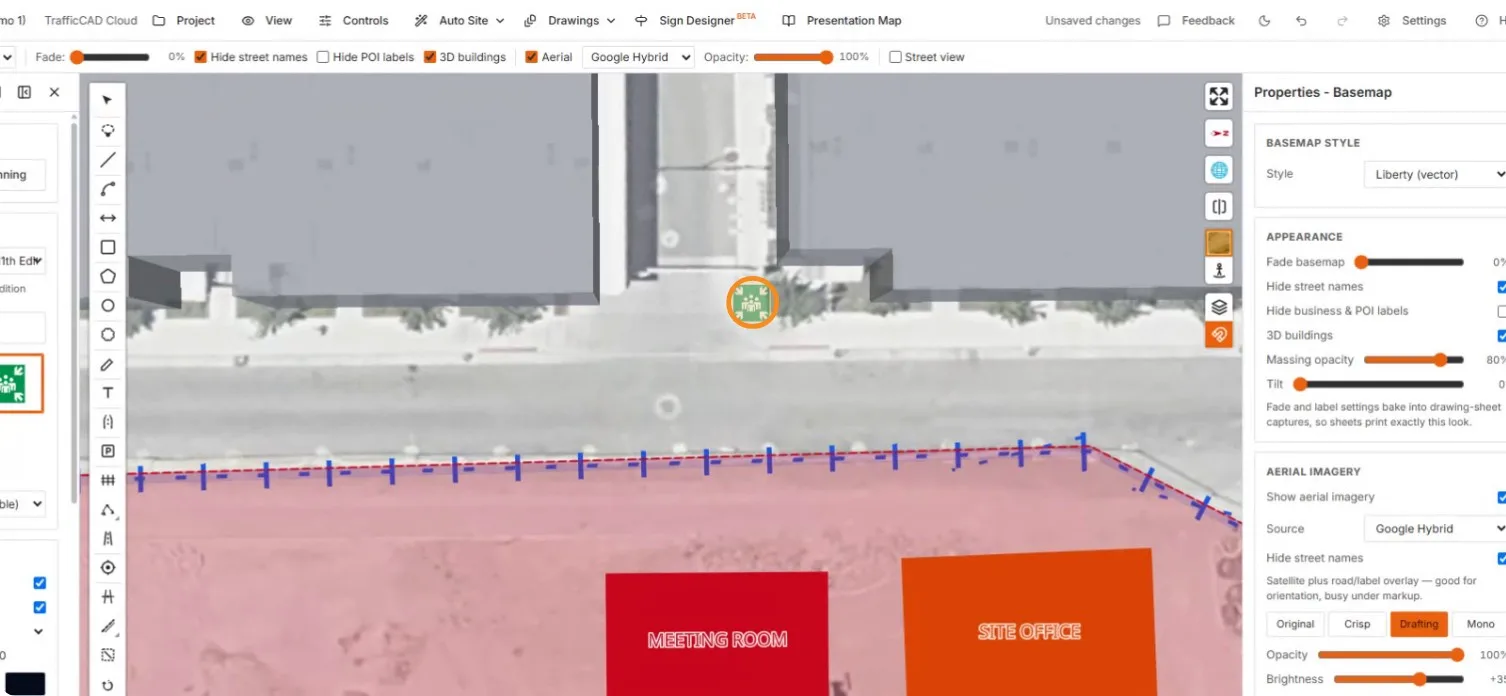
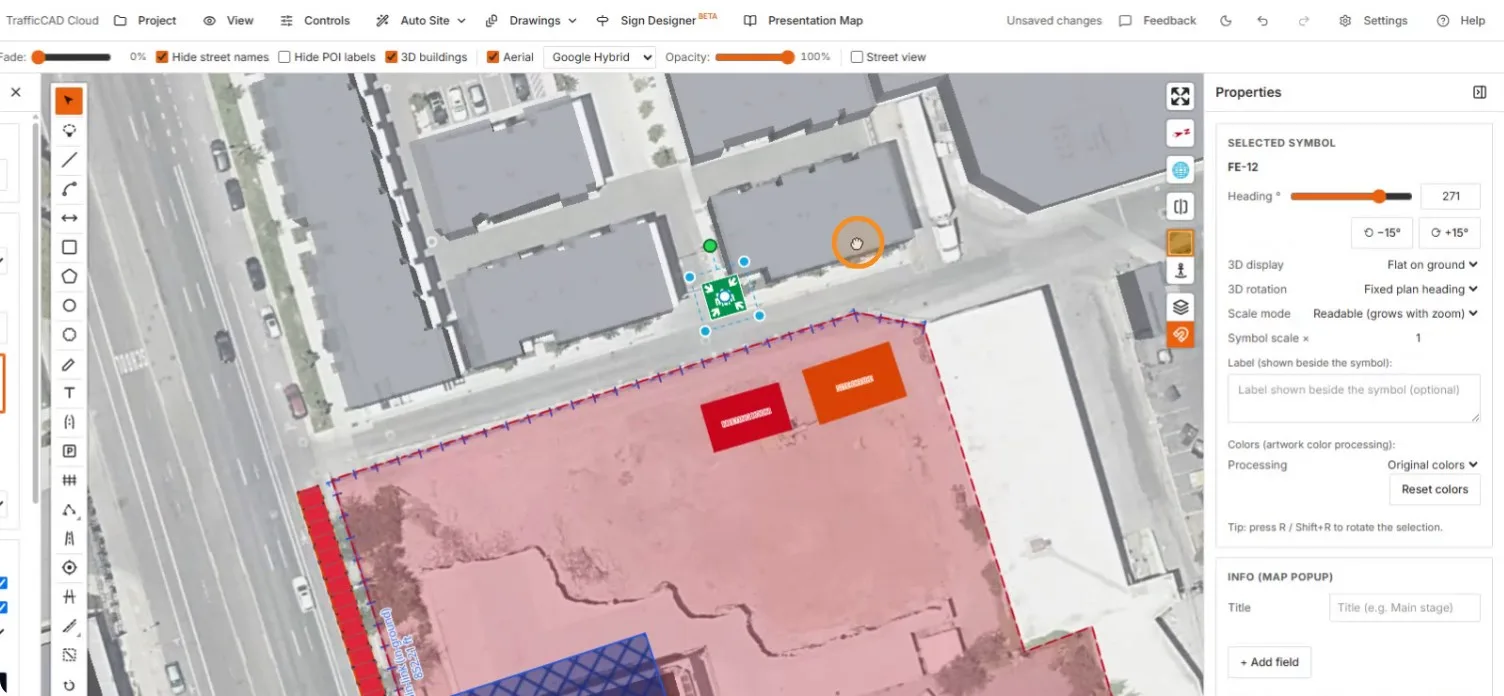
The green muster point sign placed on the sidewalk

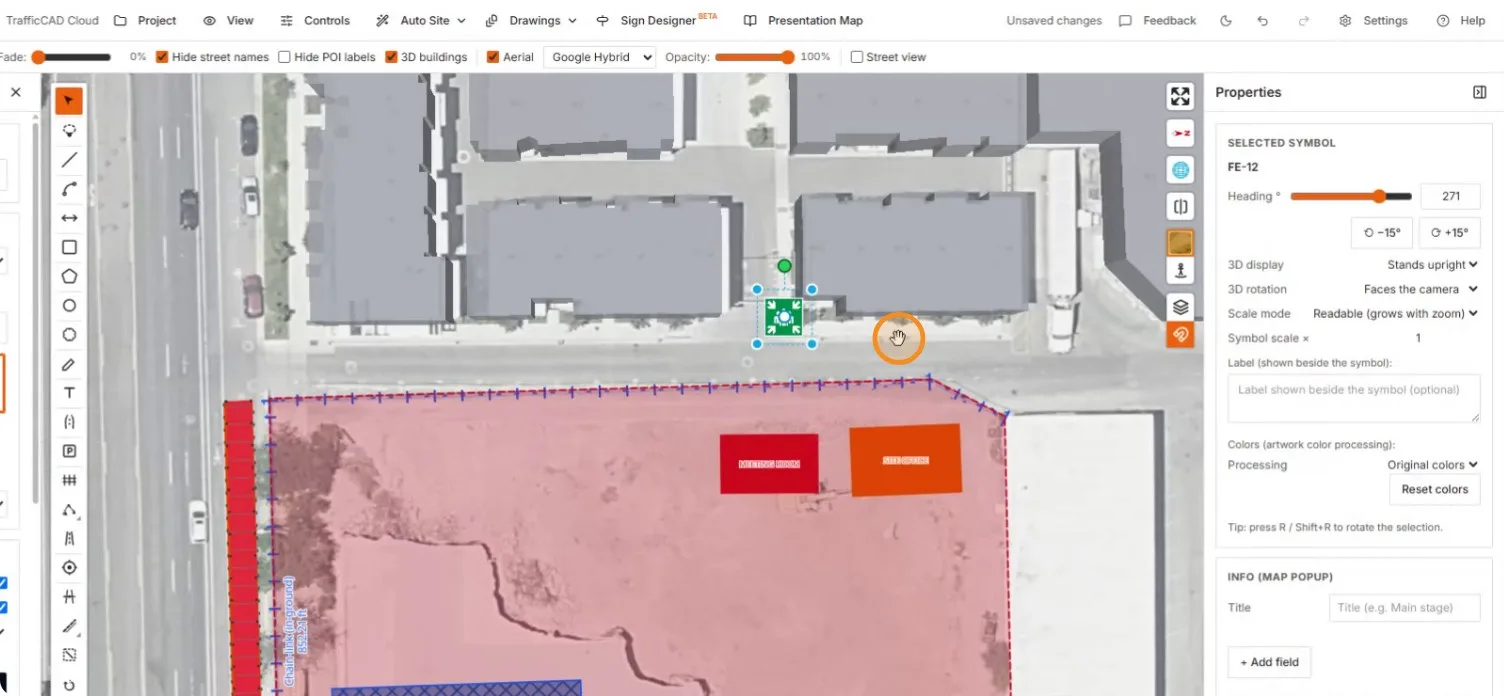
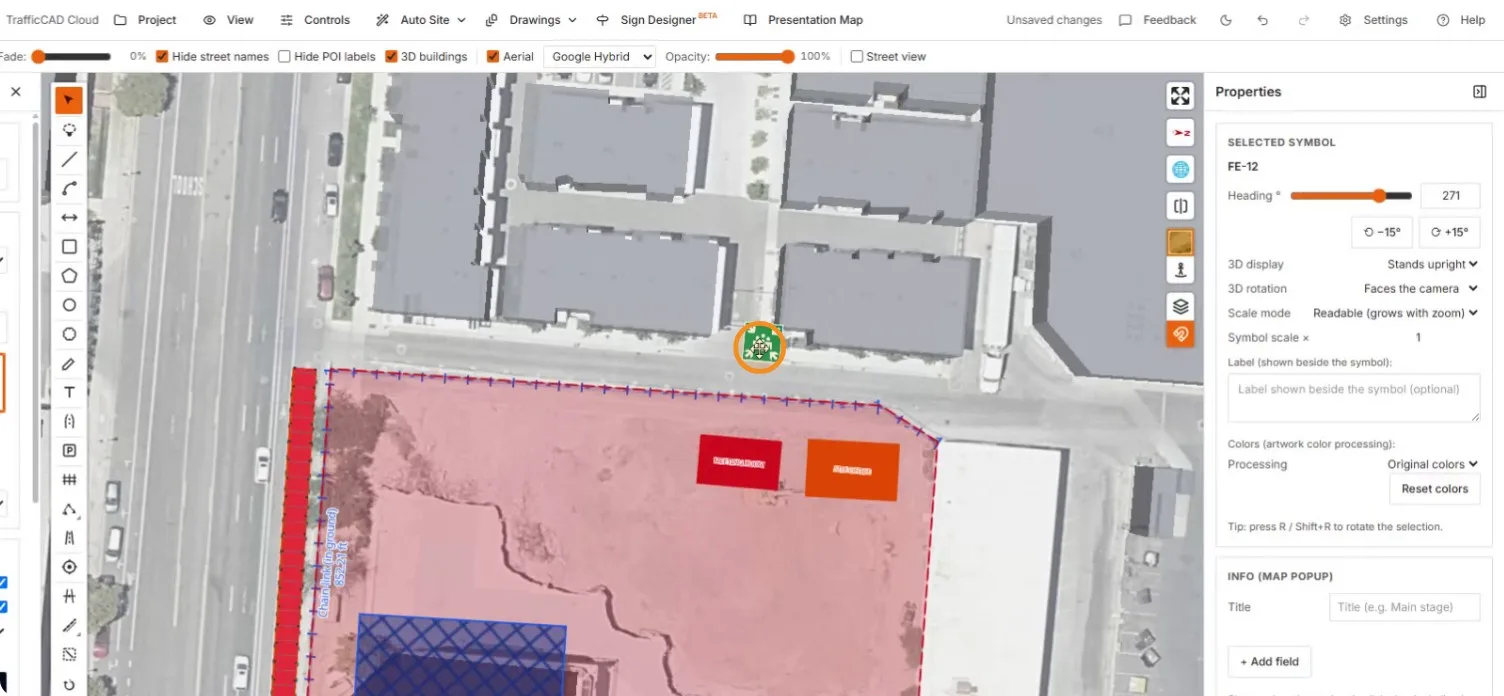
The sign's default properties: stands upright, faces the camera, readable scale

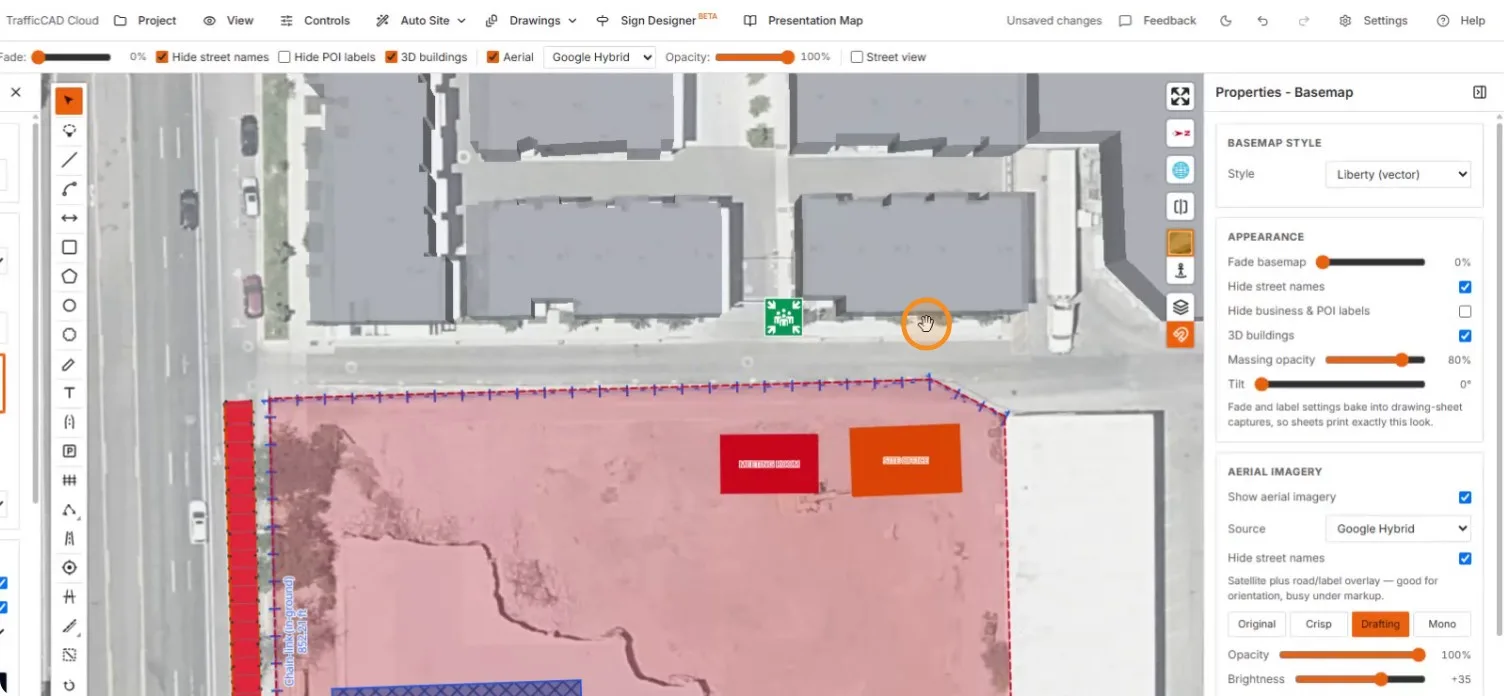
The placed sign confirmed at the street corner

2. Signs face the camera by default

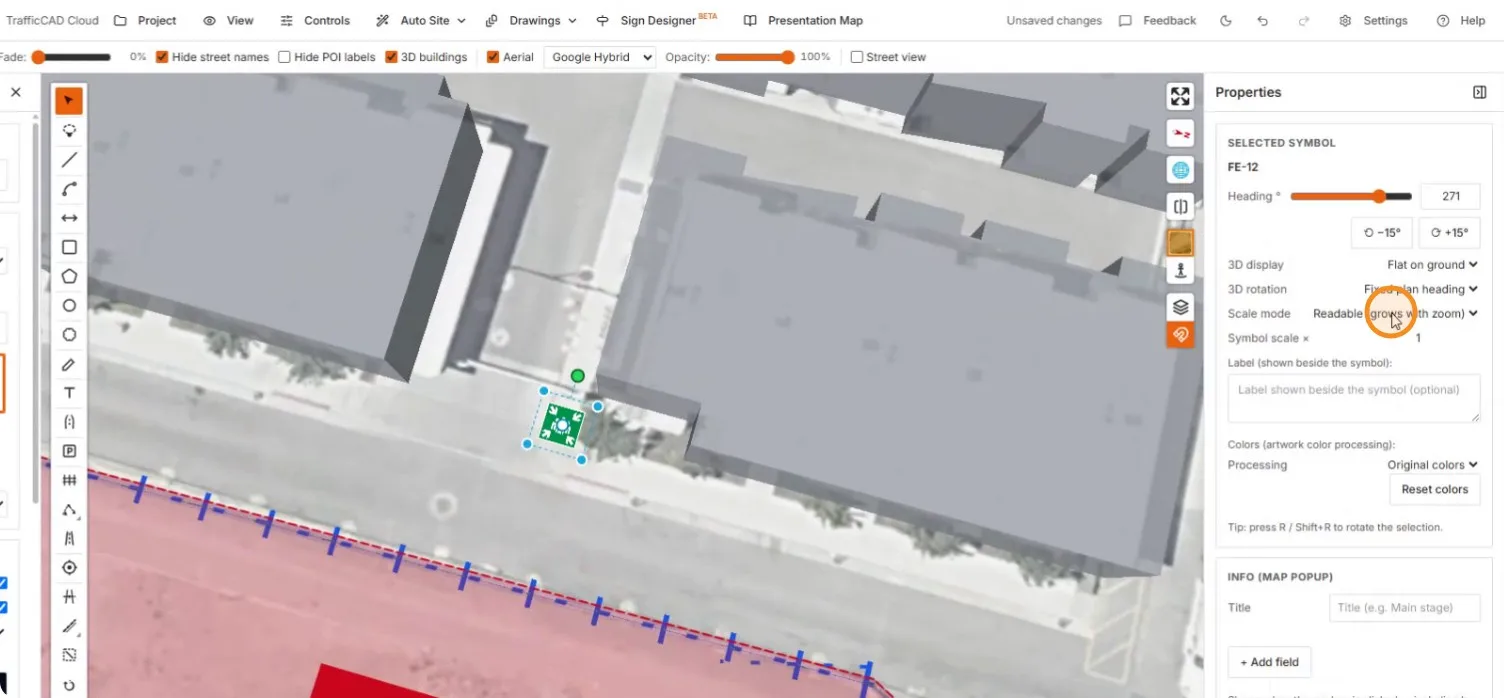
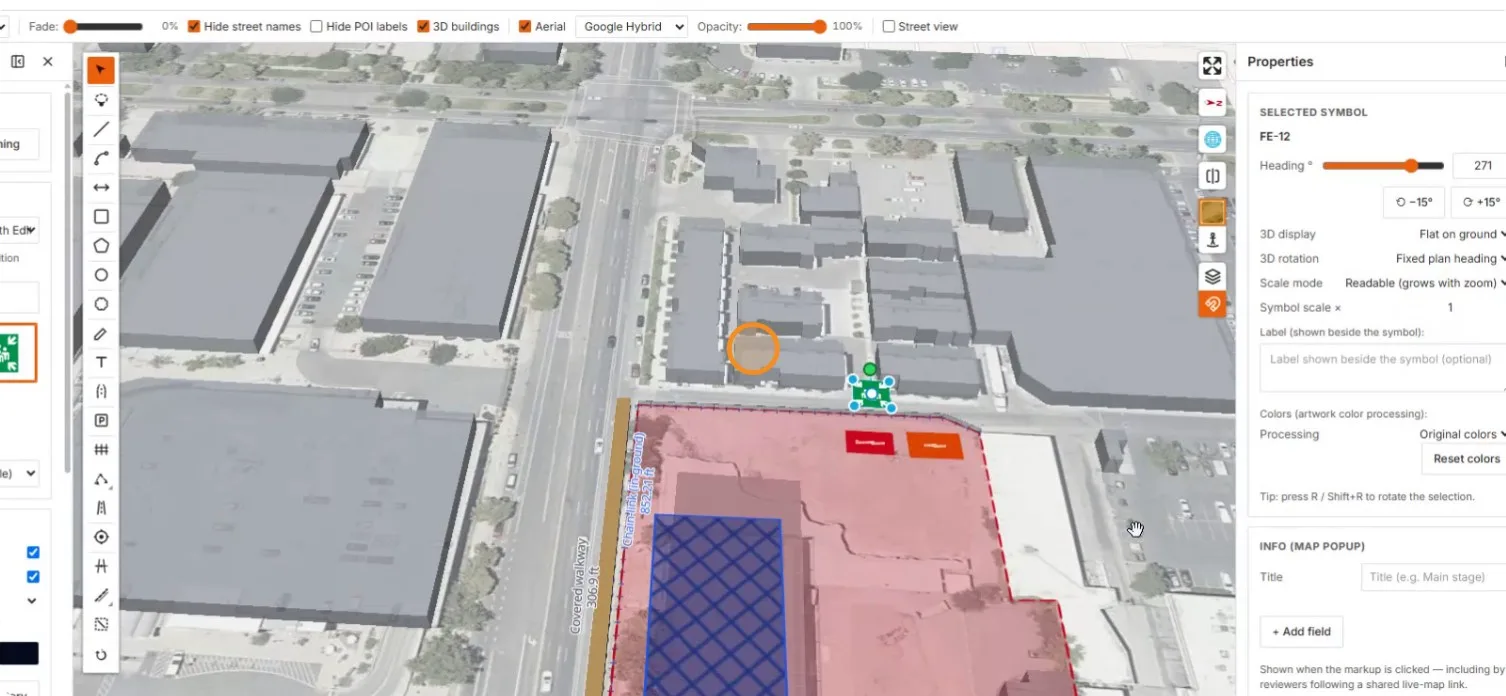
In 3D the sign billboards toward you and keeps a readable size as you zoom — the default for wayfinding-style symbols.
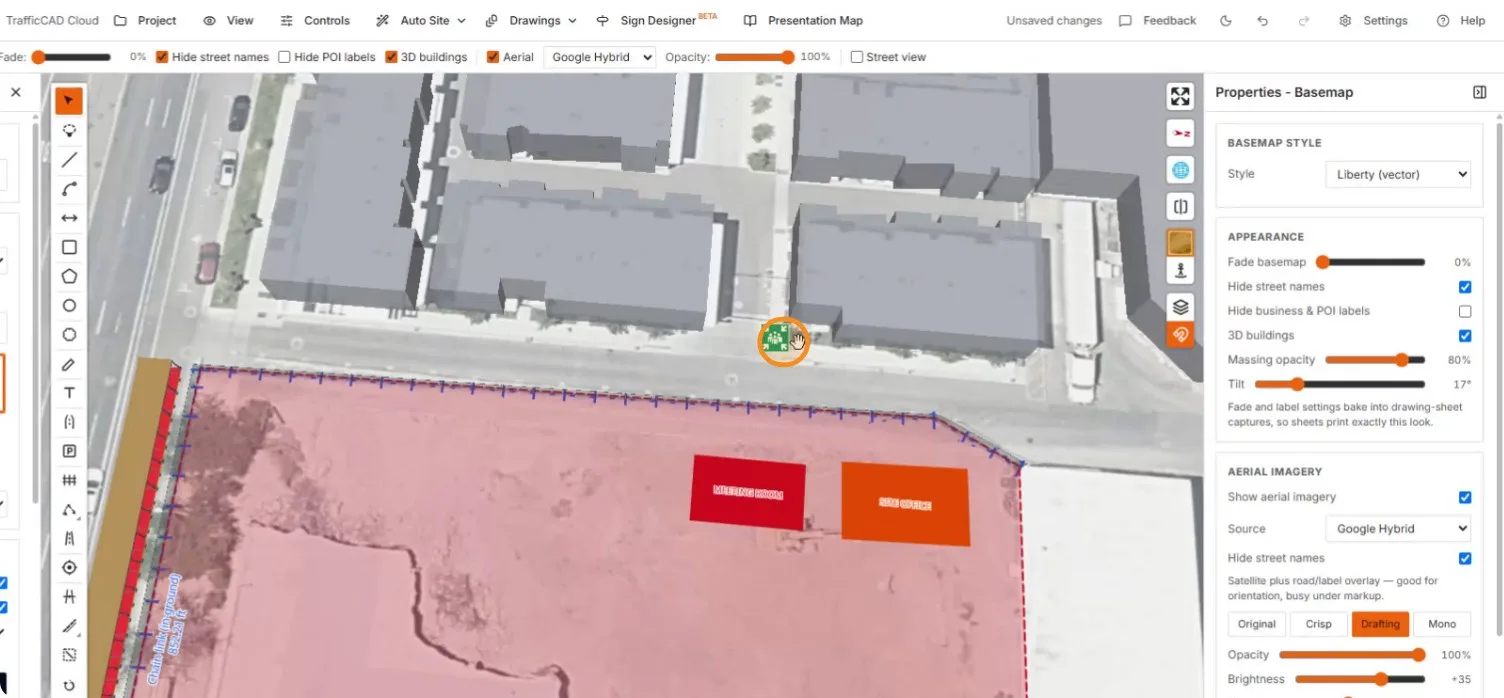
The tilted 3D view with the sign facing the camera

3. Lay the sign flat on the ground

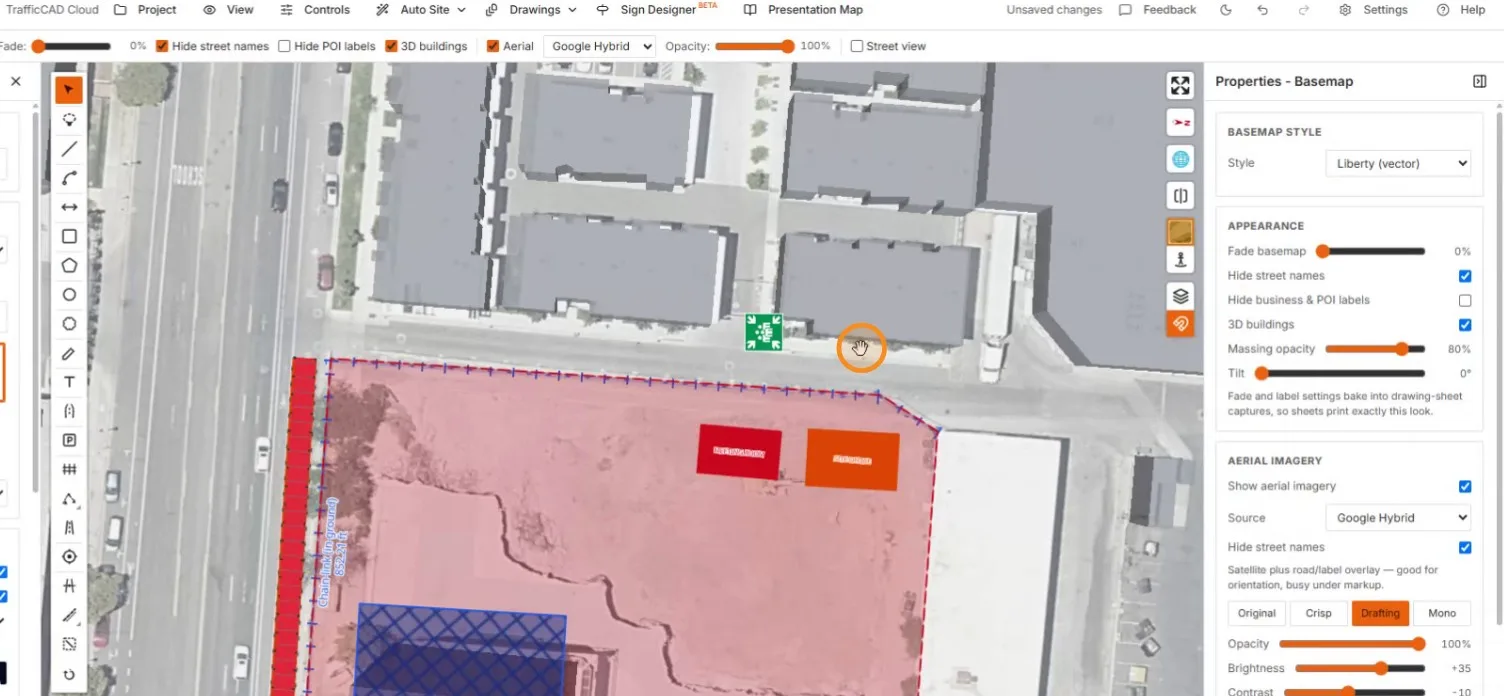
3D display → Flat on ground paints the sign onto the pavement instead.
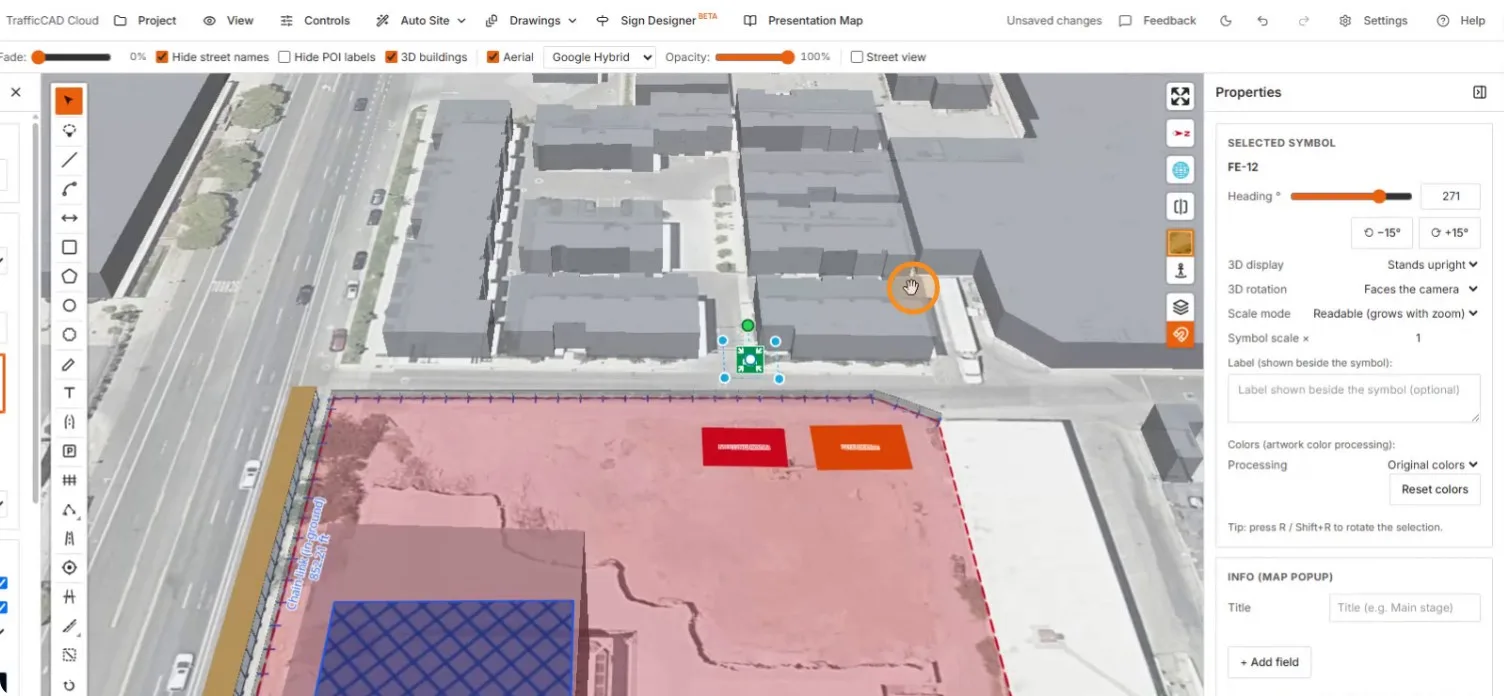
The selected sign before the display change

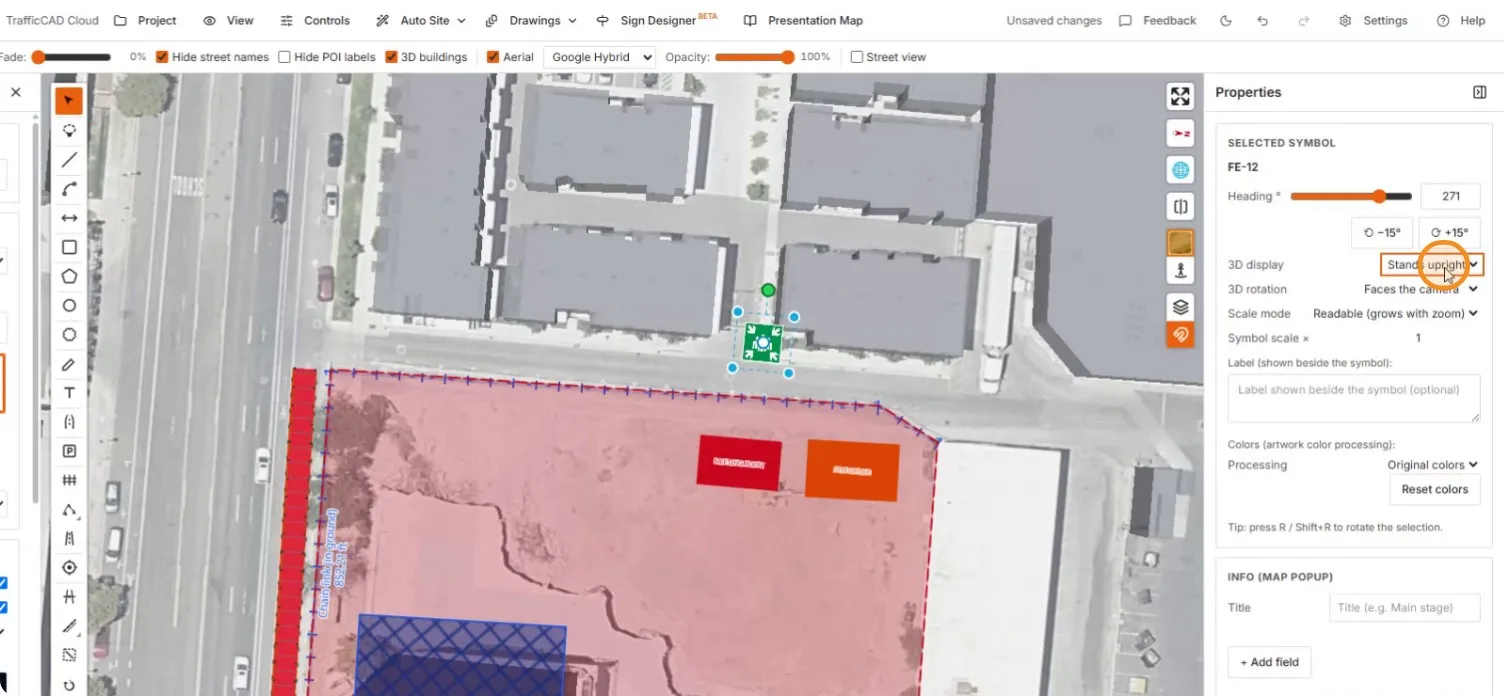
The sign selected top-down

The 3D display dropdown reading Stands upright

The flat-on-ground state from above

4. Fix the plan heading

3D rotation → Fixed plan heading locks the sign's orientation so it no longer turns with the camera — rotate the map and check it.
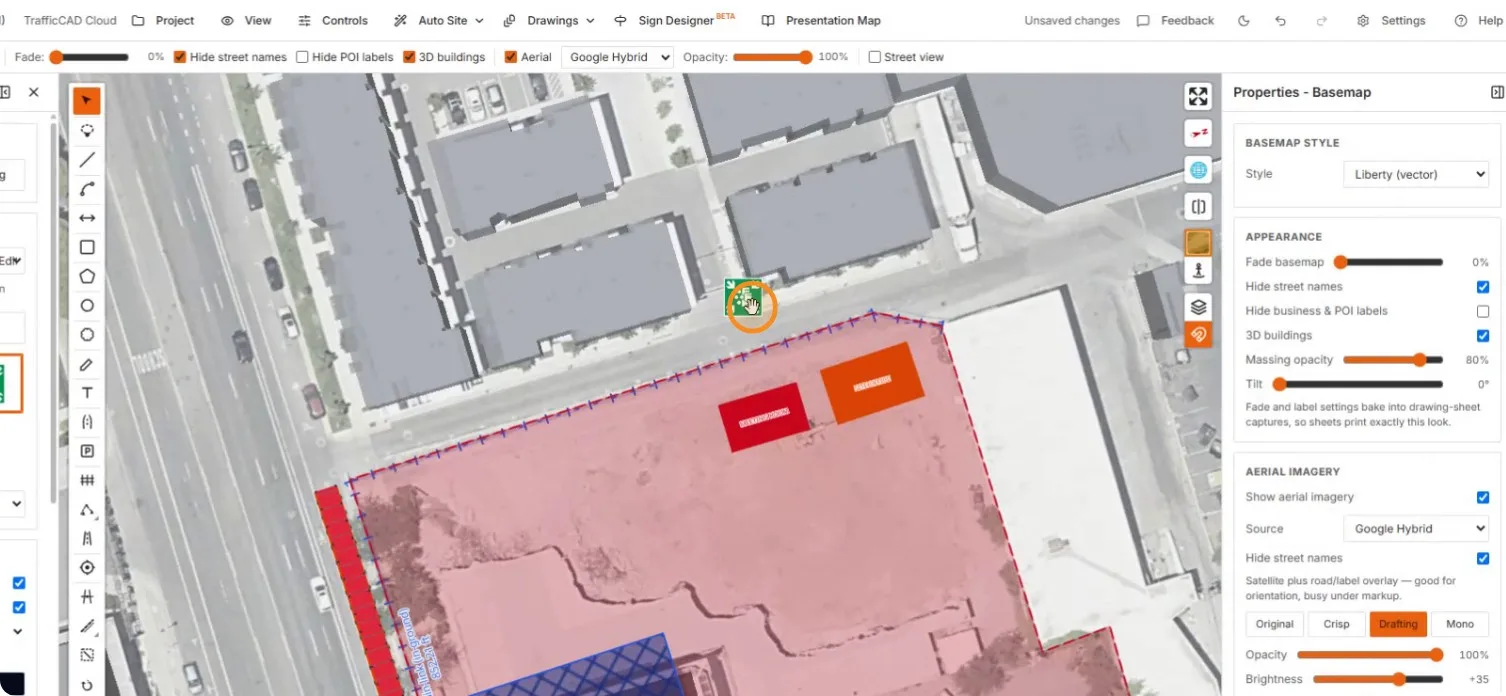
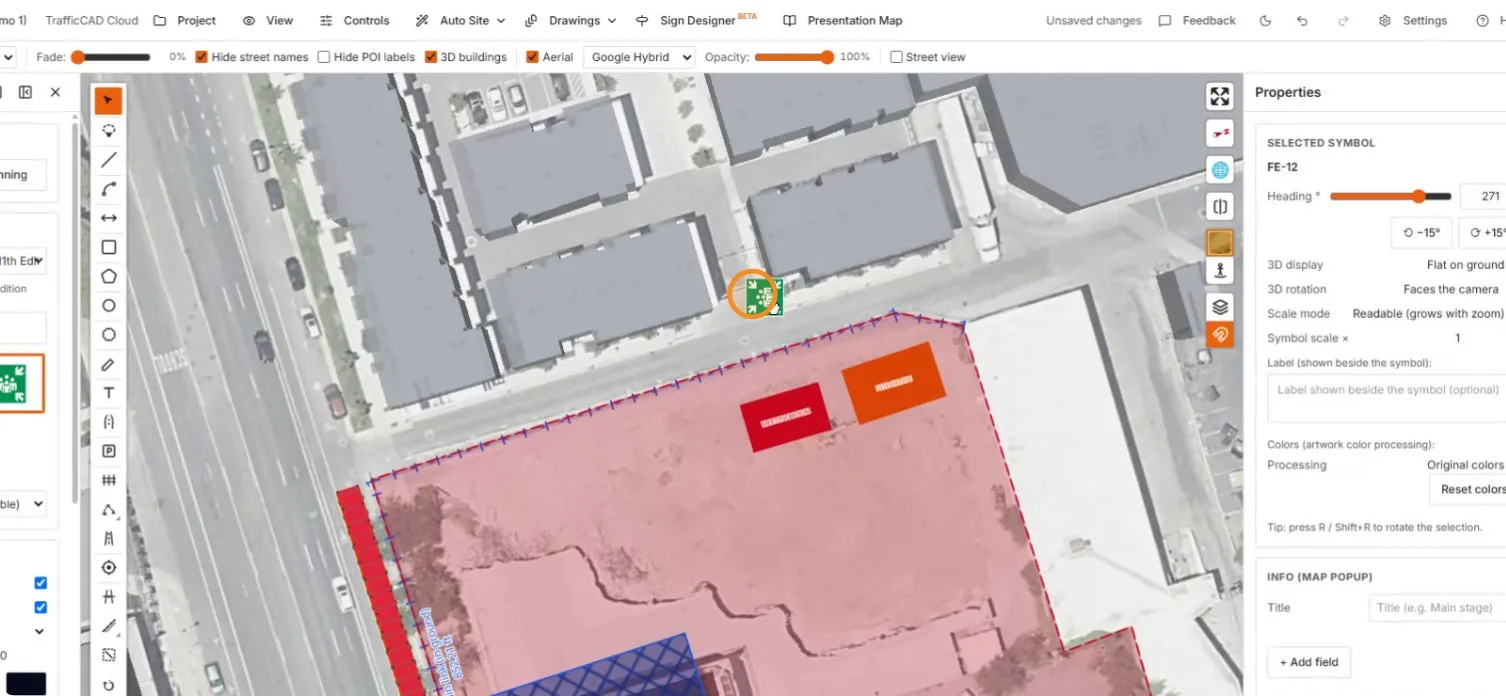
The map rotated to a new bearing with the sign holding position

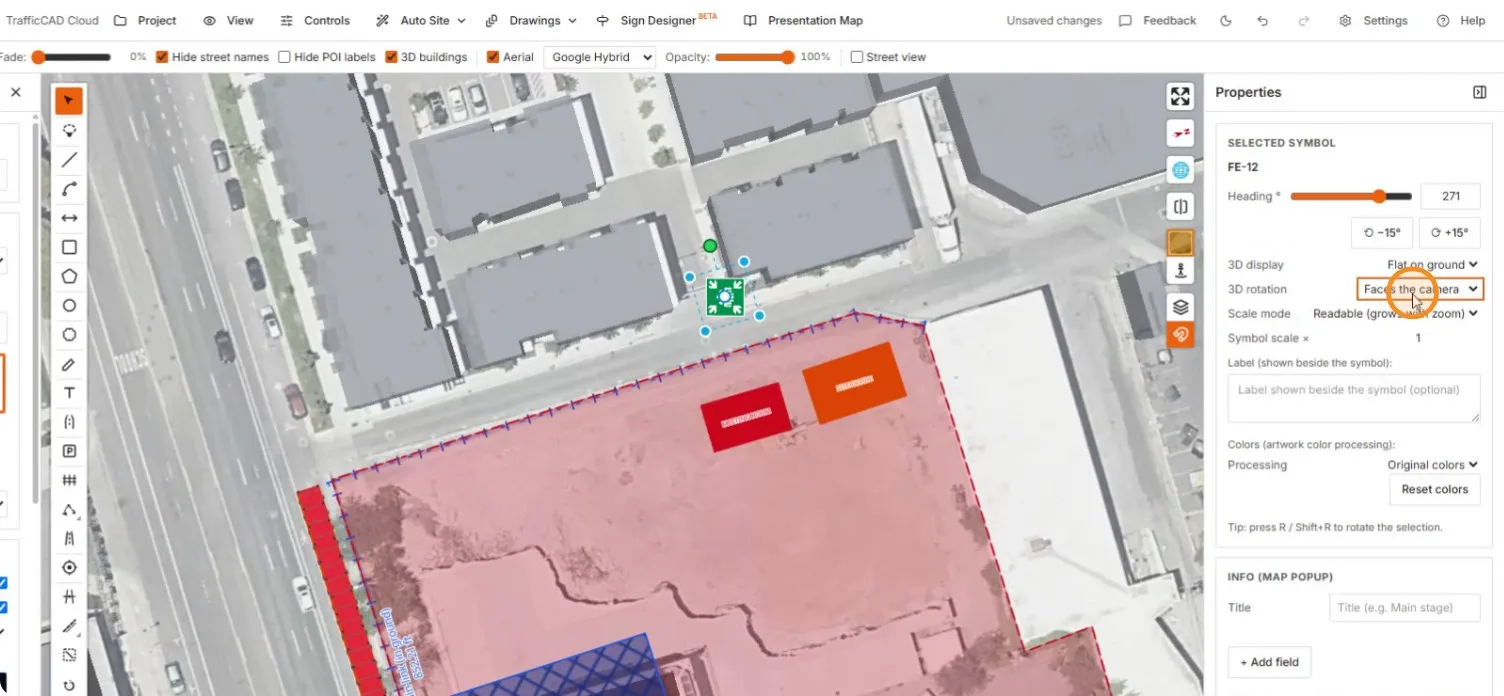
Flat on ground applied while rotation still follows the camera

The 3D rotation dropdown under the cursor

Fixed plan heading applied — the sign stays put as the view turns

5. True ground size vs. auto-scale

Scale mode picks between a real-world footprint and a readable, zoom-following size.
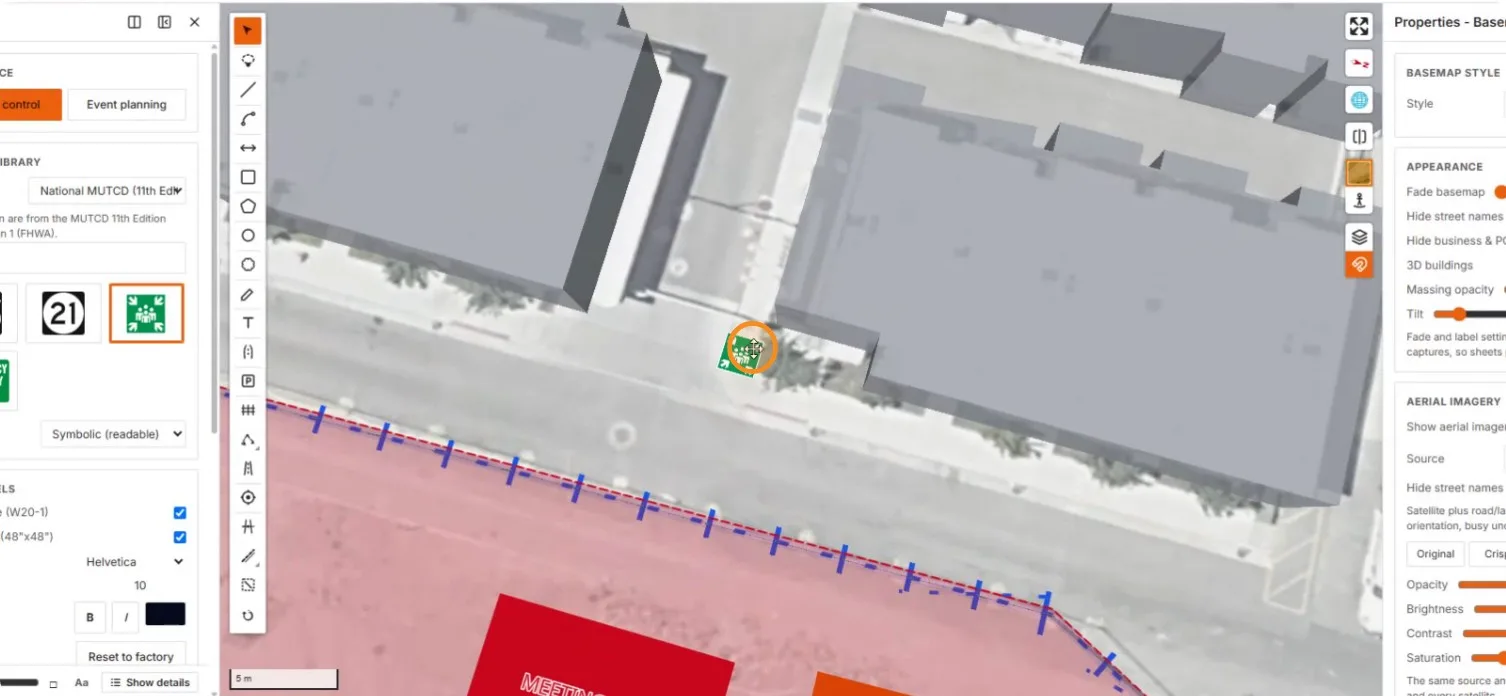
A close zoom on the sign at the building corner

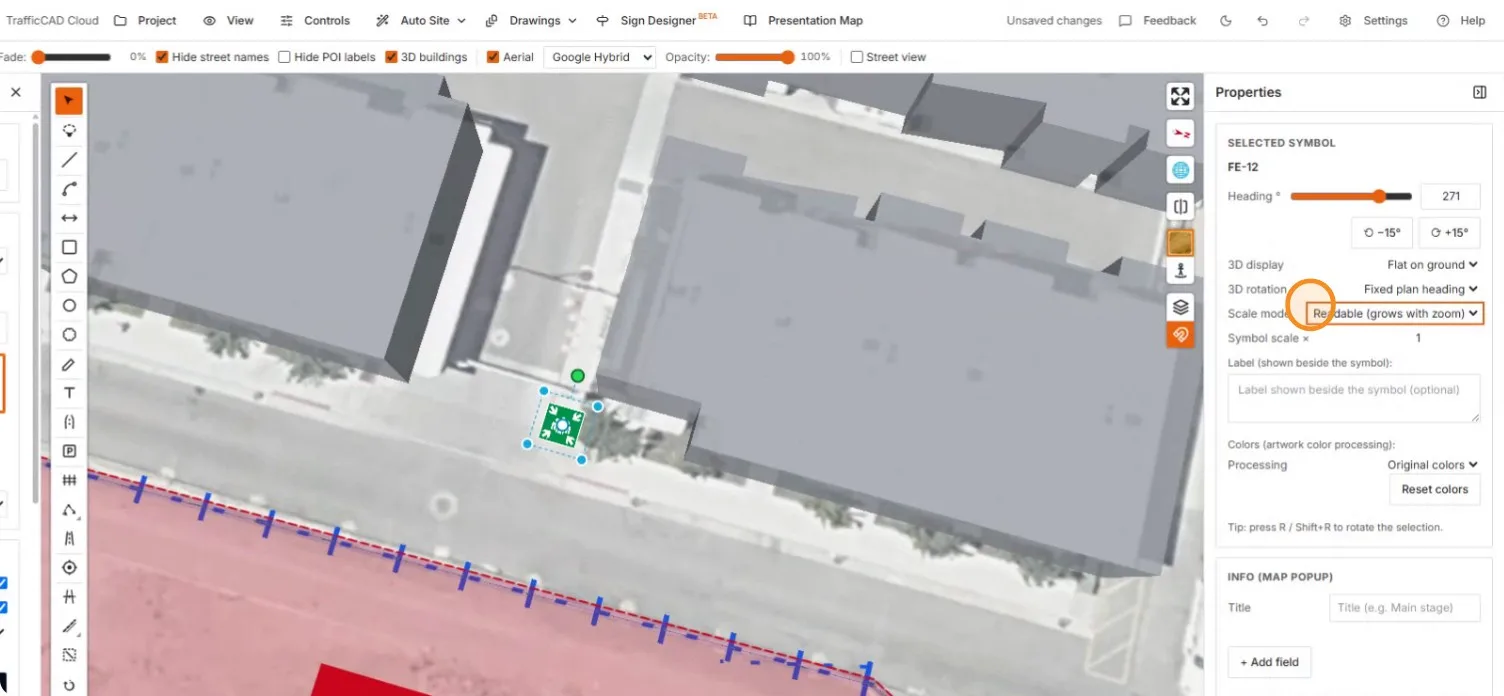
The Scale mode dropdown reading Readable (grows with zoom)

The dropdown focused before switching

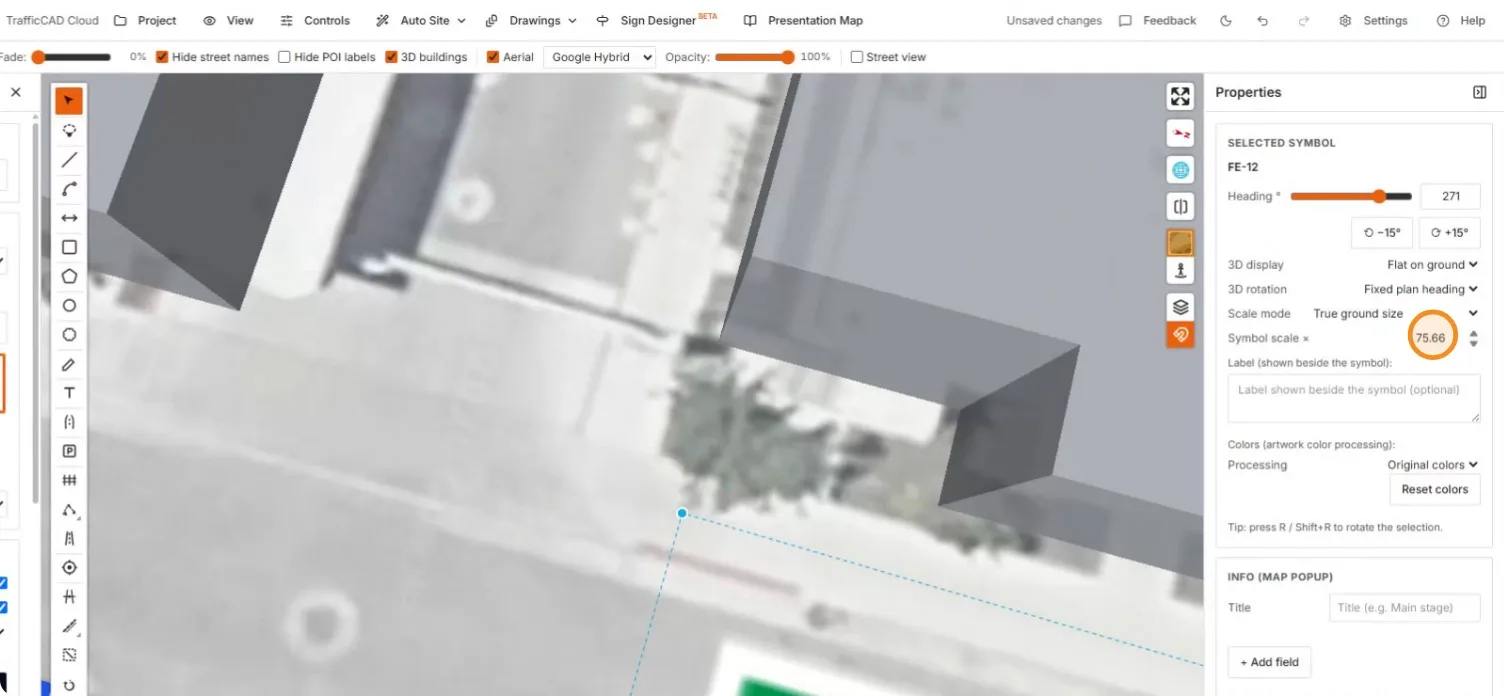
At True ground size the sign takes its actual dimensions — tiny at a 1 m zoom until you raise the symbol scale.
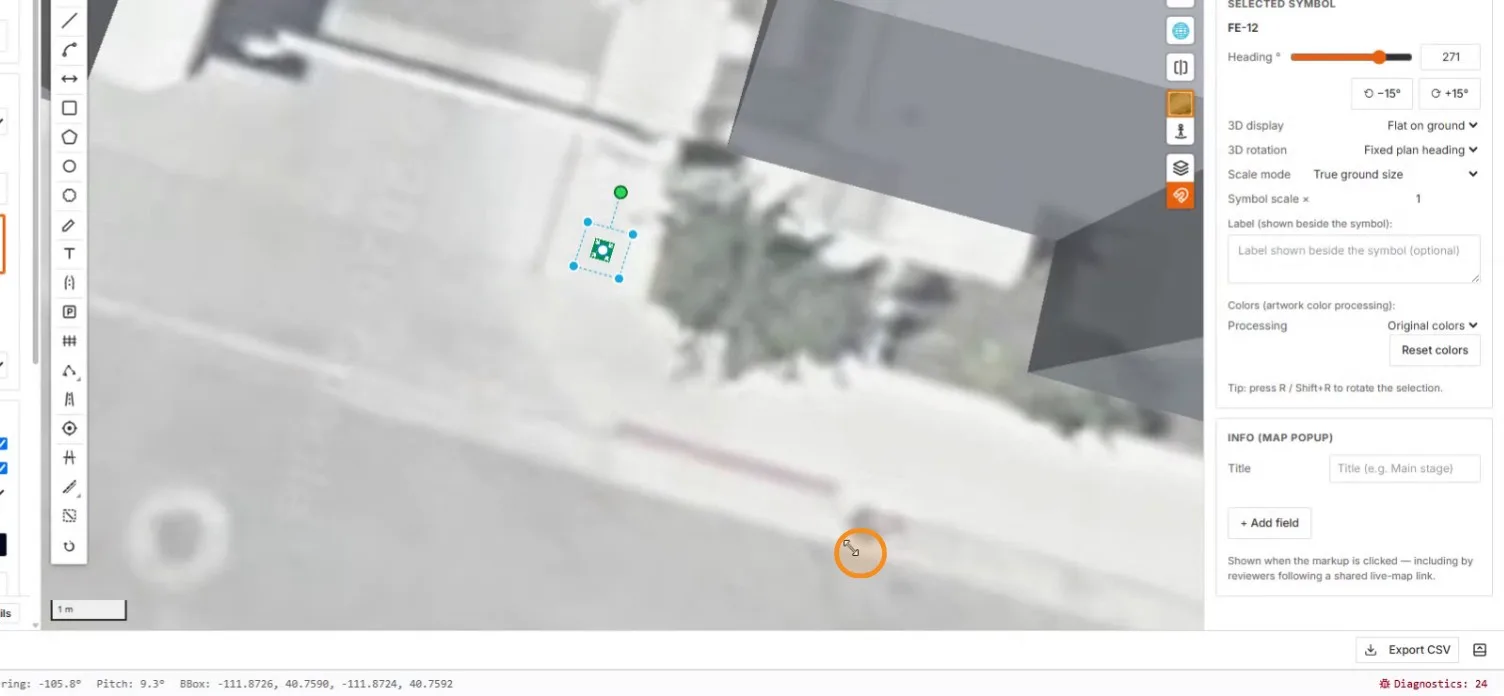
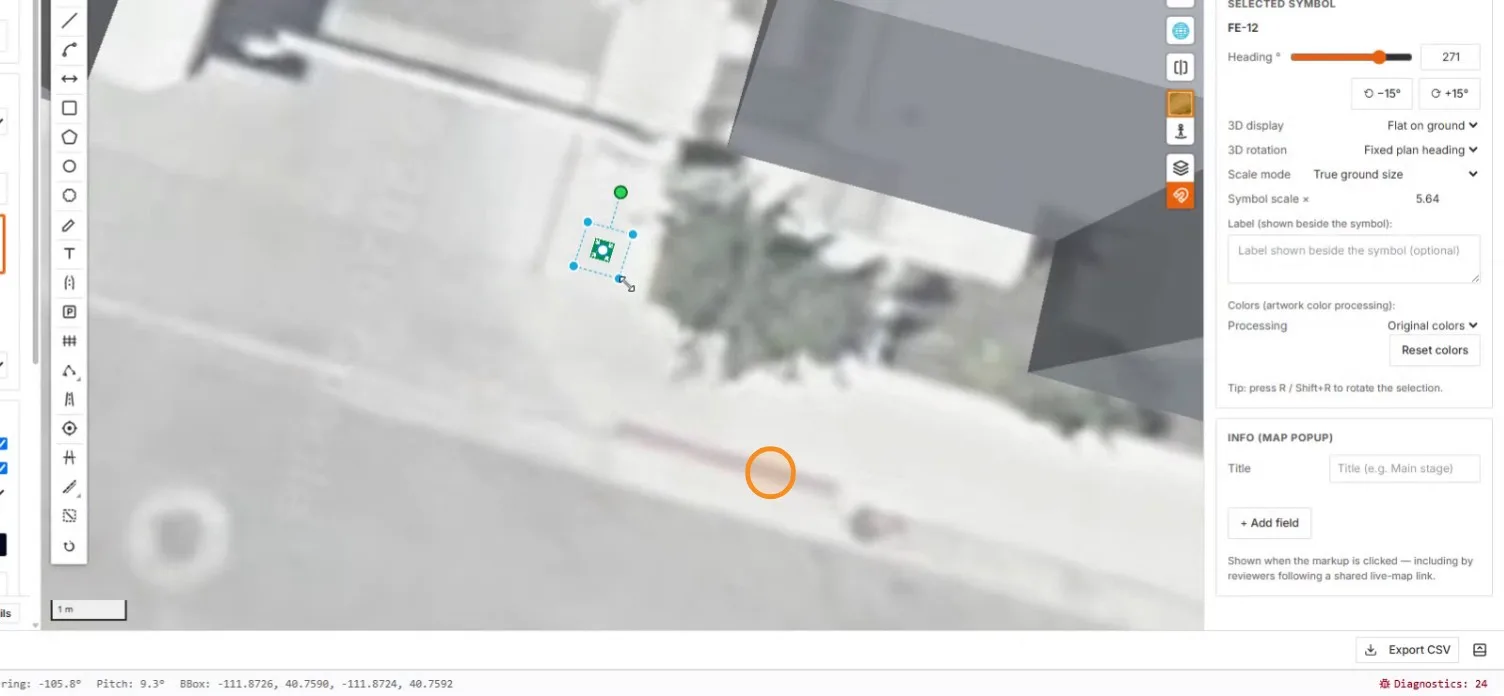
The true-ground-size sign tiny inside its selection box

Dragging a handle to enlarge the sign, scale 5.64

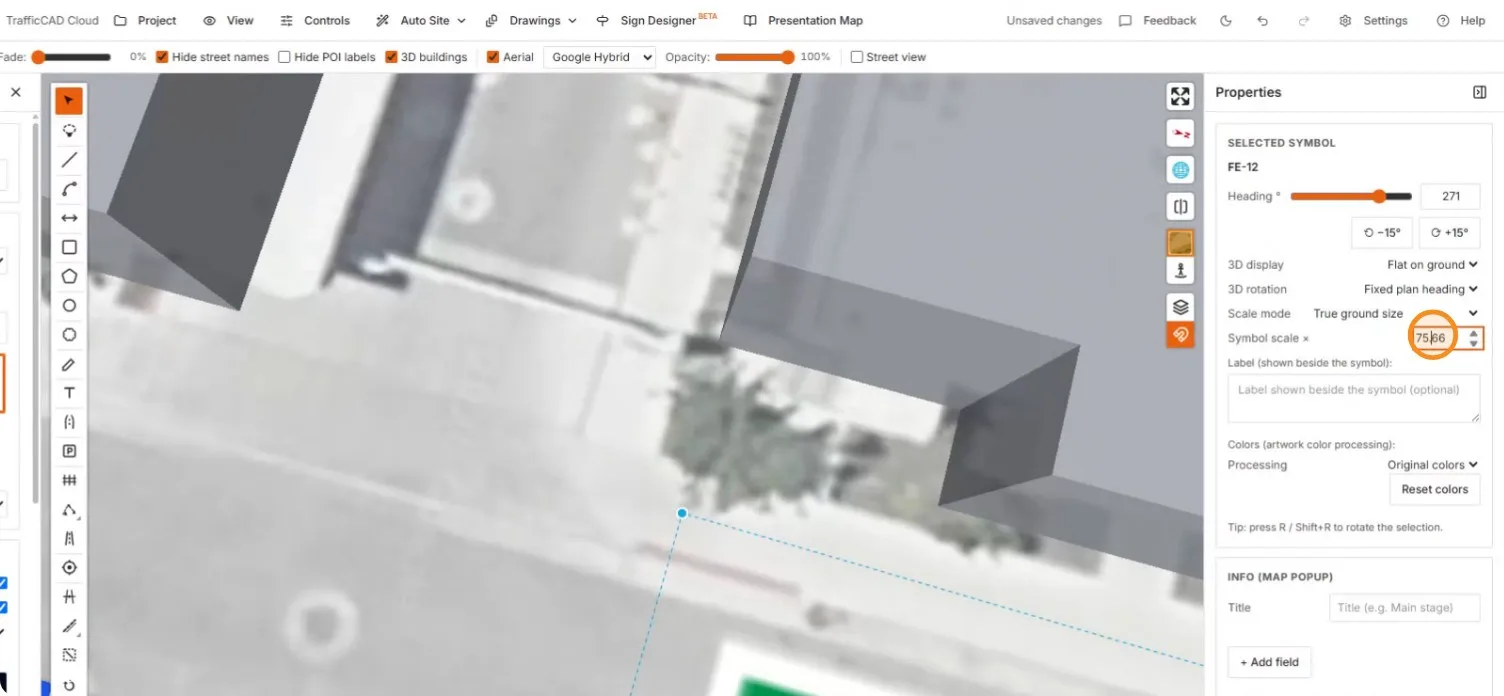
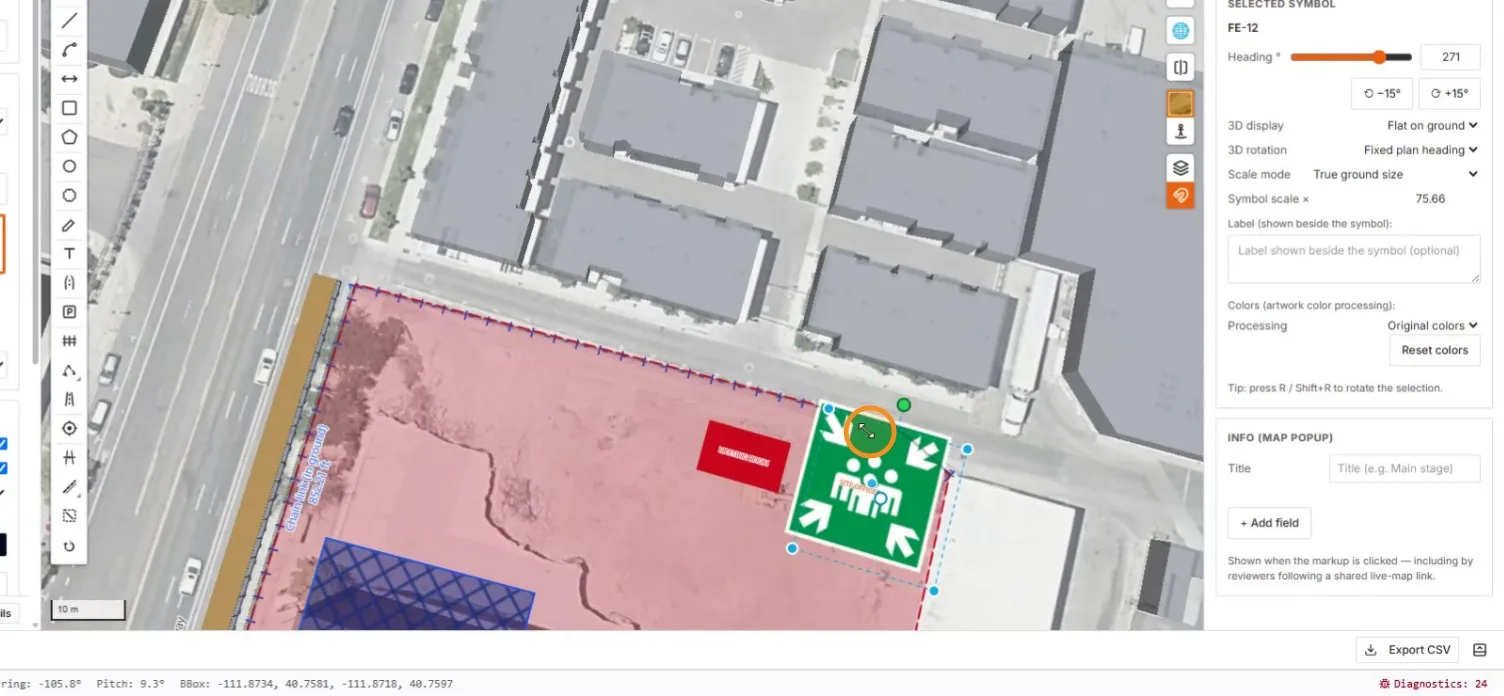
The symbol scale pushed to 75 — far too large

Typing an exact value into the scale field

The oversized flat sign seen at a normal zoom

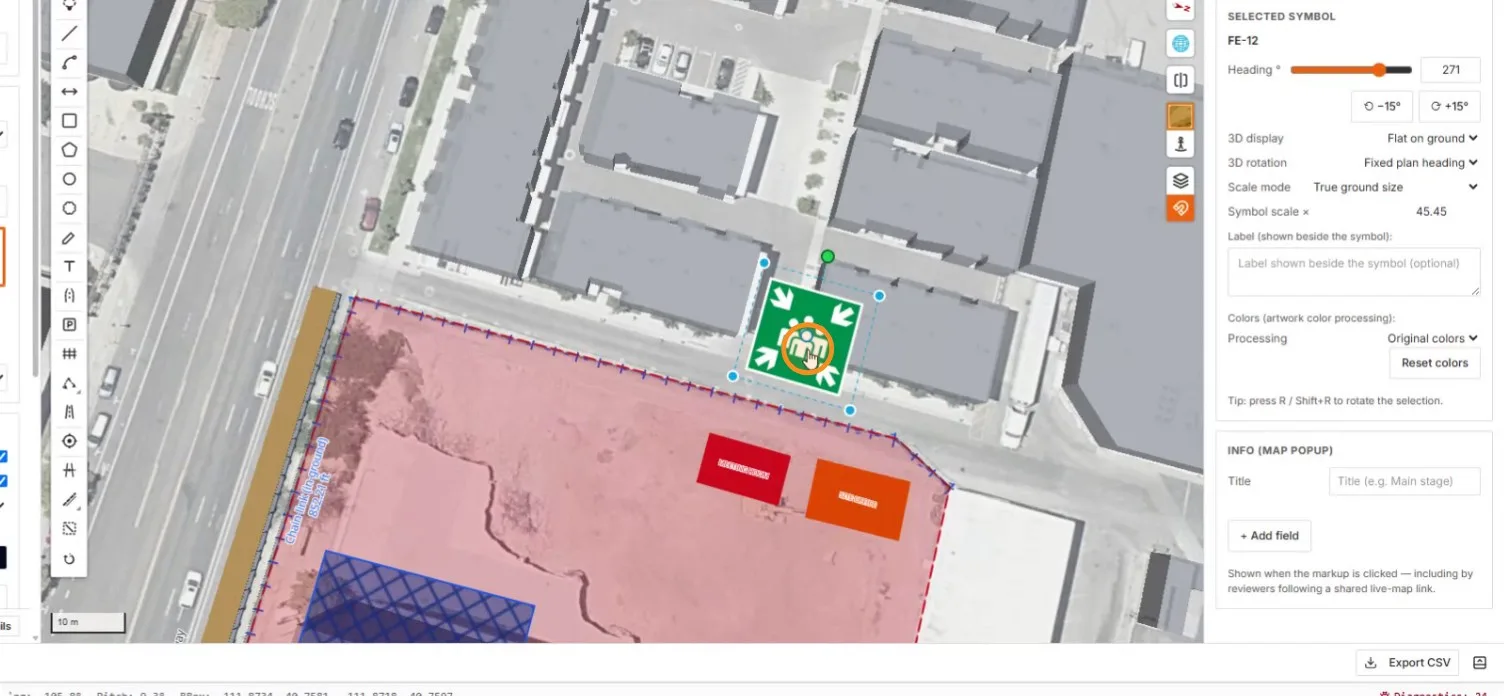
The sign pulled back down to a sensible ground size

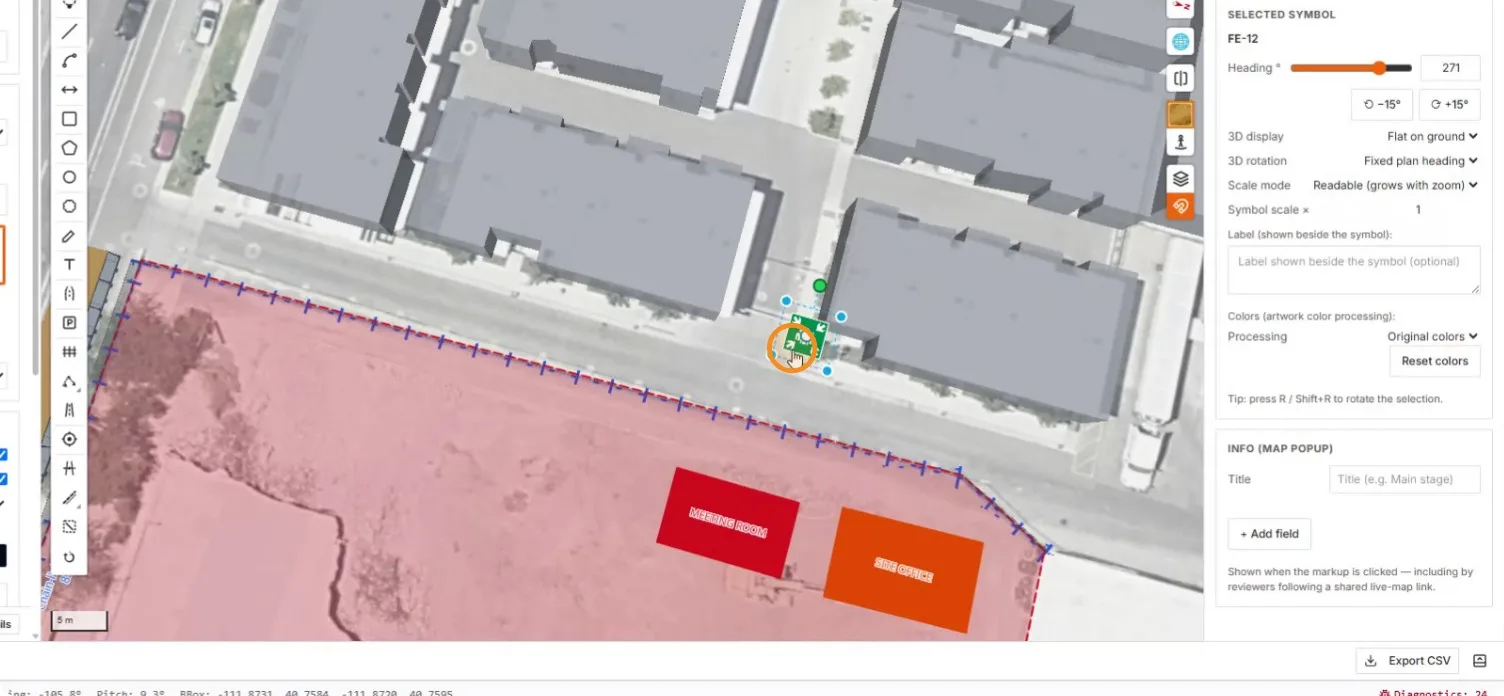
Prefer the automatic behavior? Switch back — the sign returns to a readable size at every zoom.
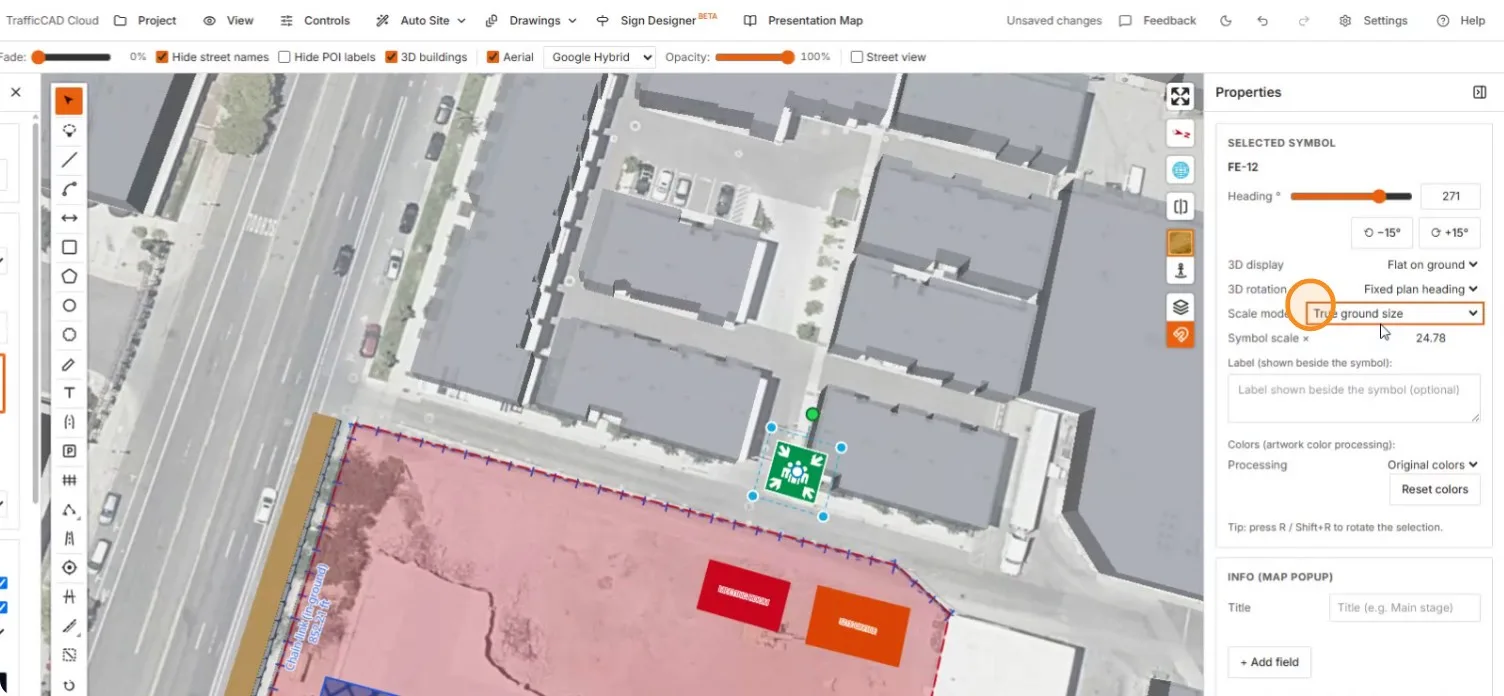
The Scale mode dropdown reading True ground size

Auto-scale restored at scale 1

A wide tilted 3D overview with the auto-scaling sign

6. Open the parking tool

Next, designate site parking on the lot east of the site.
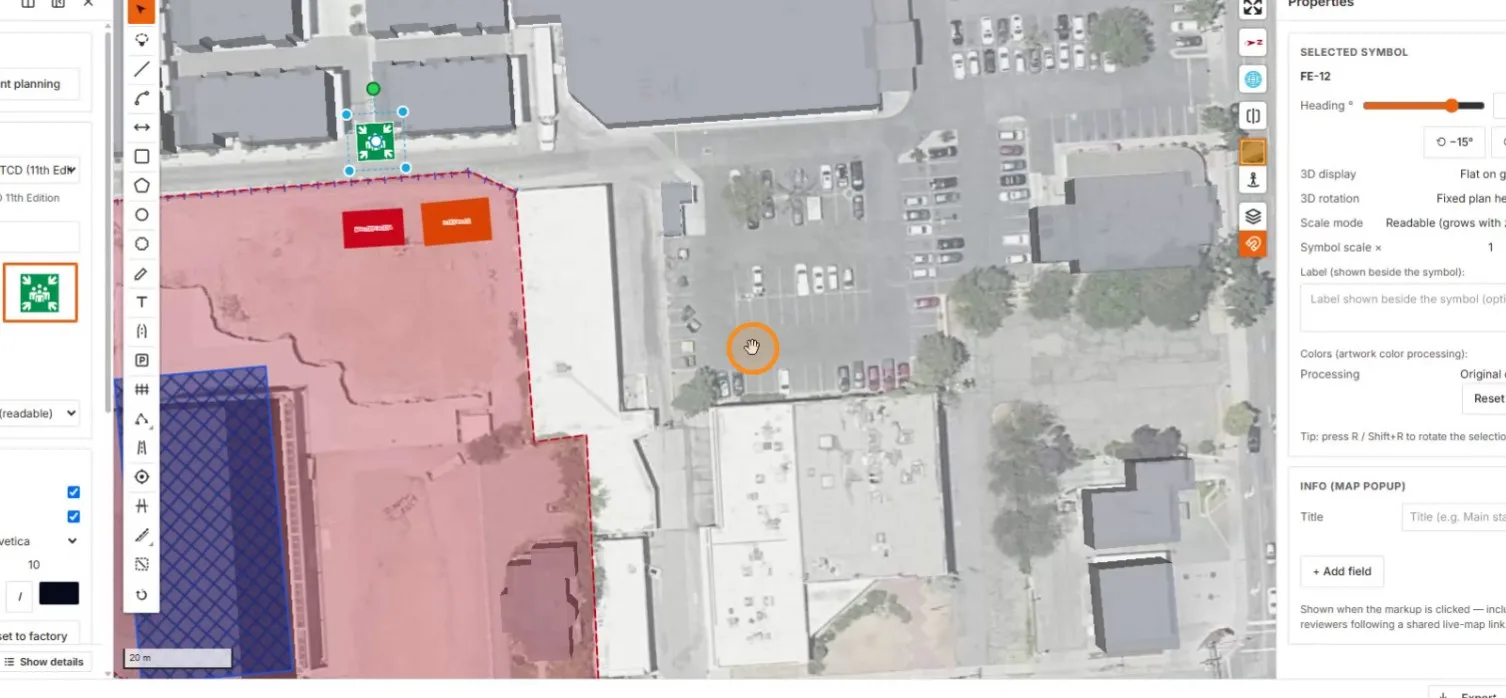
The unmarked car-filled parking lot to be traced

The P parking tool in the drawing toolbar

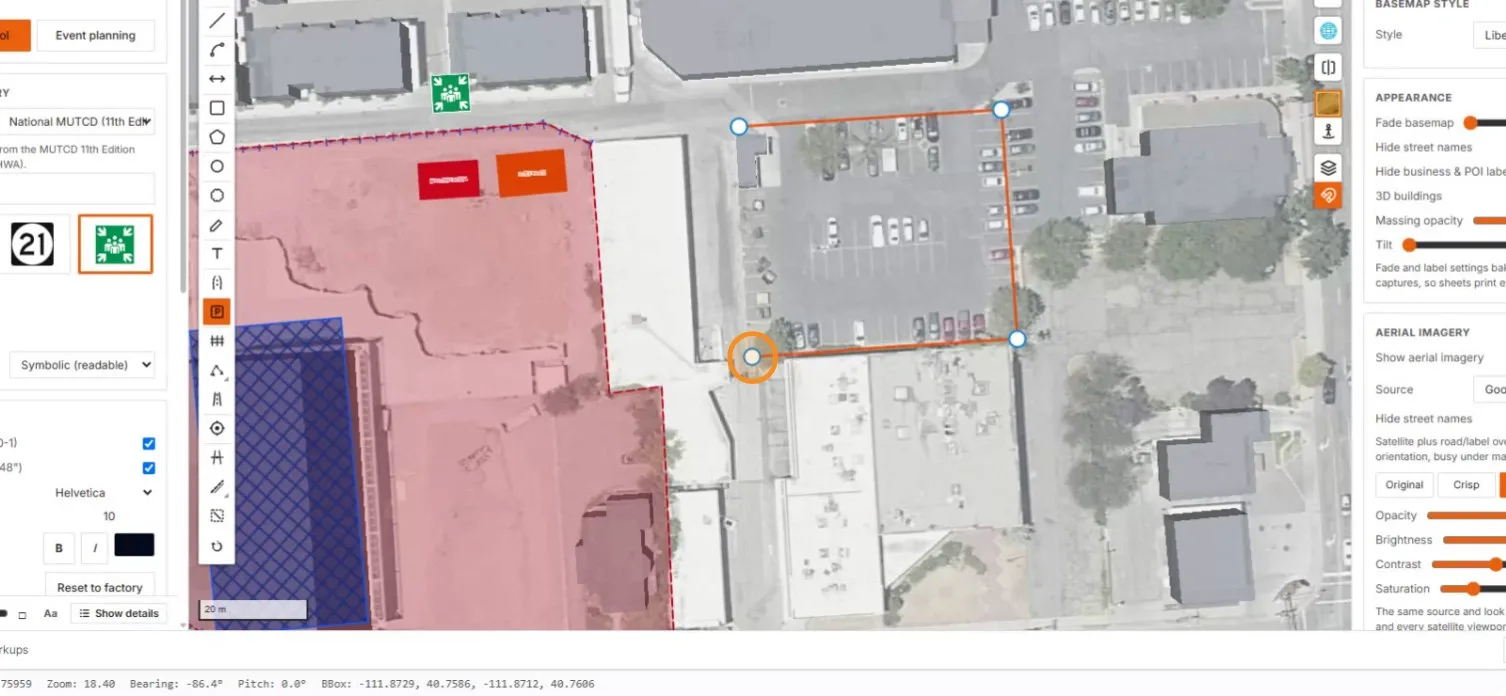
7. Trace the parking area

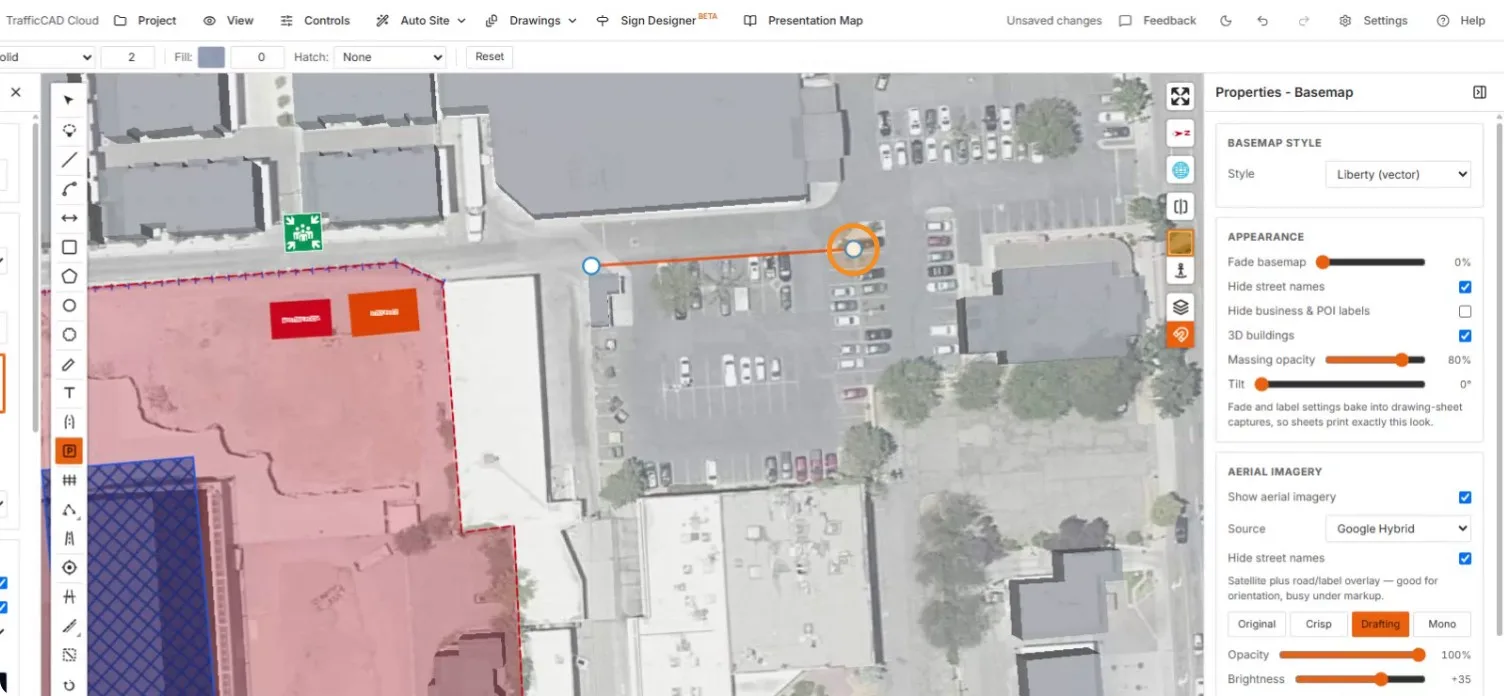
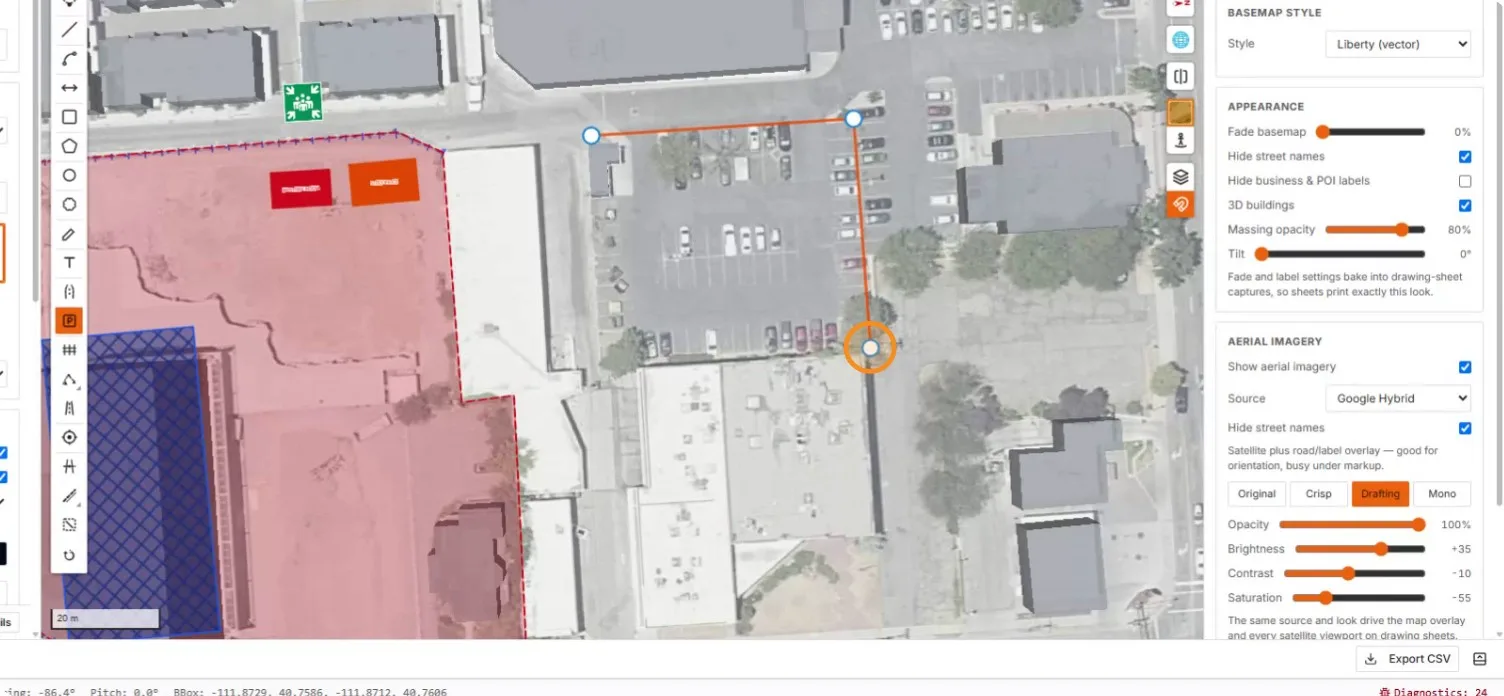
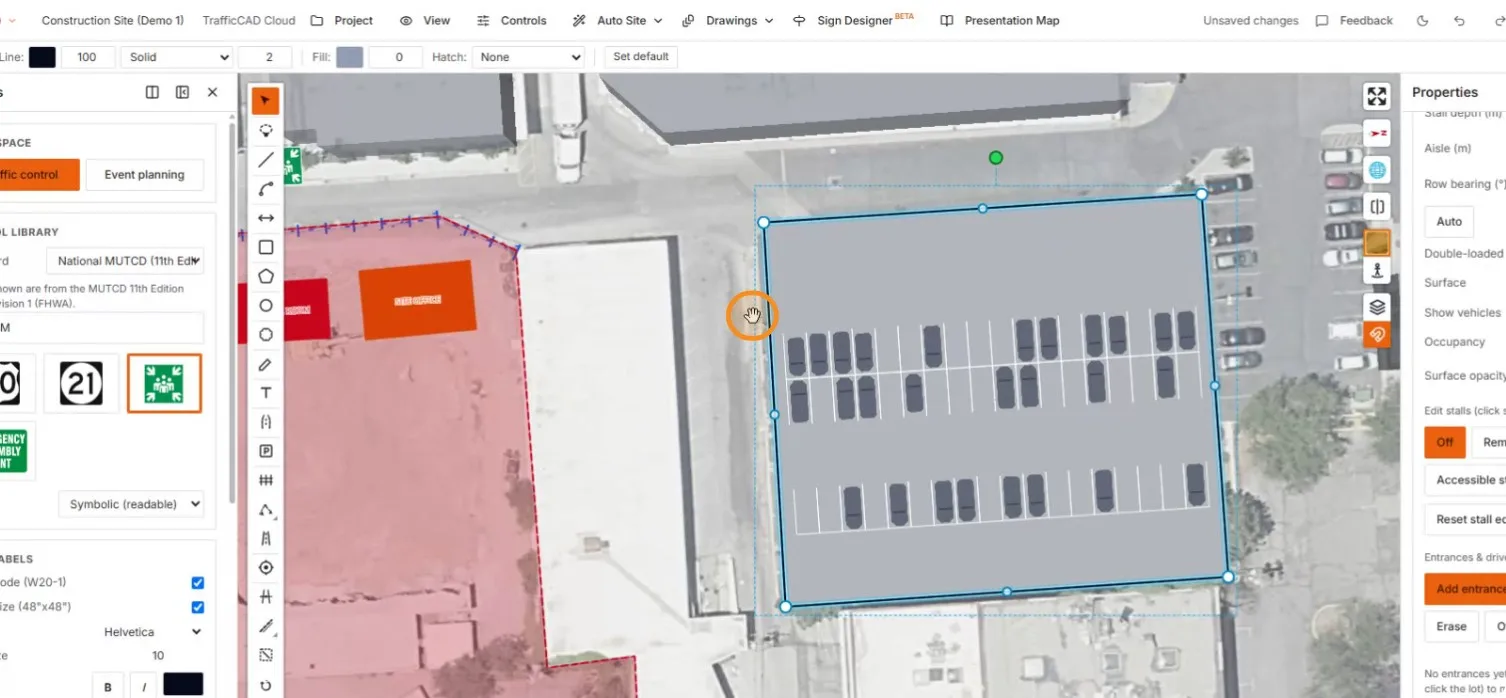
Click the lot's corners; the boundary closes back to the start.
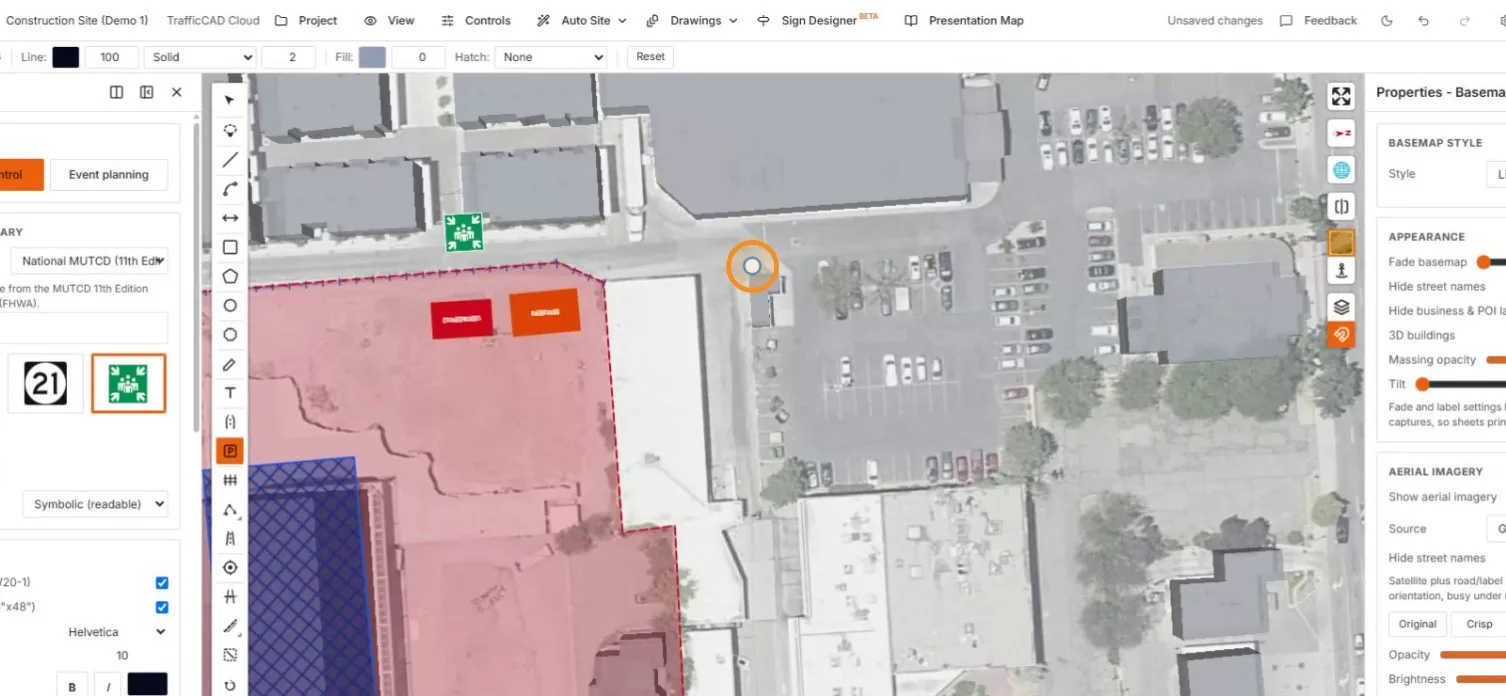
The crosshair on the lot corner for the first boundary point

The first edge stretched across the lot

Two edges drawn, cursor at the third corner

Closing the rectangle back toward the start point

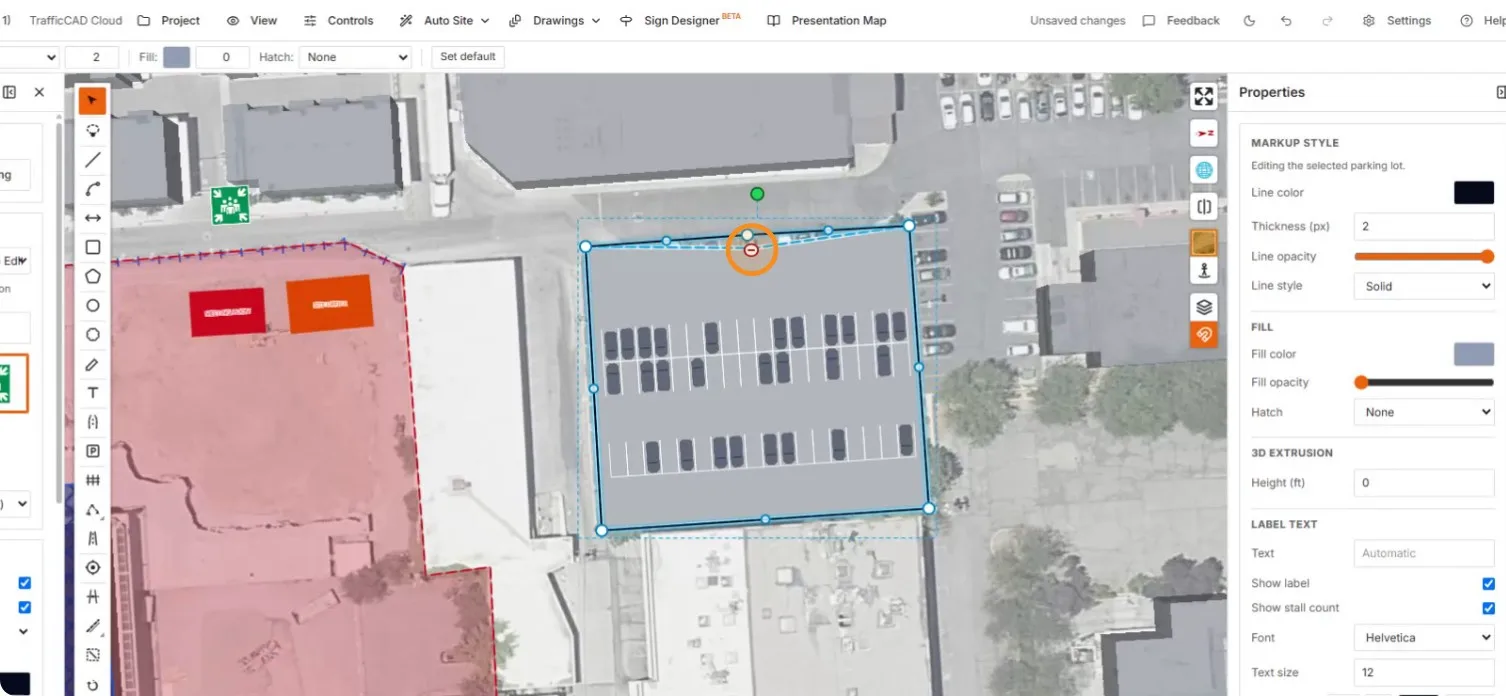
The completed area fills itself with stall striping and parked vehicles.
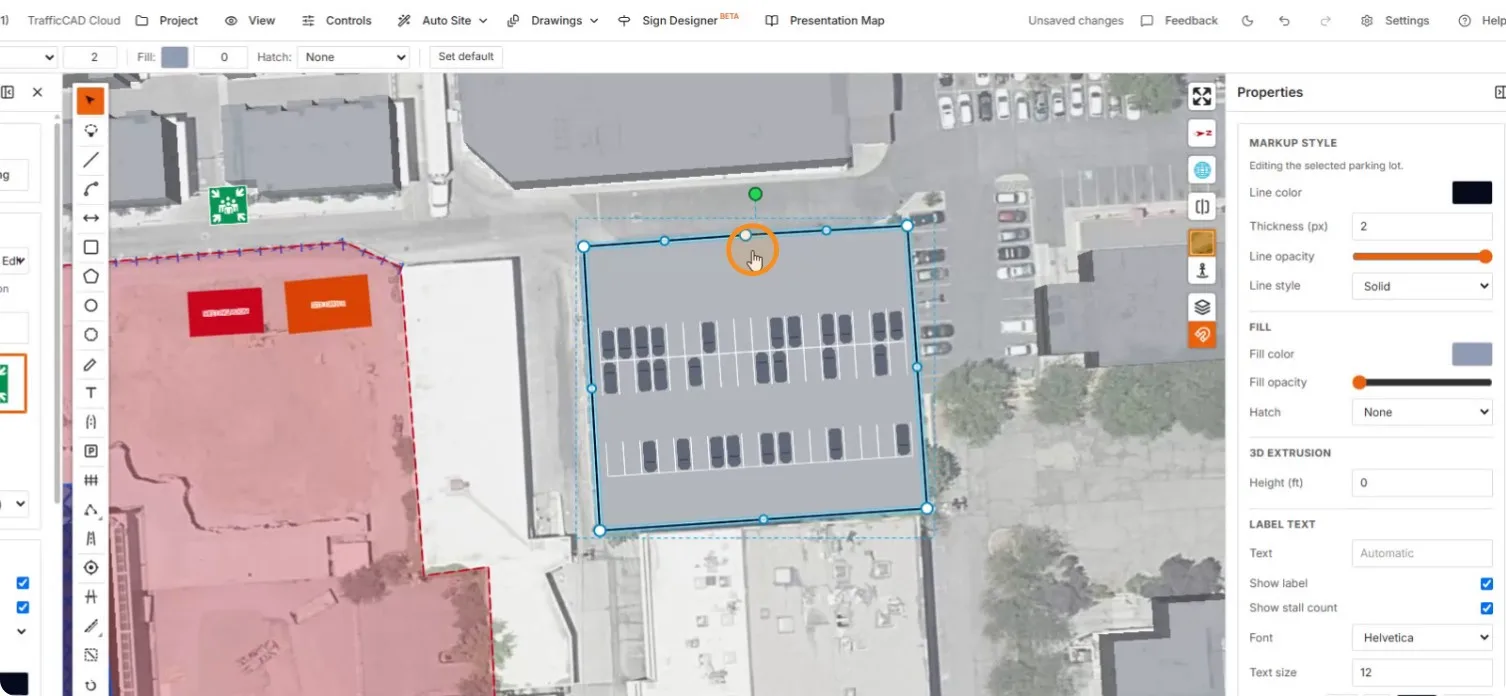
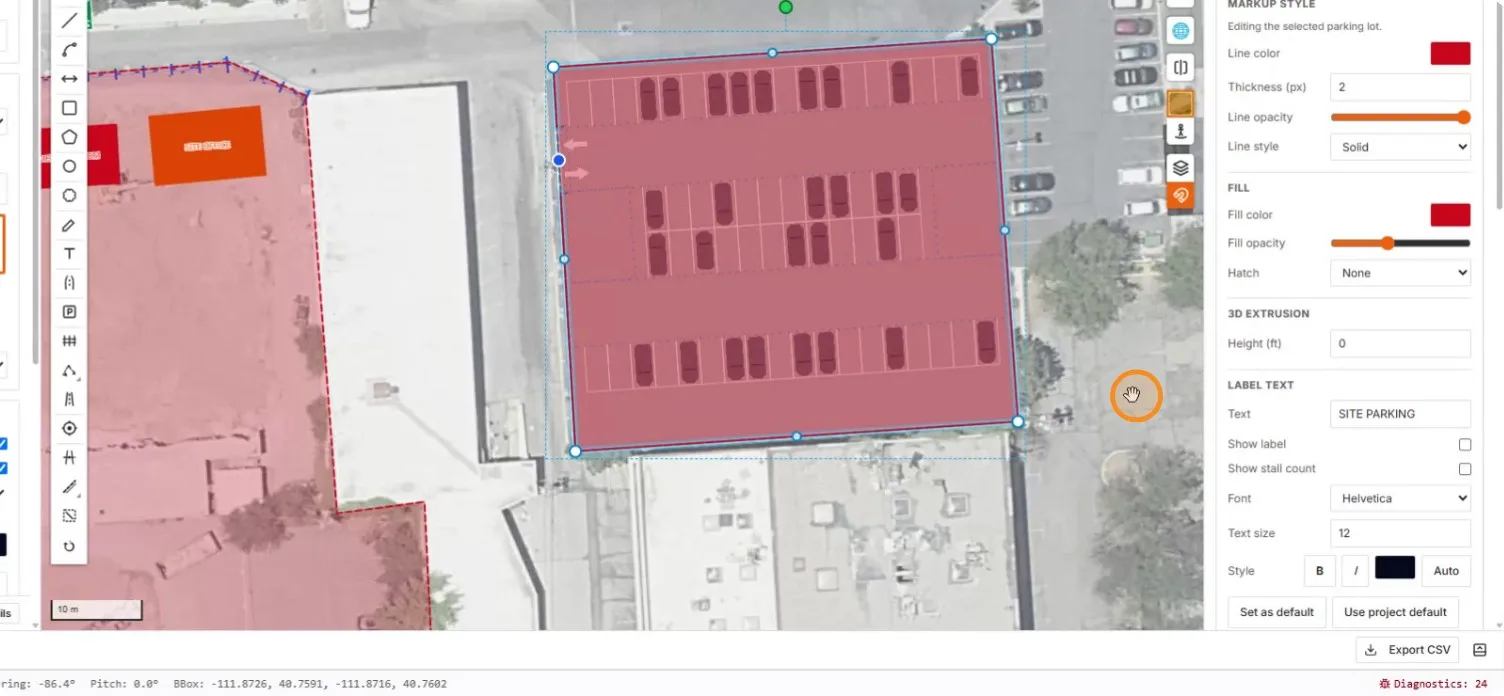
The finished area auto-filled with stalls and vehicle glyphs

Adjusting a boundary vertex on the generated lot

8. Add an entrance

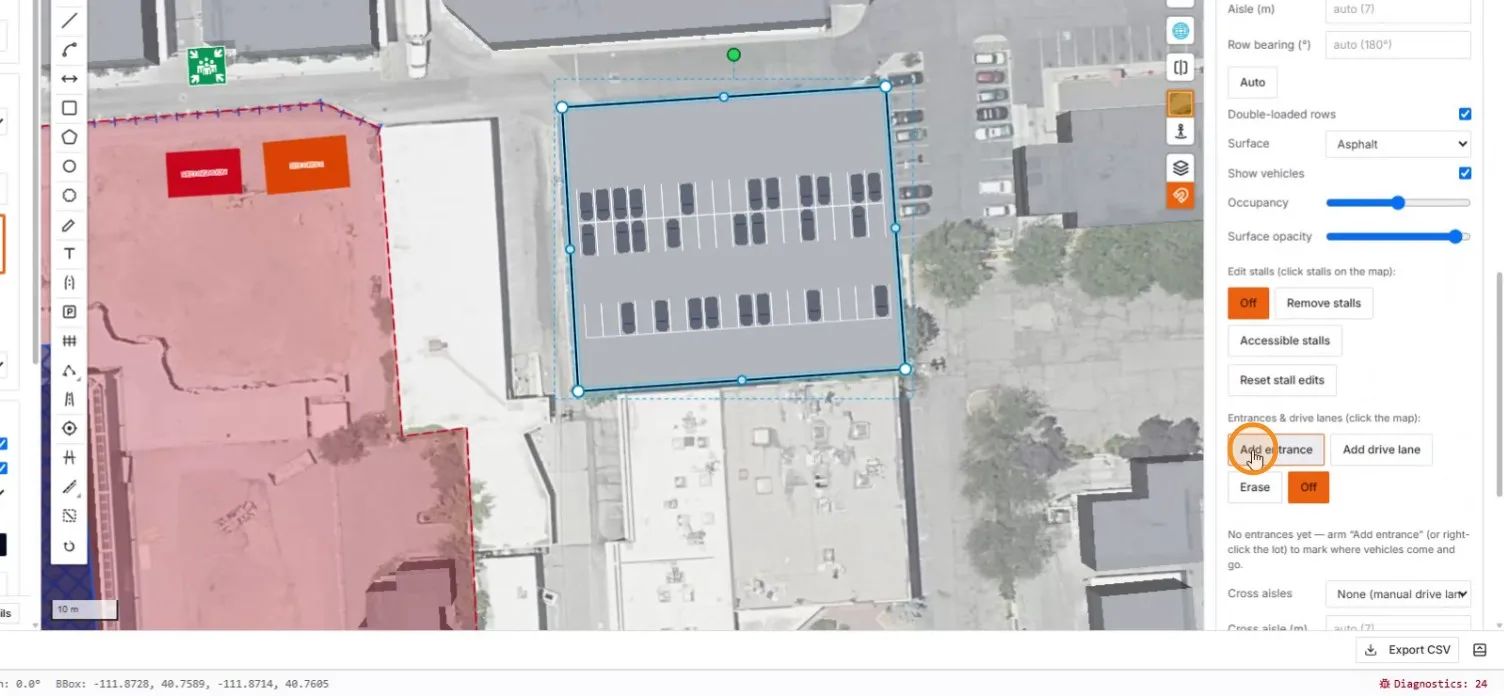
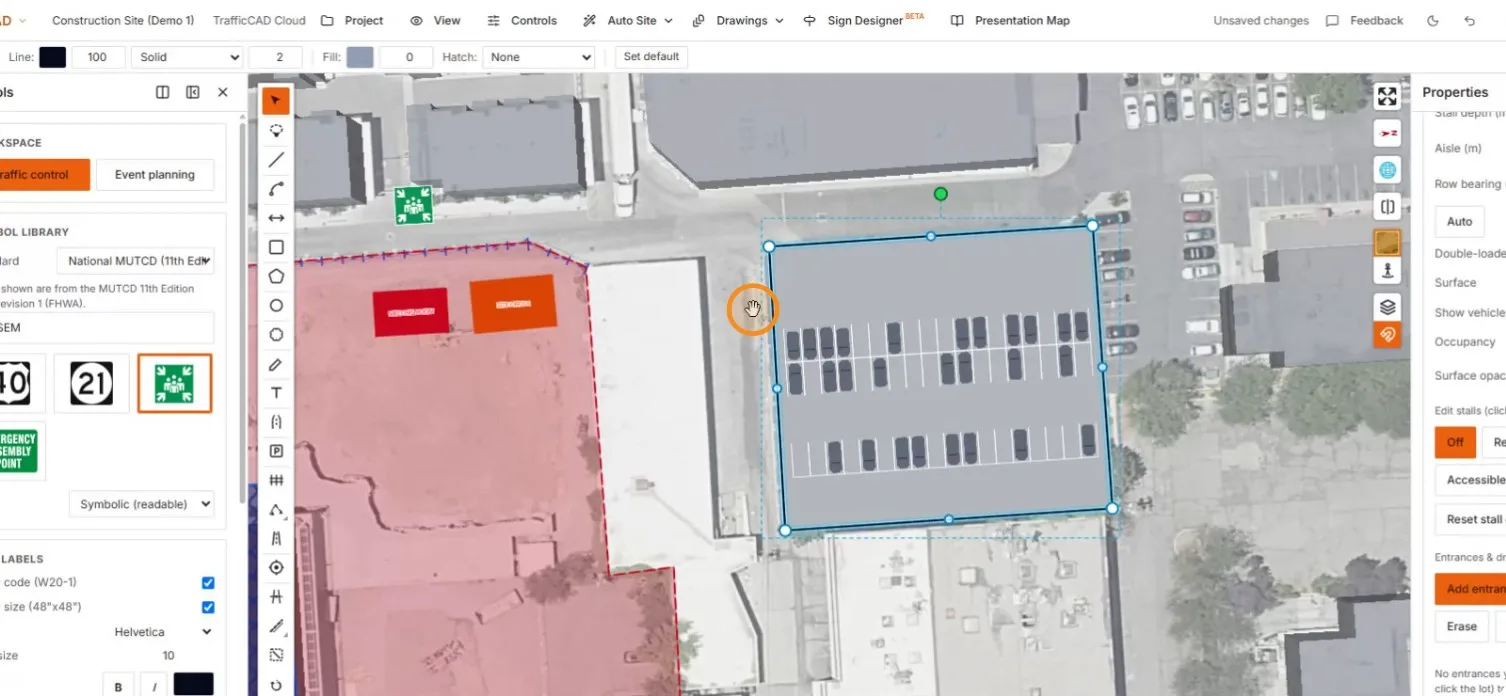
The parking panel controls aisles, row bearing, surface, and occupancy — and places entrances.
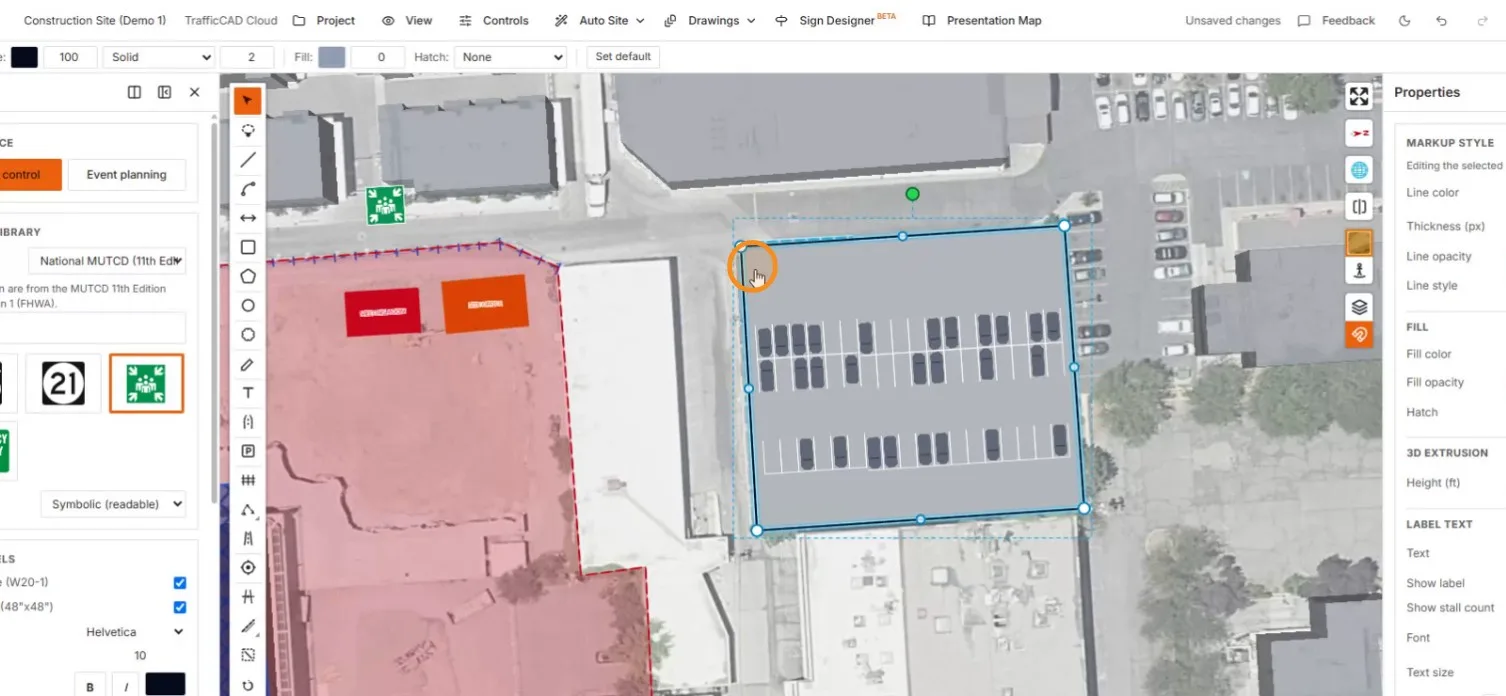
The selected lot with generated stalls

The parking controls with the Add entrance button

Placing the entrance on the west boundary edge

The entrance with paired in/out arrows, stalls re-flowed around the drive lane

9. Label the area

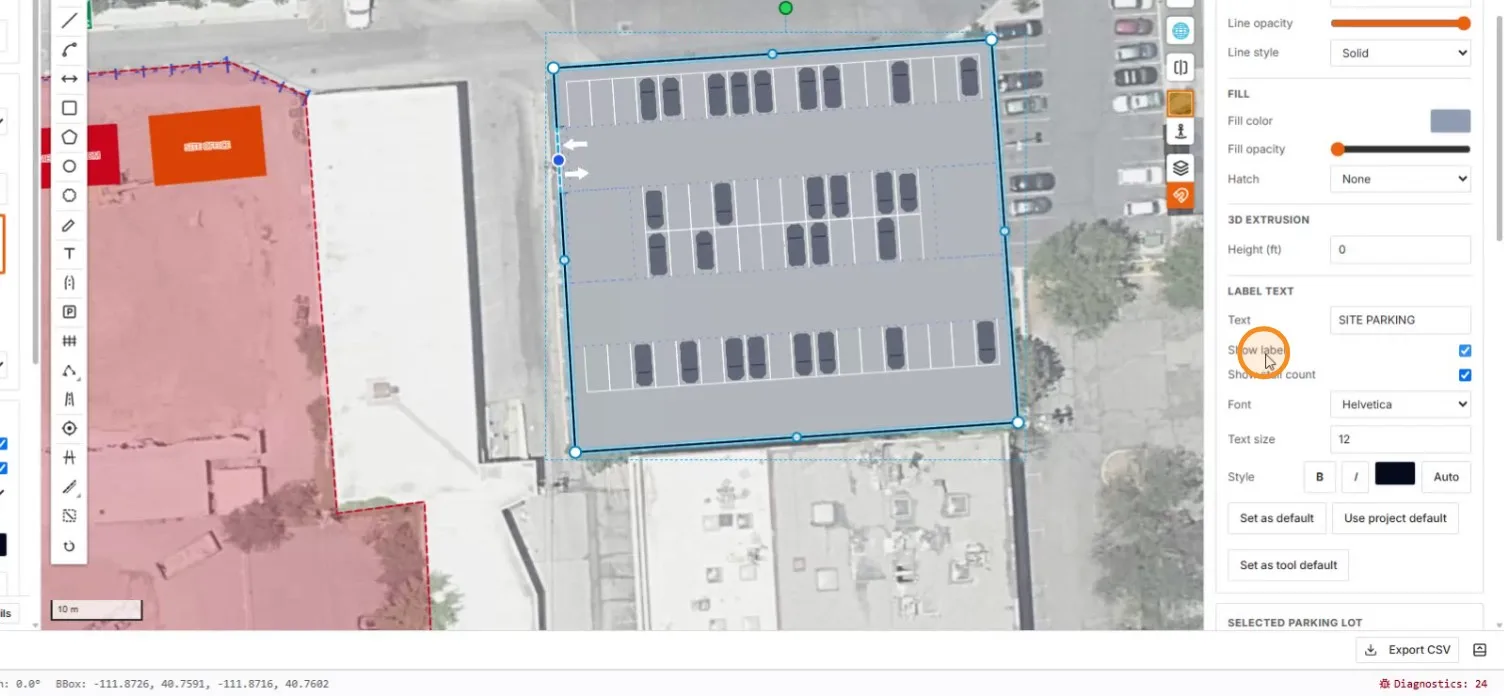
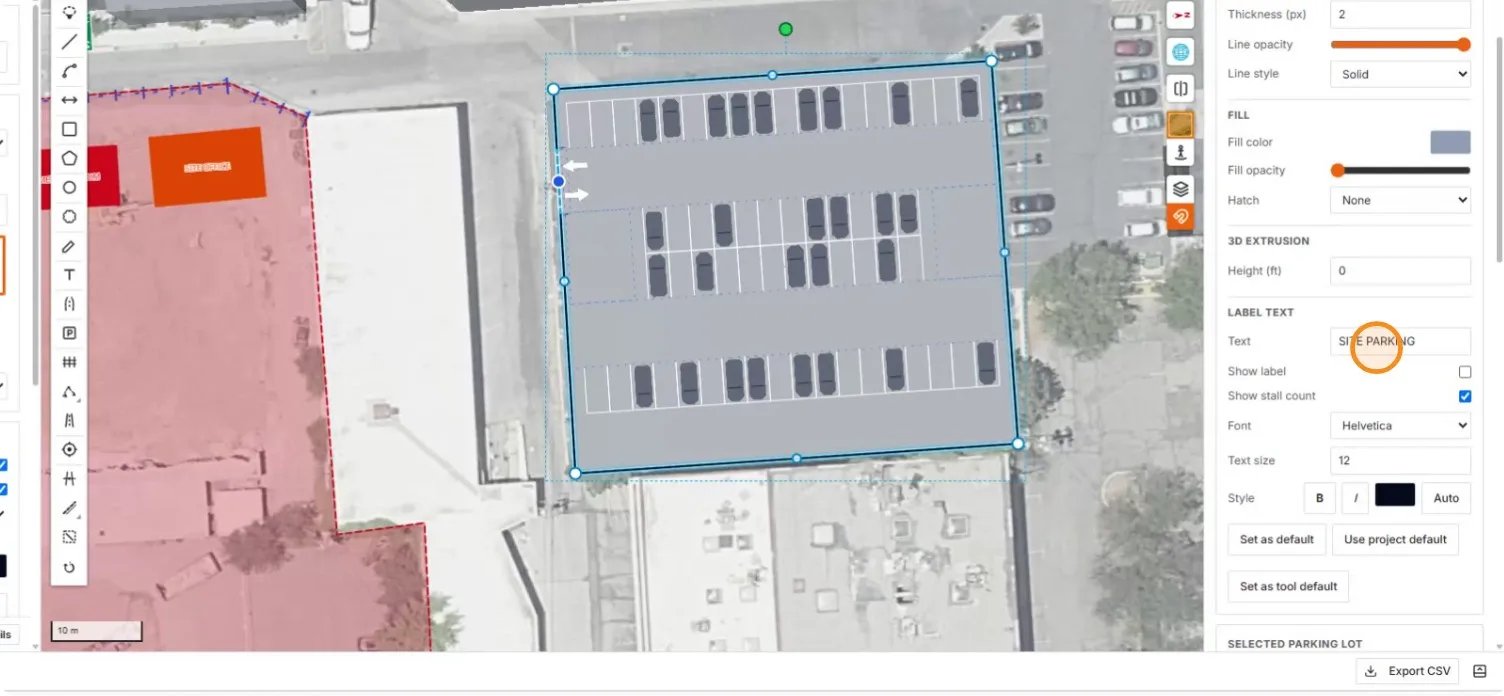
Type the label text — SITE PARKING — and choose whether it renders on the map.
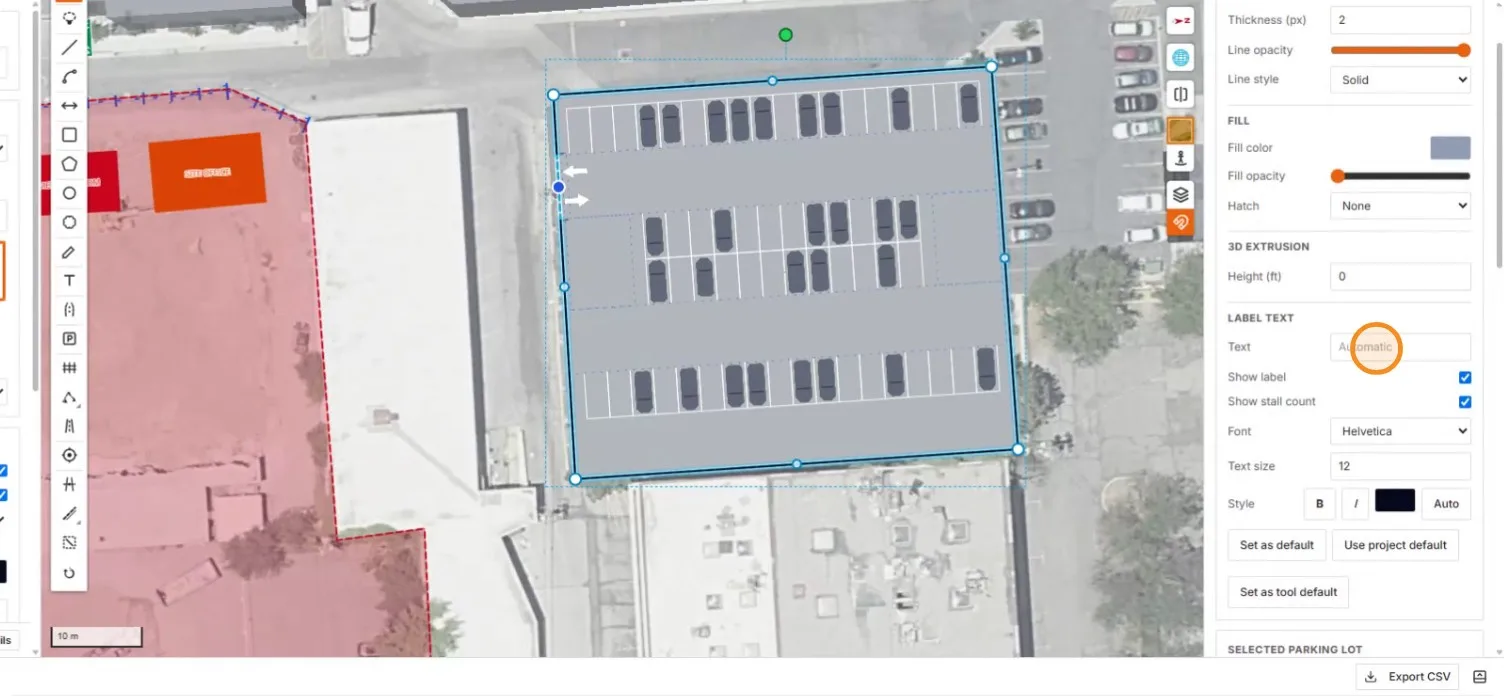
The Label text field with its Automatic placeholder

SITE PARKING entered as the label text

The Show label toggle beside the stall count option

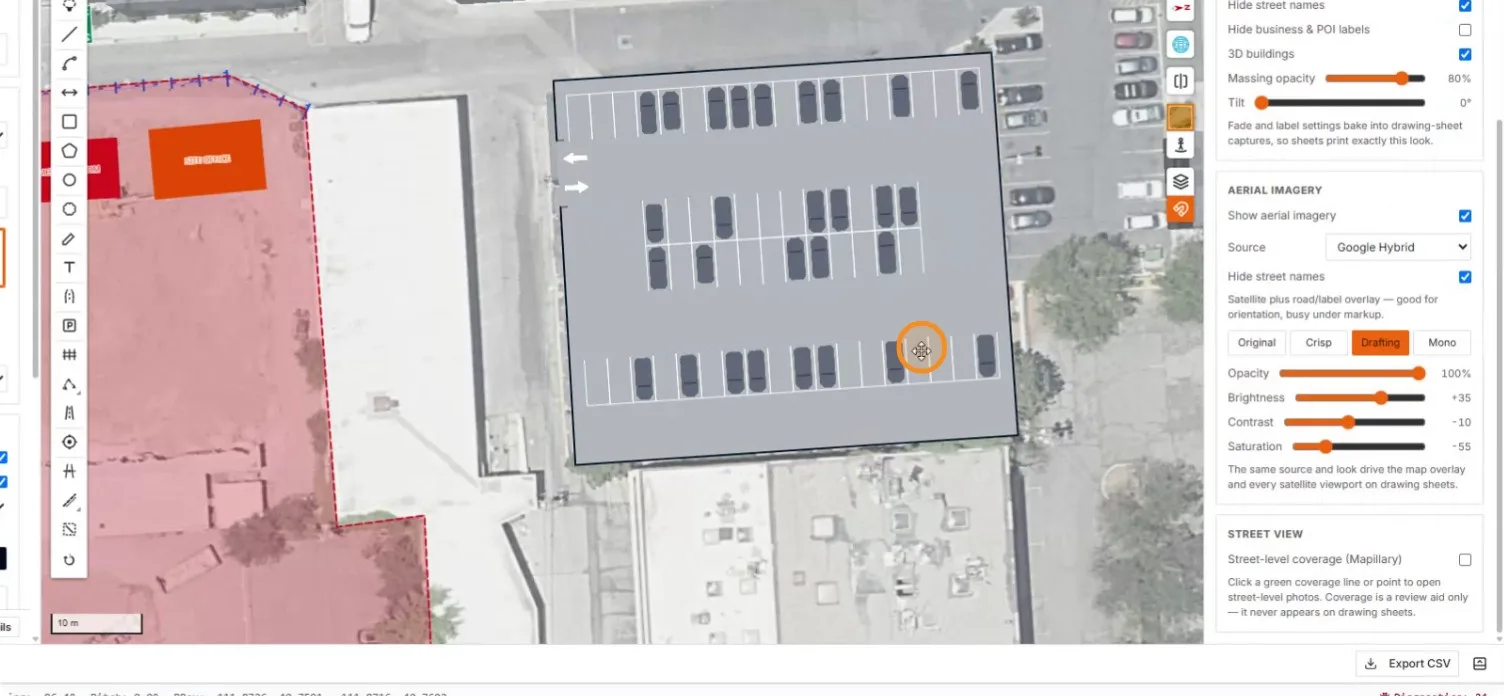
The lot deselected with entrance arrows on the aerial

10. Style the area

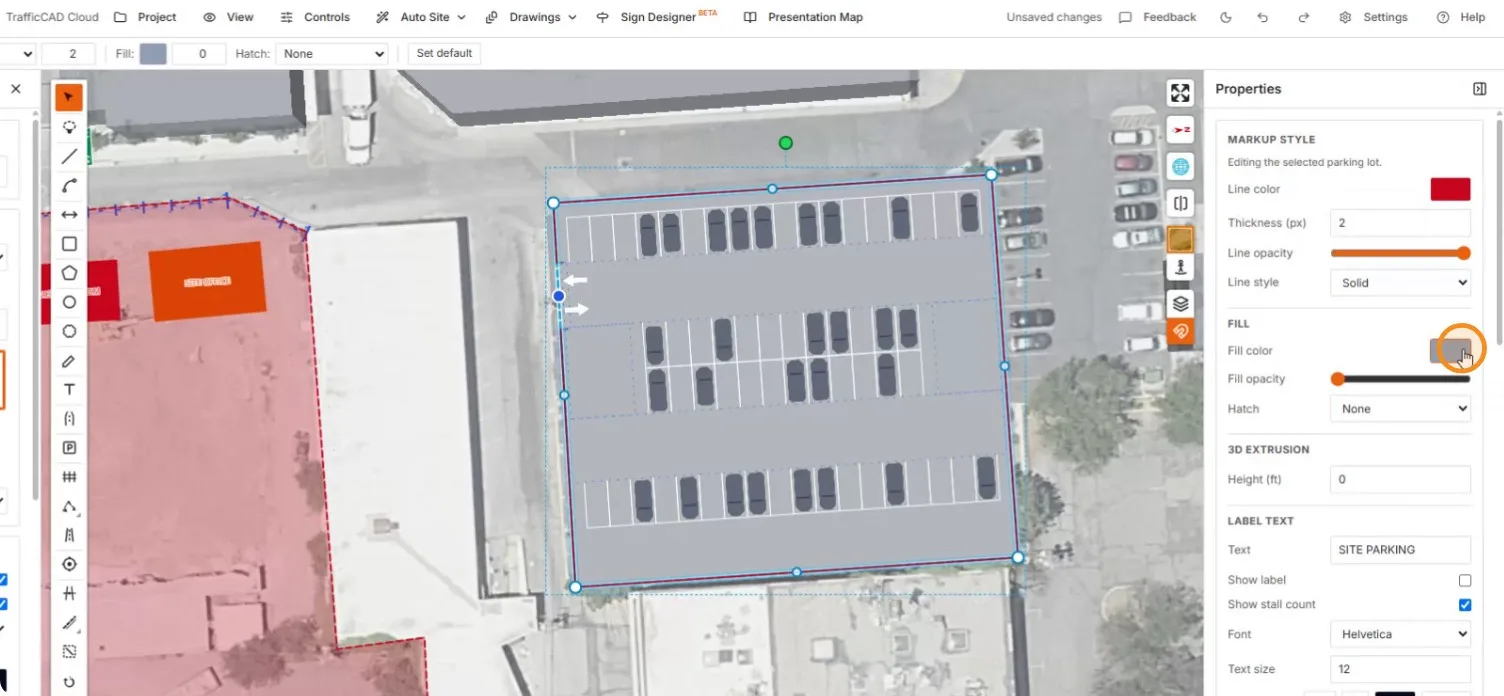
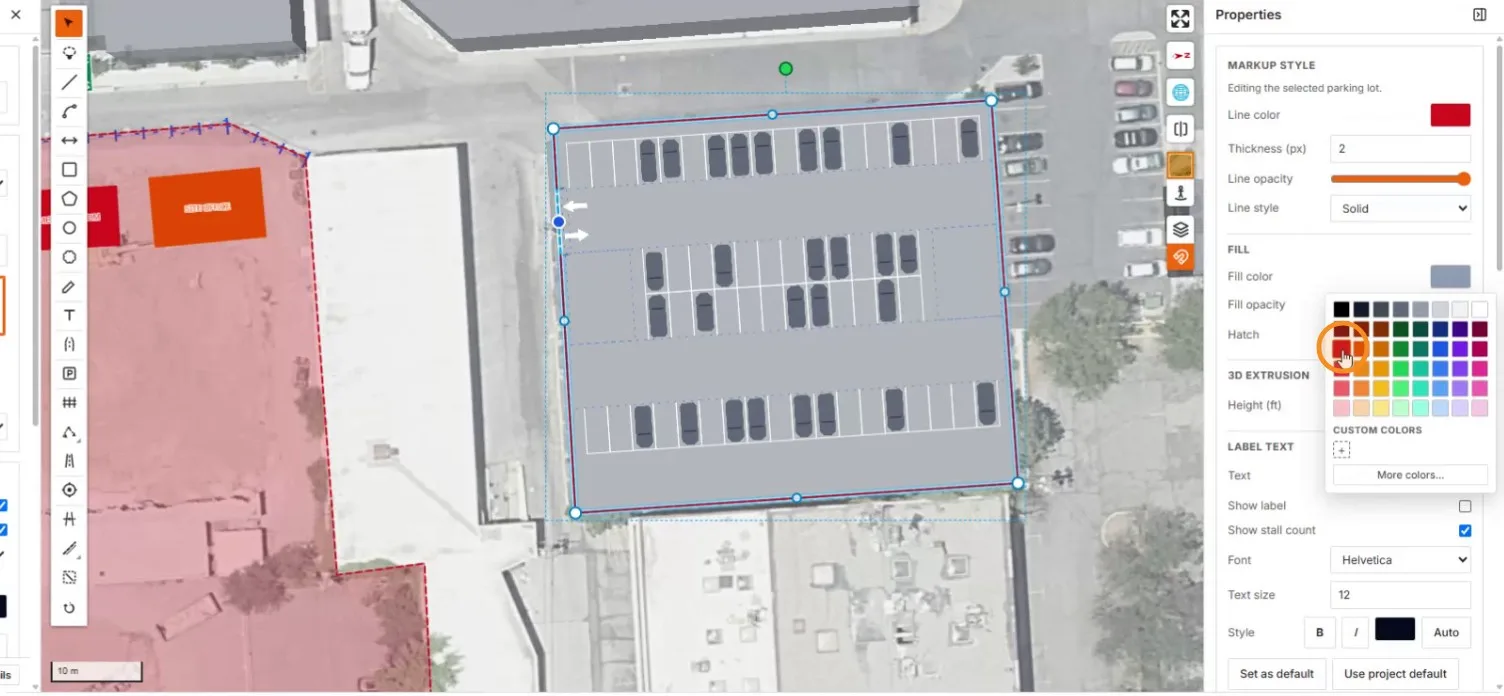
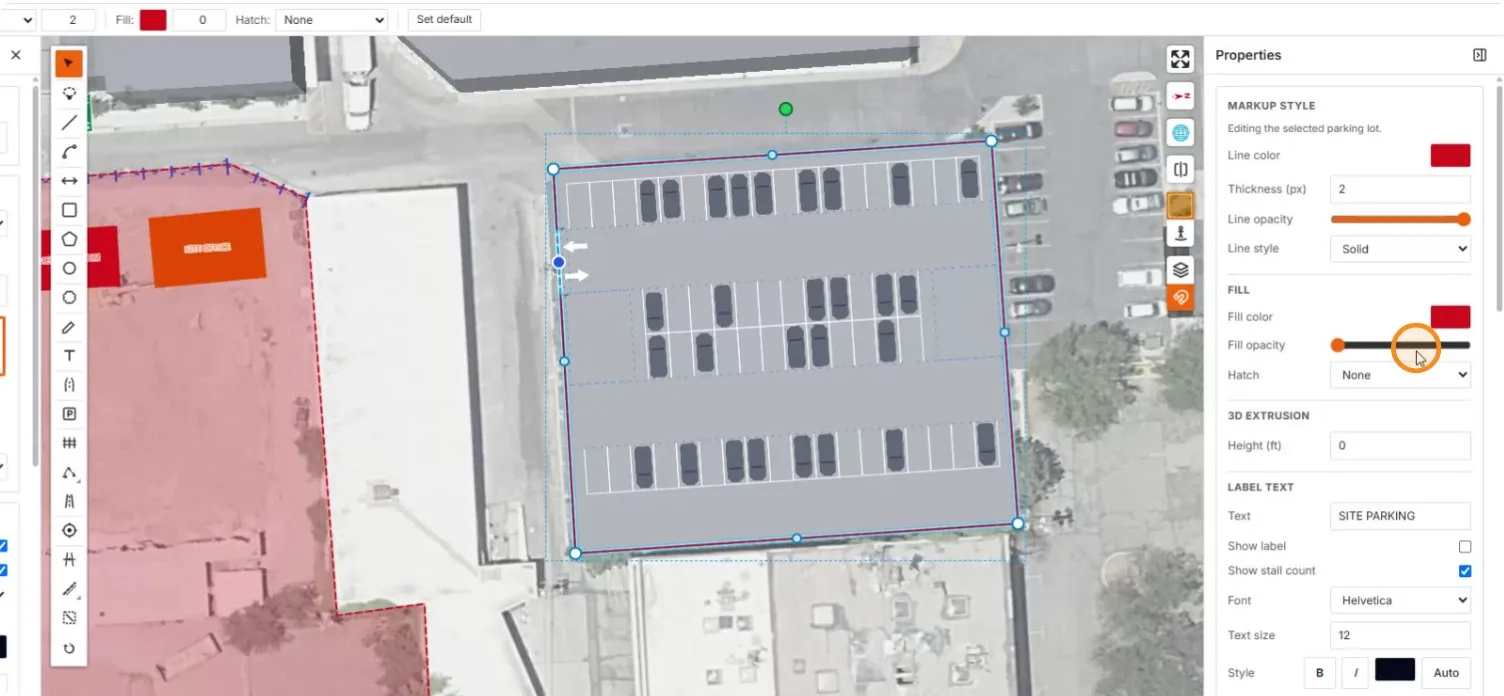
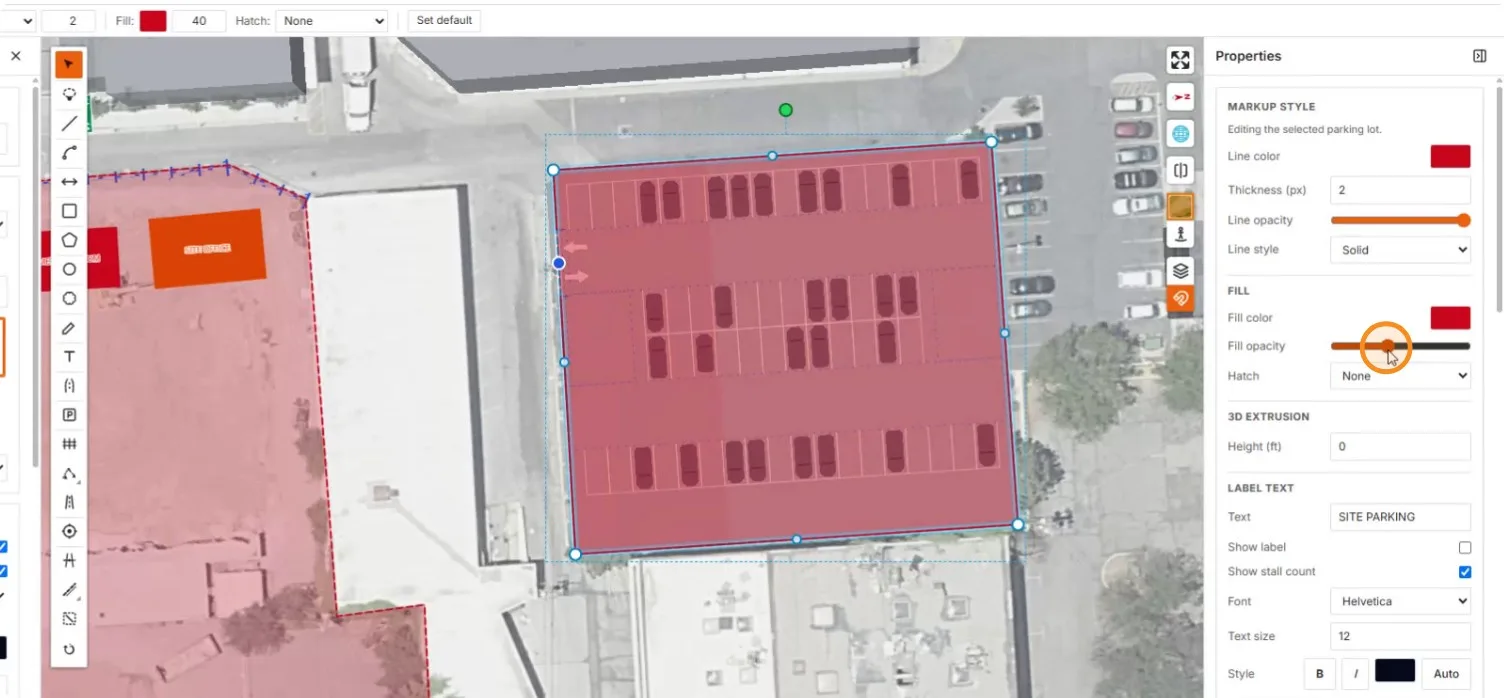
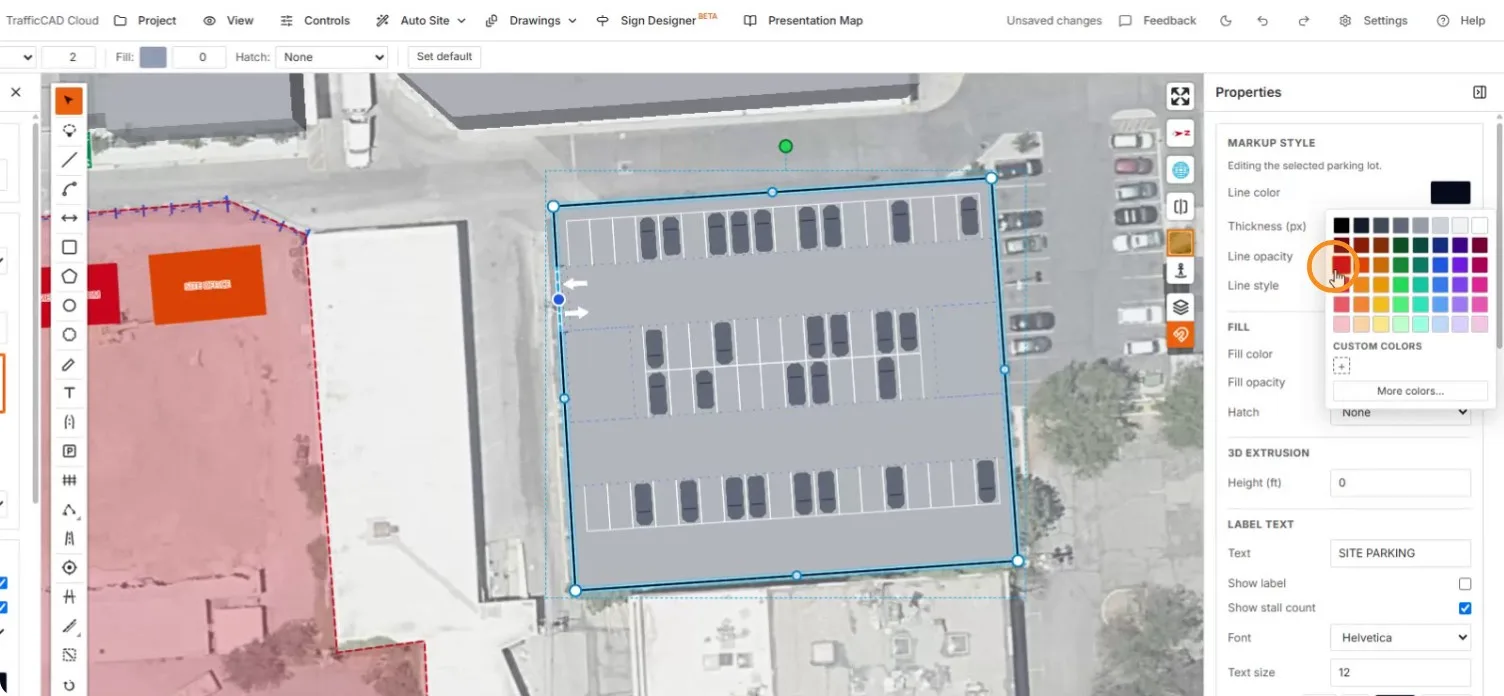
Give the parking area a red outline and a translucent red fill so it reads while the stalls show through.
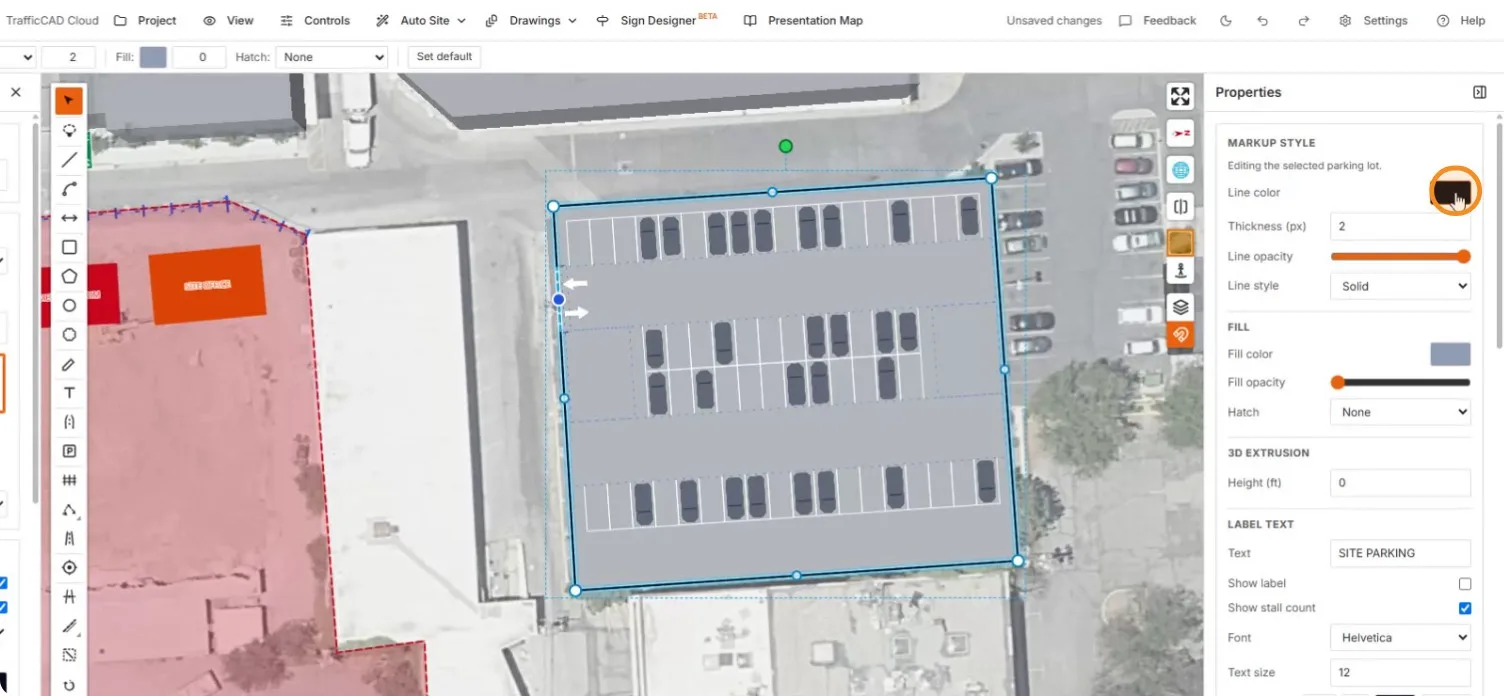
The Line color swatch on the parking markup style

Picking red from the line color palette

The red outline applied

Picking red for the fill as well

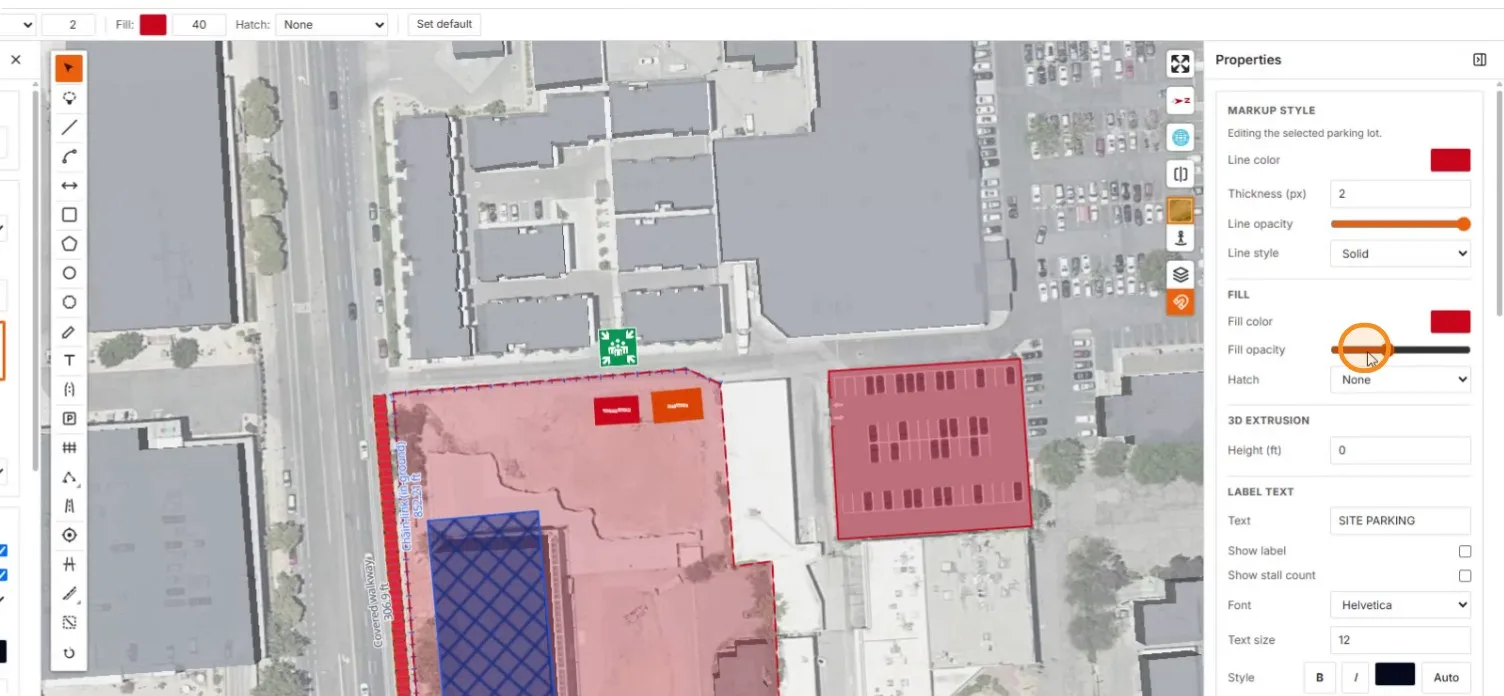
Fill opacity still at zero before the raise

Opacity at 40 — a translucent red overlay with stalls showing through

Fine-tuning the opacity on the selected lot

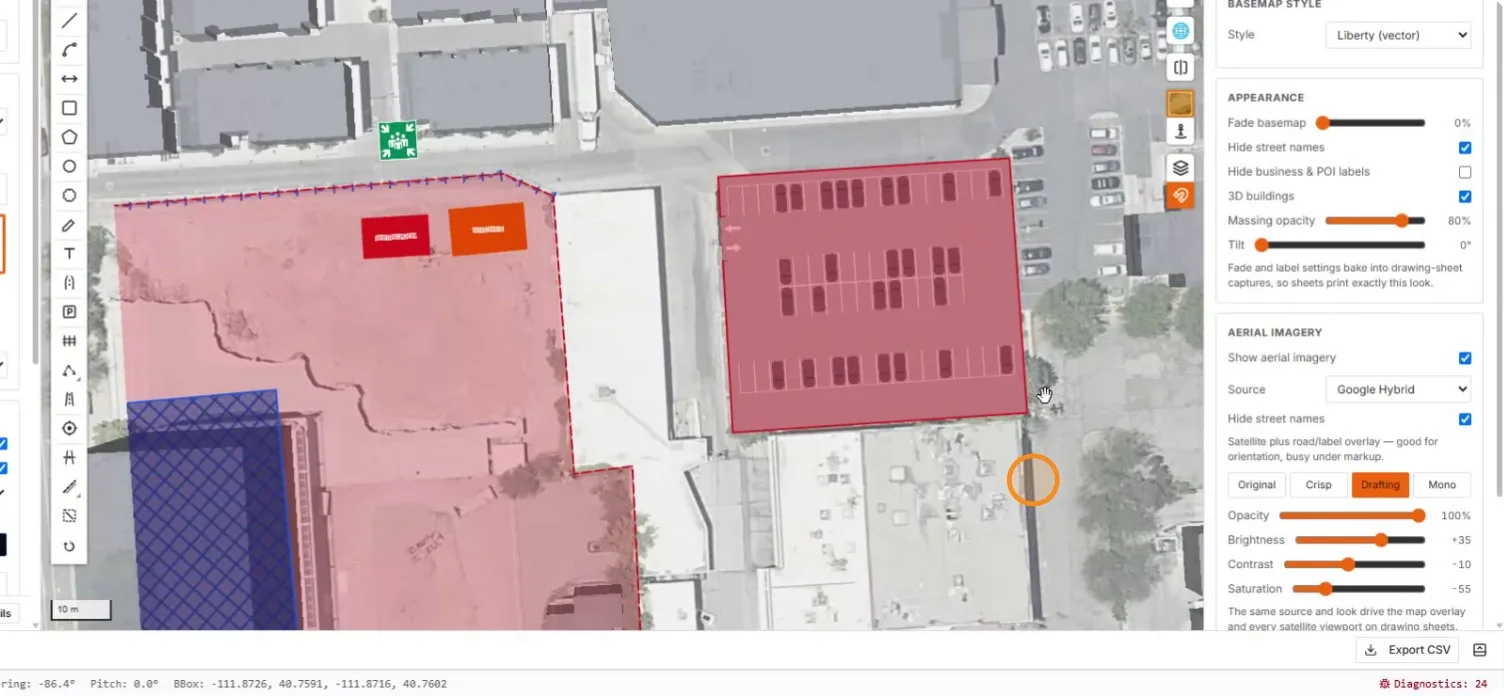
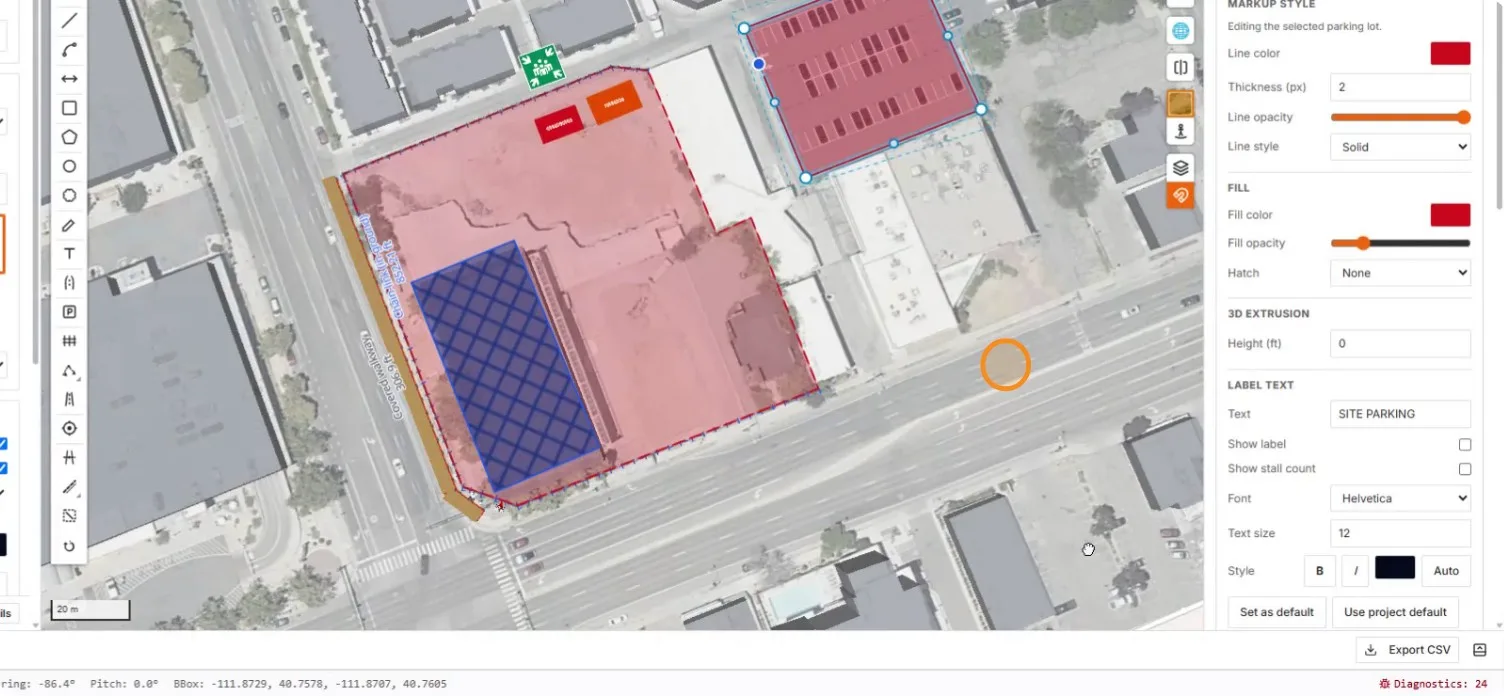
The finished red parking area beside the site and muster sign

The full plan now reads in one glance — site, building, fence, parking, and assembly point.
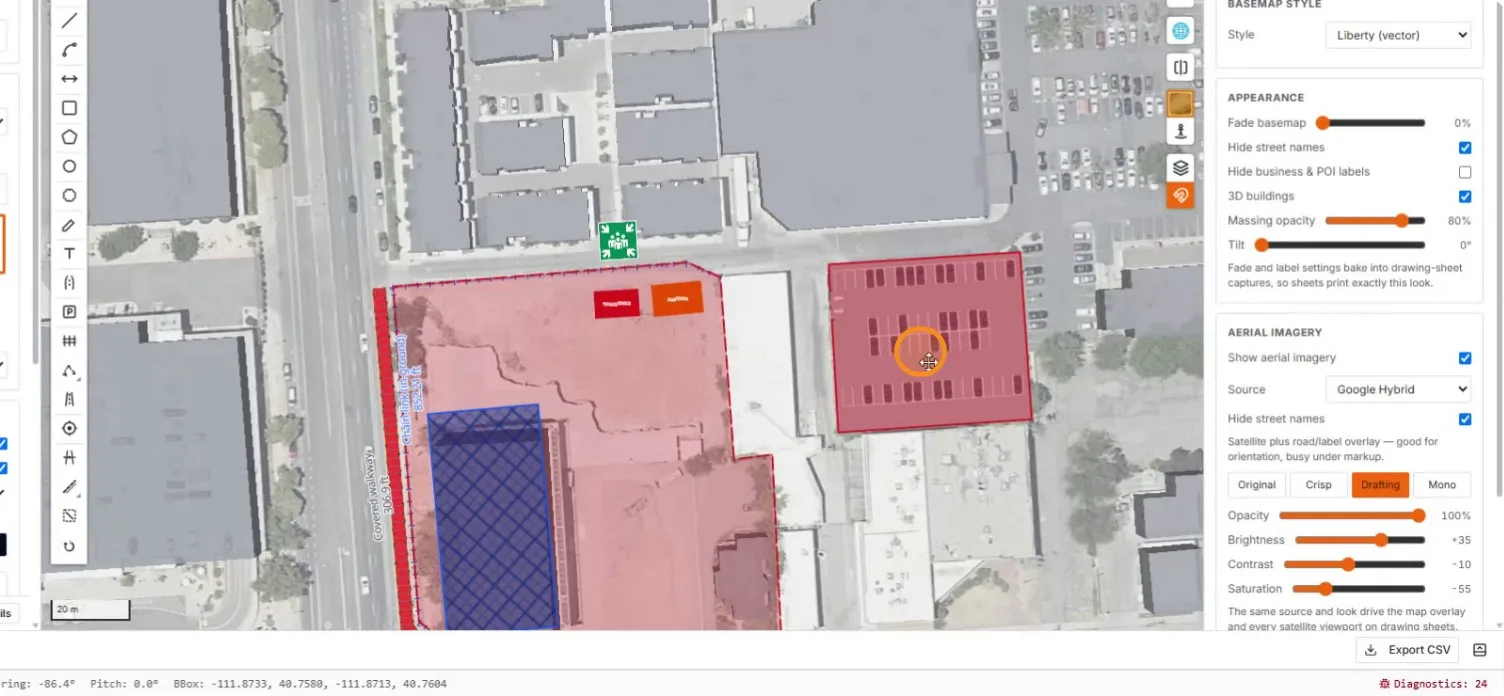
The complete site plan overview

The overview with the style panel open

The lot selected in the final overview


Reference: Sign Display, Labels & Leaders · Site & Facility Signage · Event Planning Mode

Next steps: Create Drawings — capture this site onto a titled sheet.