Design a Sign
Build a custom guide sign in the Sign Designer, check its compliance, and place it on the plan. About ten minutes.
1. Open the designer
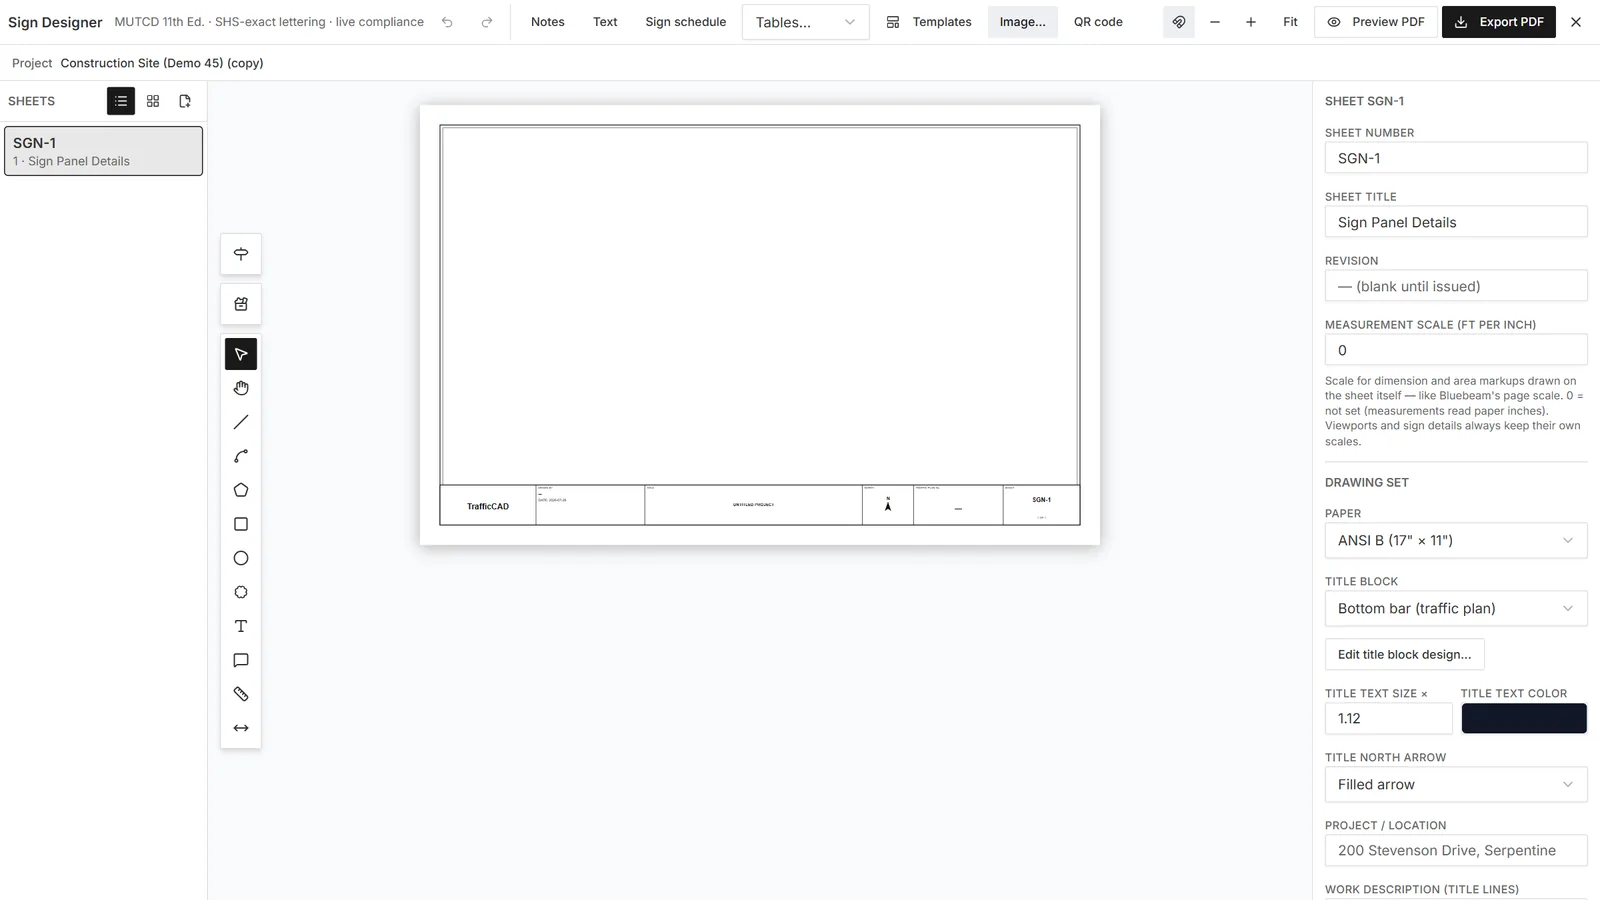
Click Sign Designer in the top toolbar. The browser view opens.
Three doors: the official catalog, a blank panel style, or your saved templates.
2. Start from a panel style
Under New sign from panel style, pick Guide — Conventional Road. You get a green dynamic panel that will size itself around whatever you put on it.
3. Add the content
From the left palette:
- + Text line → type
RIVERSIDE PARK. In the right rail, set Series (try E(M)) and Letter height 8 in. - + Arrow → pick Advance turn; set the height.
- + Route shield → US Route (M1-4), number 80, and check On guide sign.
Watch the panel: as each object lands, the blank re-dimensions itself to the SHS spacing charts — margins, interline gaps, shield clearances. The status bar reads the growing size, the area in sq ft, and the legibility distance (an inch of letter height per 30 ft).
4. Arrange like CAD
Drag objects — they snap point-to-point. Use Align & distribute for the panel-center alignment, or pin an object for exact X/Y. Turn on Dims: full to see the dimension chains a fabricator would want; hover a dimension for its citation.
5. Read the compliance panel
The right rail's Compliance section lists anything the checker found — undersized letters for the facility speed, margin violations, color pairings — each with its MUTCD/SHS citation. "✓ No findings" is the goal.
6. Ship it
- → Tool Chest publishes the sign into the Symbol library under My signs — place it on the map like any catalog sign (it schedules and mounts like one too).
- Spec → Drawings drops the dimensioned fabrication spec sheet — face at scale, dimension chains, numbered notes with sheeting and substrate — straight into your drawing set.
Batch street names
Need thirty street-name signs? Batch streets takes a pasted
list — Main St, 100 per line — and generates the D3-1 panels.
Reference: Sign Designer · Sign & Device Library · State Standards & Libraries
Next steps: Review the Plan in 3D & Street View — check the panel is legible from the approach before it goes to fabrication.