Fence a Site
Draw a compliant construction perimeter with a gate, and walk away with the bill of materials. About five minutes.
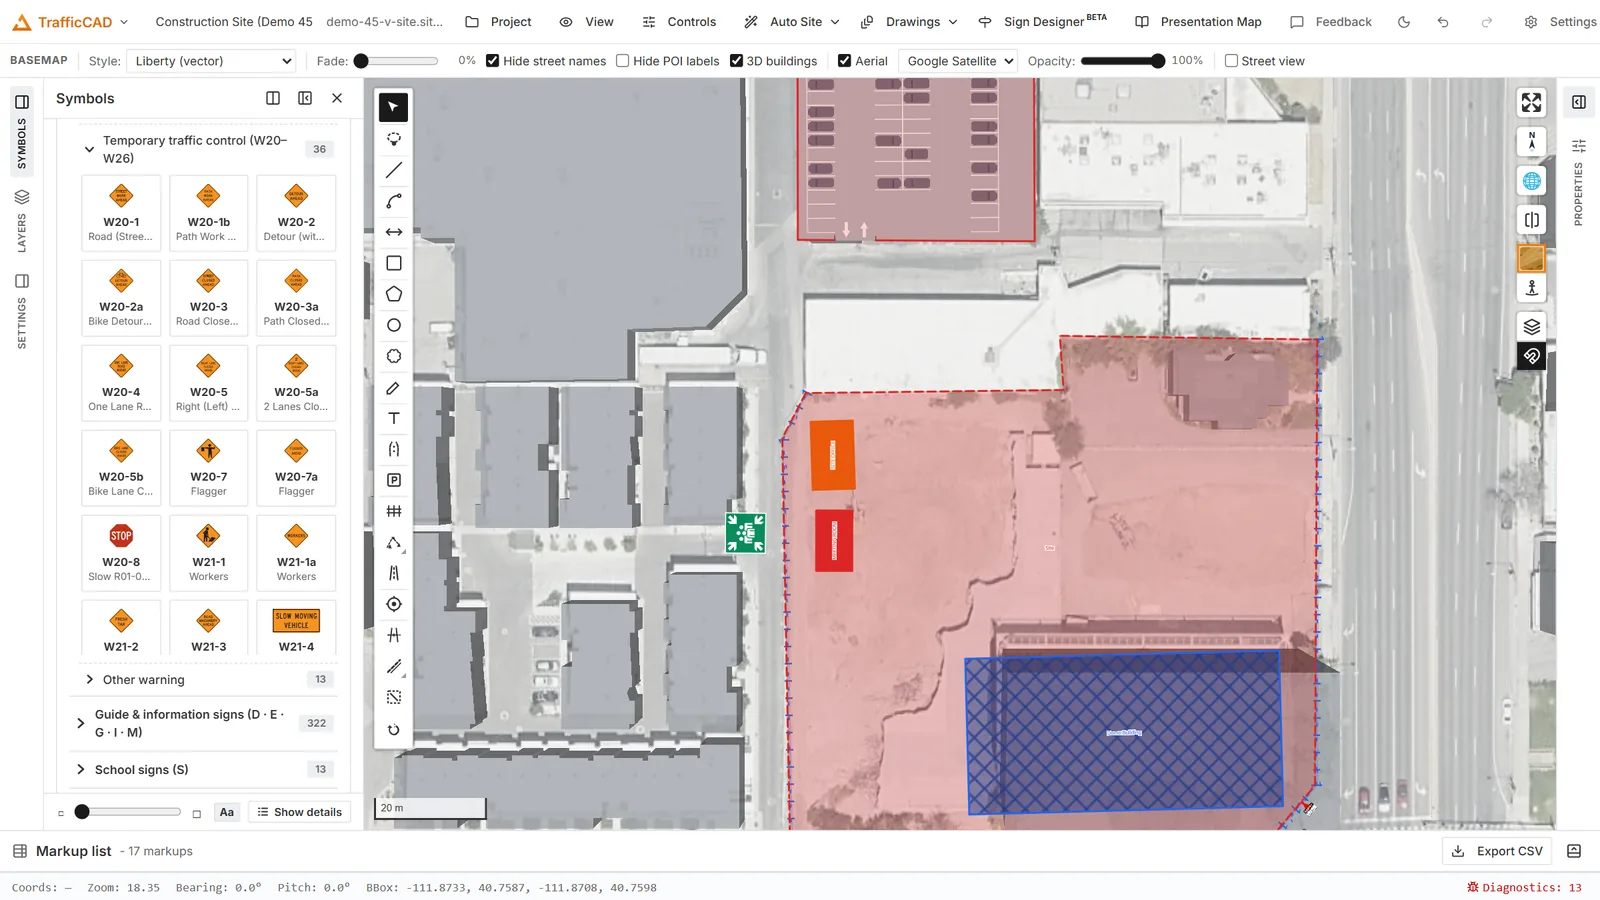
The perimeter you will draw, with its bill of materials one click away.
1. Draw the run
Pick the Fence tool. In the options block choose Chain-link panel (freestanding) at 6 ft, and check Enclosure so the run closes into a loop. Click the perimeter corners around the site, then press Enter.
2. Configure the system
Select the fence. In Selected fence:
- Footing → Sandbag ballast — a sandbags-per-base count appears.
- Bracing → Outrigger for the freestanding panels.
- Privacy screen → Windscreen, coverage ~80%.
- Application → Construction perimeter, and set Design wind to your site's value.
Tilt the camera — the fence stands up in 3D, posts, fabric, and screen.
3. Add a gate
Click + Gate: a Double swing gate, 20 ft clear, and drag its station slider until it lands on the access road. The BOM picks up the gate posts, hinges, and hardware; the fence material subtracts.
4. Mind the compliance list
The Compliance section reacts as you work. With a windscreen at 80% coverage and a real wind speed, expect the ASCE 7 ballast estimate — "needs ≈ N lb ballast per base" — and check your sandbag count against it. Set Application → Pool barrier on a 42-inch fence and watch the ISPSC 48-inch minimum flag it; gates under 32 inches clear trip the ADA egress finding.
5. Export the BOM
In Bill of materials, review the grouped takeoff — posts, panels, ballast, bracing assemblies, screen with grommets — then Export CSV. That file is the rental order.
Whole-project takeoffs
Every fence run in the project BOMs independently; the markup list and schedules aggregate what the sheets show.
Reference: Fencing & Site Protection
Next steps: Sign a Construction Site — site safety, welfare, and fire evacuation signage inside the perimeter you just drew.