Model a Corridor Lane by Lane
Vectorize & Re-stripe a Street changes a block with panel fields. This tutorial goes a level deeper: editing the cross-section directly on the pavement, lane by lane, the way you would mark up a section drawing. Use it when the mapped data is close but not right, or when the design changes the lane configuration rather than just the count.
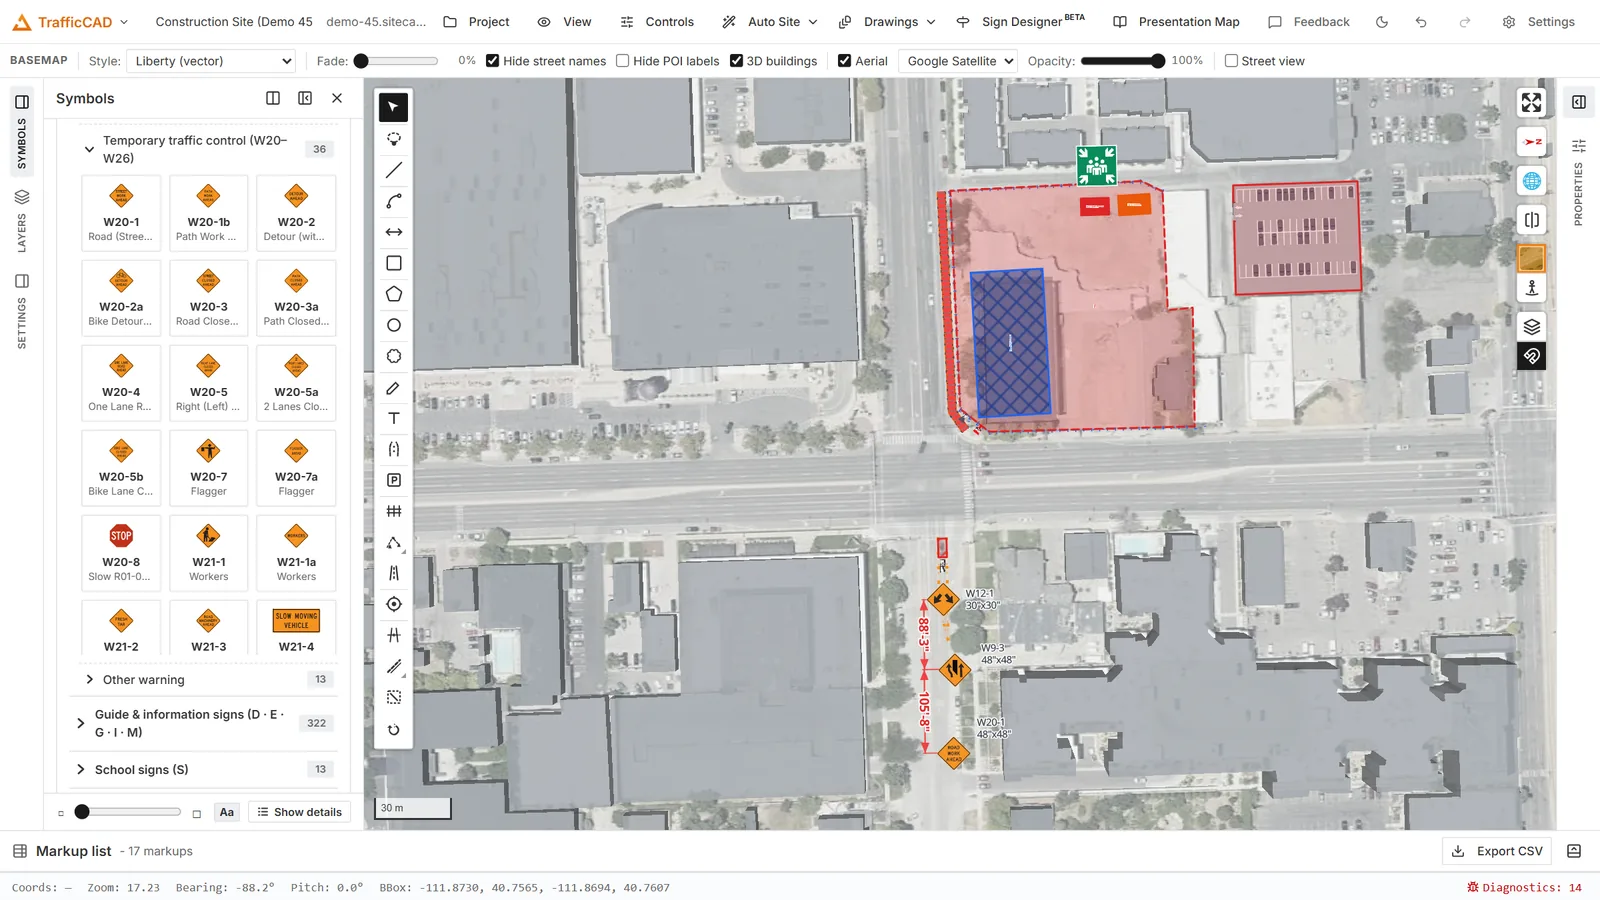
The corridor you will edit lane by lane — two lanes each way plus a two-way left-turn lane, restriped from its parameters.
Allow about fifteen minutes.
1. Get a corridor
Press Auto Site and drag a box over three or four blocks of an arterial — something with a centre turn lane or a wide cross-section, so there is real structure to work with.
2. Open the lane diagram
Click one road segment. Along with the Selected road panel, a lane diagram appears right on the pavement: one band per lane, drawn at true ground scale, with a drag handle on every boundary.
This is the cross-section as TrafficCAD currently understands it. If a band doesn't line up with what the aerial photo shows, the model is wrong and everything derived from it — marking positions, taper starts, dimension readings — inherits that error. Fix it here first.
3. Correct the widths
Drag a lane boundary until the band sits on the painted line in the imagery. The neighbouring lane gives up (or gains) the width, and the road's total width follows the lanes.
For an exact number rather than a drag, click a lane to open its lane card and type into Width (ft).
There is a floor, not a ceiling
Lanes cannot be driven below a 2 ft hard floor. If a width you type is implausibly narrow for the lane's kind, TrafficCAD flags it rather than silently widening it — the flag is information, not an error to chase away. Field conditions are sometimes genuinely substandard, and the plan should say so.
4. Change what a lane is
The lane card's kind dropdown converts a lane in place:
| Kind | Use it for |
|---|---|
| Travel lane | An ordinary through lane. |
| Left-turn lane / Right-turn lane | A dedicated turn lane at an approach. |
| Center turn lane (TWLTL) | A two-way left-turn lane. |
| Bike lane | A marked bicycle lane. |
| Parking lane | On-street parking. |
| Shoulder | Paved shoulder, no through movement. |
| Median / Flush median / Median barrier / Raised island | Separation between directions. |
Convert the middle lane of a five-lane section to Center turn lane (TWLTL) and watch the striping change: the marking engine restripes the block to the two-way left-turn cadence without you touching a single line.
5. Add a lane that isn't there
Hover between two lane bands and a + button appears — "Add a lane here (bike lane, turn lane, median…)". Click it to insert a lane at that position, then set its kind and width on the card.
This is how you draw a proposed condition: add the bike lane the project is putting in, narrow the travel lanes to pay for it, and the corridor restripes itself to match.
Delete lane removes one. A road always keeps at least one travel lane, so the button disables rather than letting you empty the cross-section.
6. Add a turn bay with real dimensions
A turn lane that runs the whole block is rarely what gets built. For a bay with a storage length and a taper:
- In the Selected road panel, open Auxiliary lanes.
- Set Kind to Turn bay (3B.06/3B.23) and click Add.
- The bay appears at the approach end with grips at its storage and taper limits — drag them, or type into the lane card's Storage (ft).
The bay's STORAGE and TAPER lengths draw as dimensions on the plan, so the reviewer sees the numbers rather than having to scale them off the drawing.
The same Kind dropdown covers Deceleration lane (3B.07), Acceleration lane (3B.07), Auxiliary lane — wide dotted (3B.07), and Lane reduction (3B.12).
7. Deal with a divided road
Dual carriageways are mapped as two separate one-way roads. TrafficCAD detects the pair and offers Combine divided roads — one road with a median, which is what you actually want to design against and dimension across.
If you need them apart again — say the two directions are on genuinely different alignments and phases — Separate combined road puts them back.
8. Check the findings
Anything that deviates from MUTCD Part 3 shows as a cited finding in the panel: bay taper lengths, marking widths, the double-yellow rule on multi-lane roads. Each one names the section it comes from.
Fix them, or decide the deviation is right for the site and leave it — but do it deliberately. A finding you have read and accepted is a design decision; one you never looked at is a defect.
Reference: Roads, Vectorize & Site Modeling · Pavement Markings
Next steps: Generate a TTC Plan — the closure geometry is computed from this cross-section, so the better the model, the better the plan.