Your First Traffic Plan
Draw a simple curb-lane closure on a real street in about ten minutes, entirely by hand — so you can see what every tool does before letting the engine do it for you in Generate a TTC Plan.
Everything here runs in the browser at app.trafficcad.com.
1. Find the site
Open the search control (Controls → Search) and jump to the work location. Zoom until individual lanes are comfortable to see.
2. Align the grid to the road
Open the Settings tab (the left rail — under Symbols and Layers). In Snap grid, click Align to road, then click two points along the curb line of your street — the grid appears, rotated to the road's bearing, with 10 ft spacing. Adjust spacing to 25 ft for sign work.
3. Draw the work area
Pick the Work area tool. Click the corners of the closure (hold Shift to keep edges square to the road), then press Enter — the area fills with the standard work-space hatch. Double-click works too.
4. Place the advance signs
In the symbol search, type W20-1 and click the Road Work card — the placement tool arms, and the ghost sign follows your cursor, snapping to the grid. The sign's rotation already matches the road. Click to place it; the tool stays armed, so place the rest of the series (W20-4, W20-5 with its Left/Right variant picker) walking upstream.
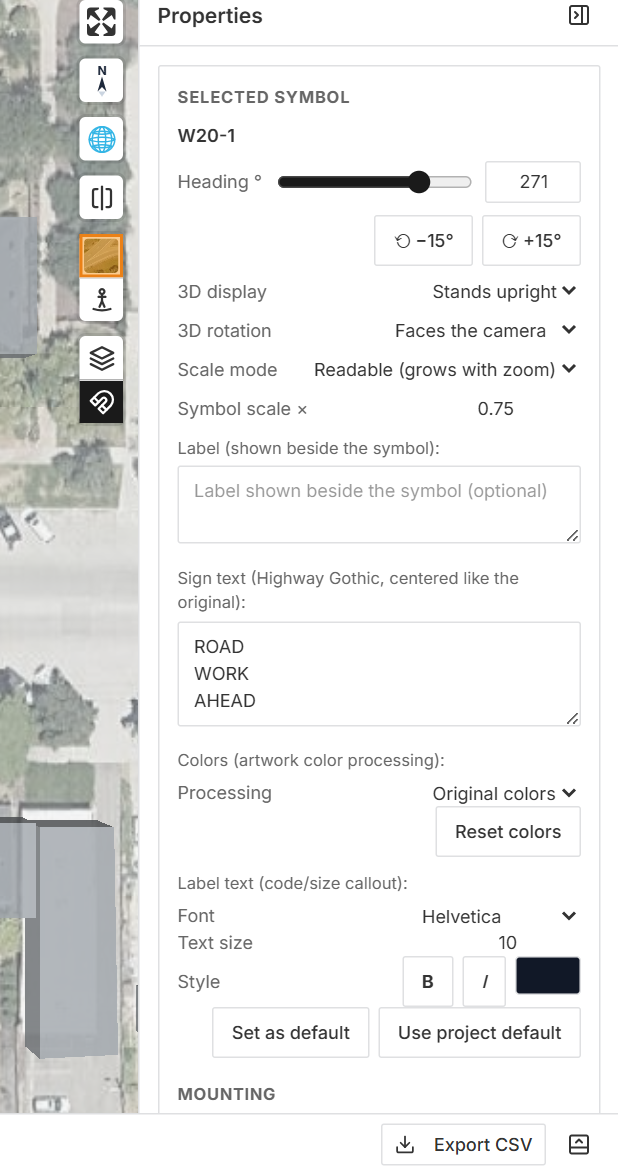
The placed W20-1, selected: code and size labels beside the sign, and the Properties panel with heading, 3D display, and cited mounting checks.
Search "cone" and click along the taper — each click drops a channelizing device on the grid.
5. Dimension the taper
Pick the Dimension tool. Click the first cone's snap point (the red marker means you're on it), click the last cone, then drag the dimension line clear of the roadway and click. The label reads the true ground distance in feet-inches — and because both ends bound to the devices, the dimension re-measures if you drag either cone.
6. Organize and save
In the Layers tab, click Add layer (the + next to New group) to create layers ("Advance signs", "Taper", "Dimensions"), then right-click markups on the map and hover Layer to file them — right-clicking inside a multi-selection files the whole selection at once. Project → Save to TrafficCAD Cloud saves everything — markups, layers, grid — to your dashboard (use Save a Local Copy... for a portable project file instead).
Next steps: Generate a TTC Plan to let the MUTCD engine do steps 3–5 for you · Taper a Work Zone by Hand to get the cone run's length and spacing from the manual · Measure & Document a Site to put quantities on the plan · Snap Grid & Snapping for the full modifier list · Publish & Share when it's time for sheets and PDF.