Skip to content

Markup on the Map

Lay out a demolition site with the markup tools: trace the site boundary, crosshatch the building coming down, add the site office and meeting room, fence the perimeter with a gate, and post the safety signage. About seven minutes.

The recording this tutorial follows (7:00).

1. Open the markup tools

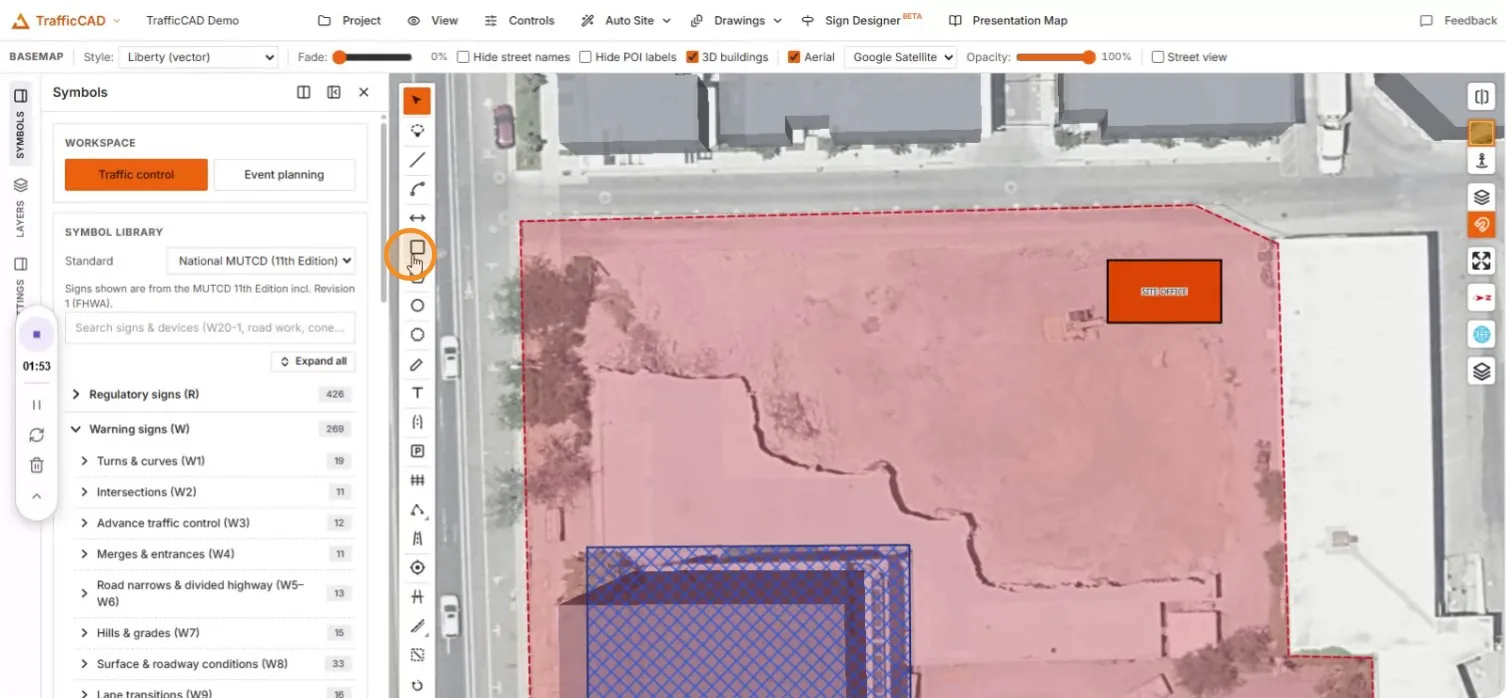
The markup toolbar sits beside the map; the symbol library is open on the Traffic control workspace.
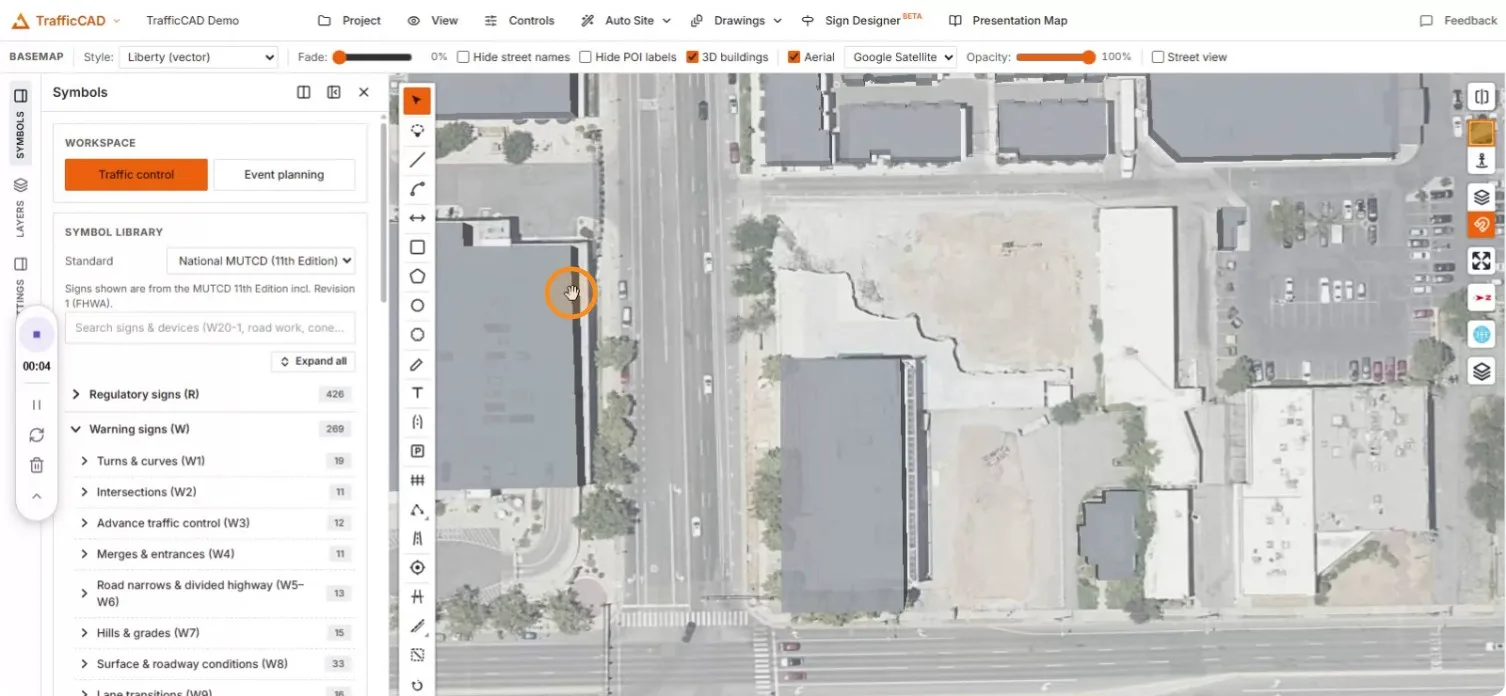
The full workspace with markup toolbar, MUTCD library, and 3D buildings on aerial imagery

2. Mark up the site area

Trace the site with the polygon tool, vertex by vertex.
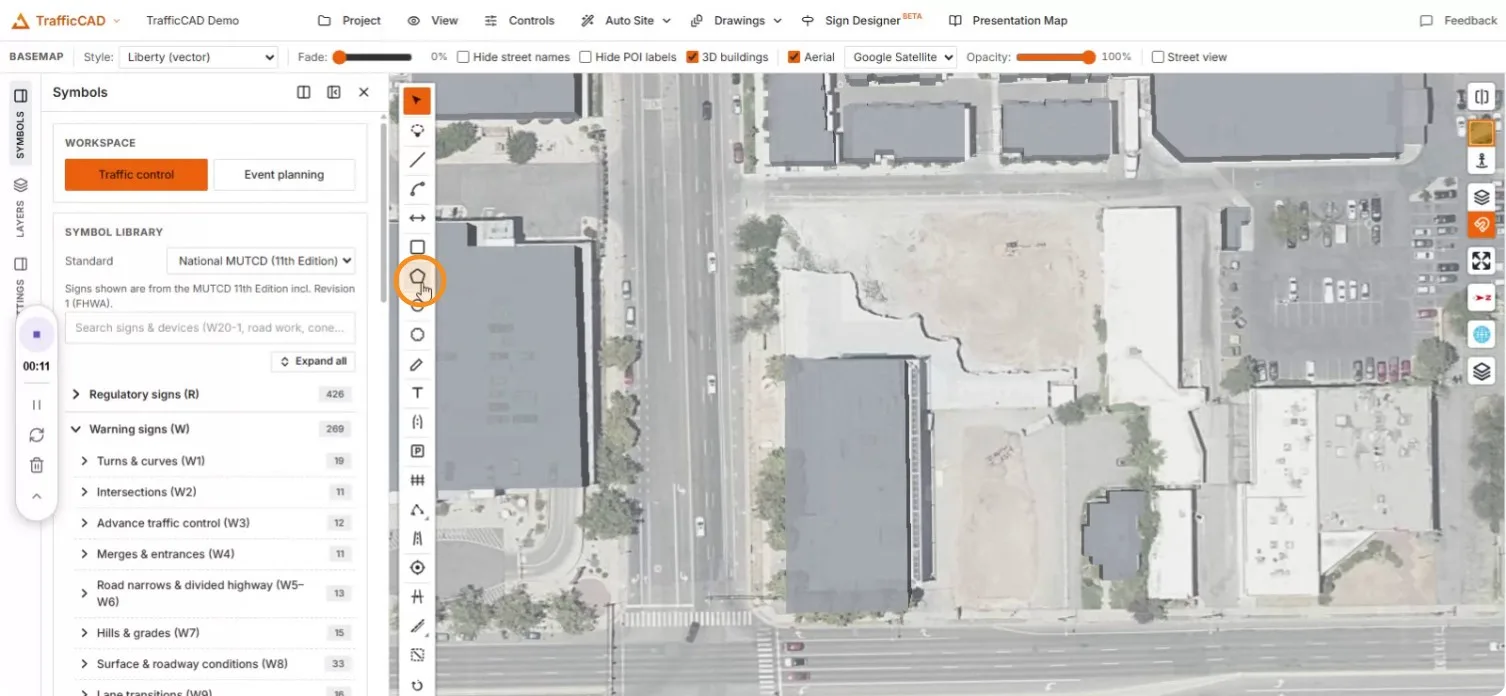
The polygon tool selected in the markup toolbar

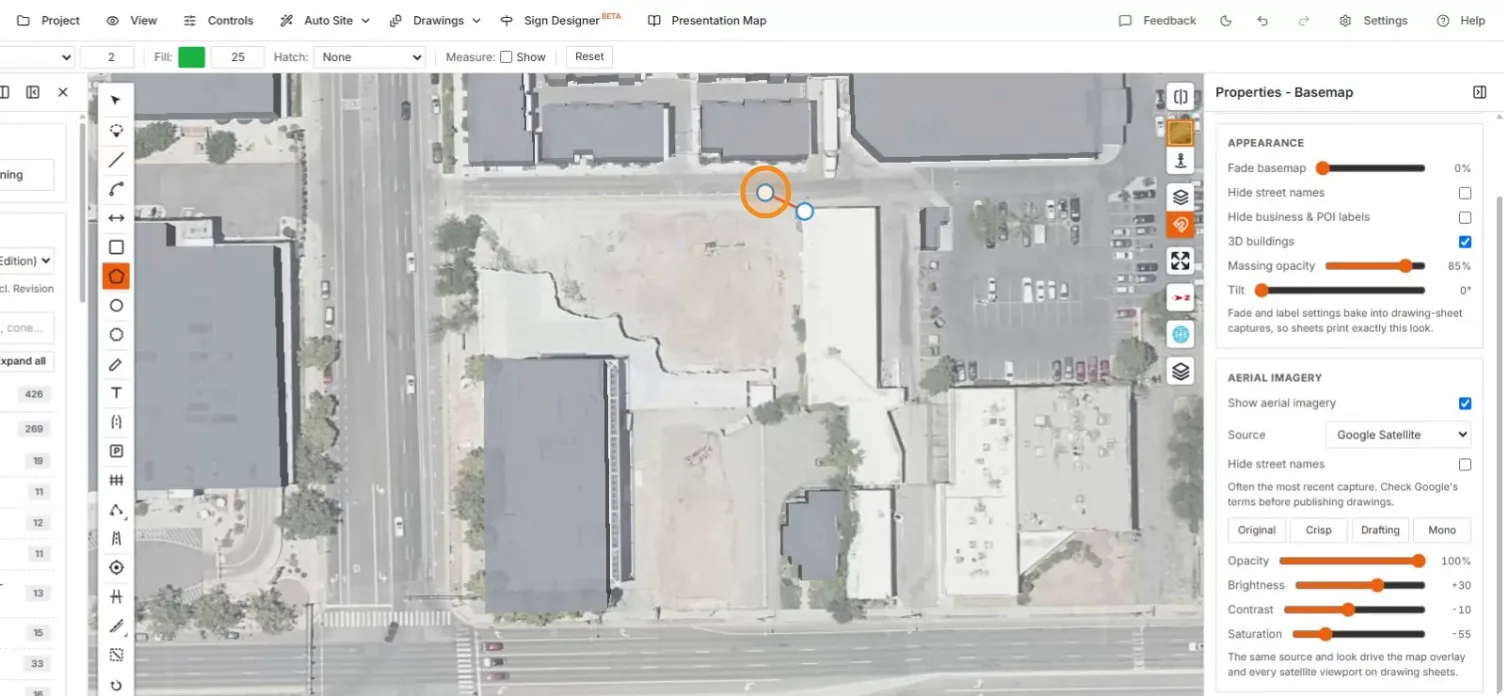
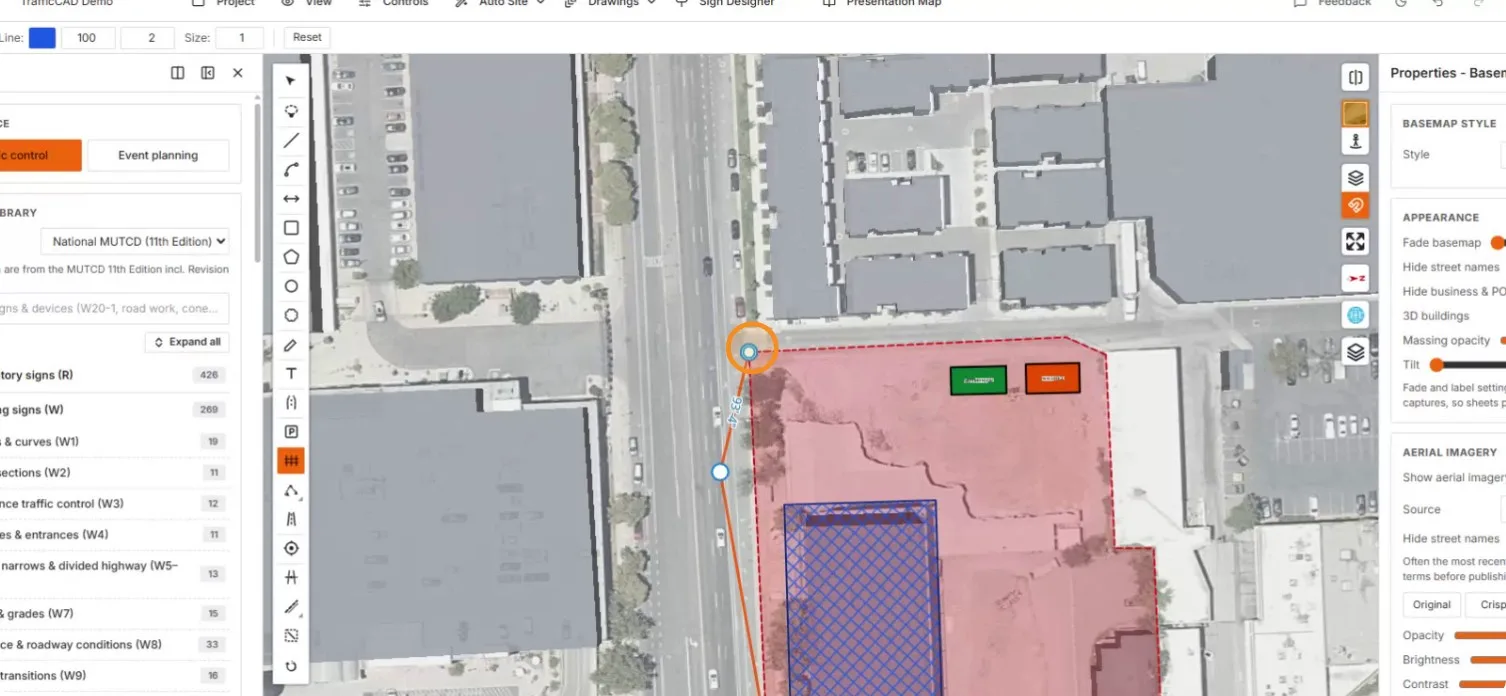
The first vertex placed at the site's north edge

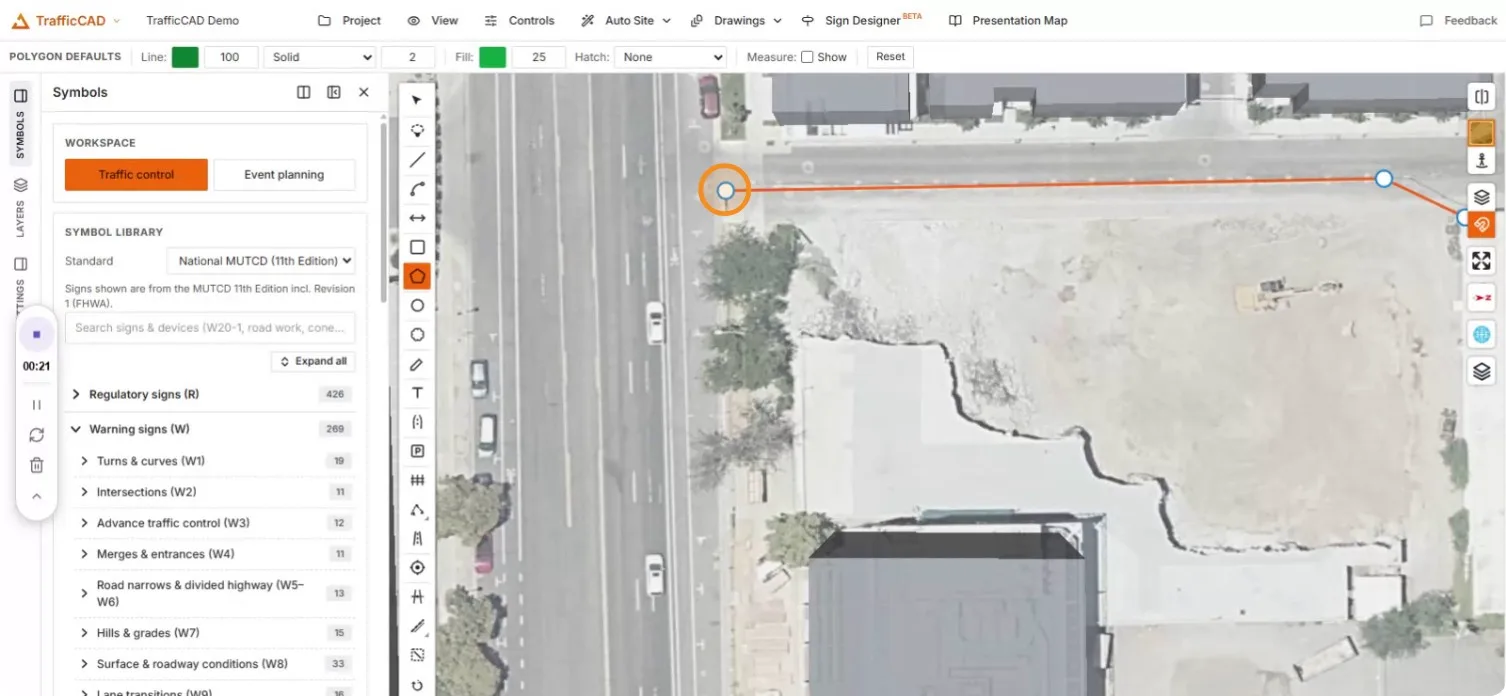
The boundary tracing along the north edge with a rubber-band preview

Zoom in while drawing for precise vertex placement.
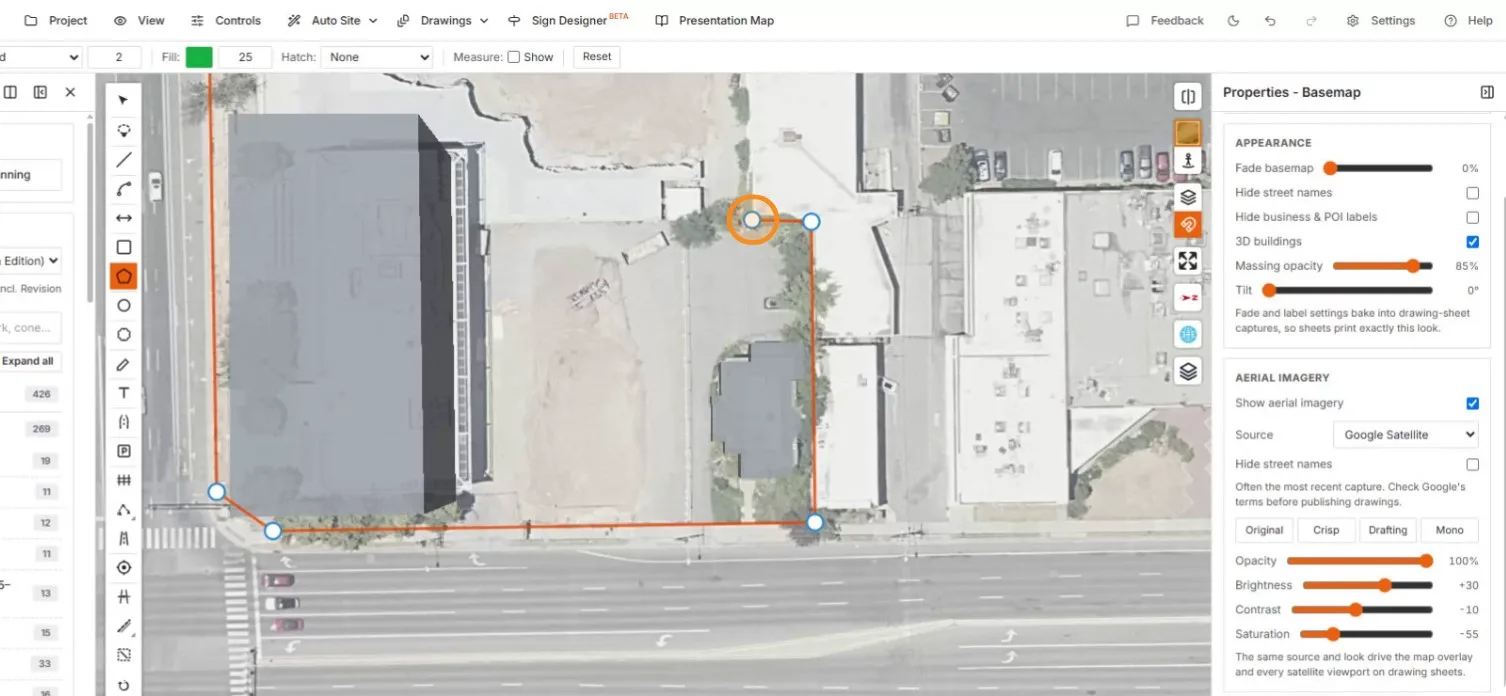
Zoomed vertex placement hugging the sidewalk at the southwest corner

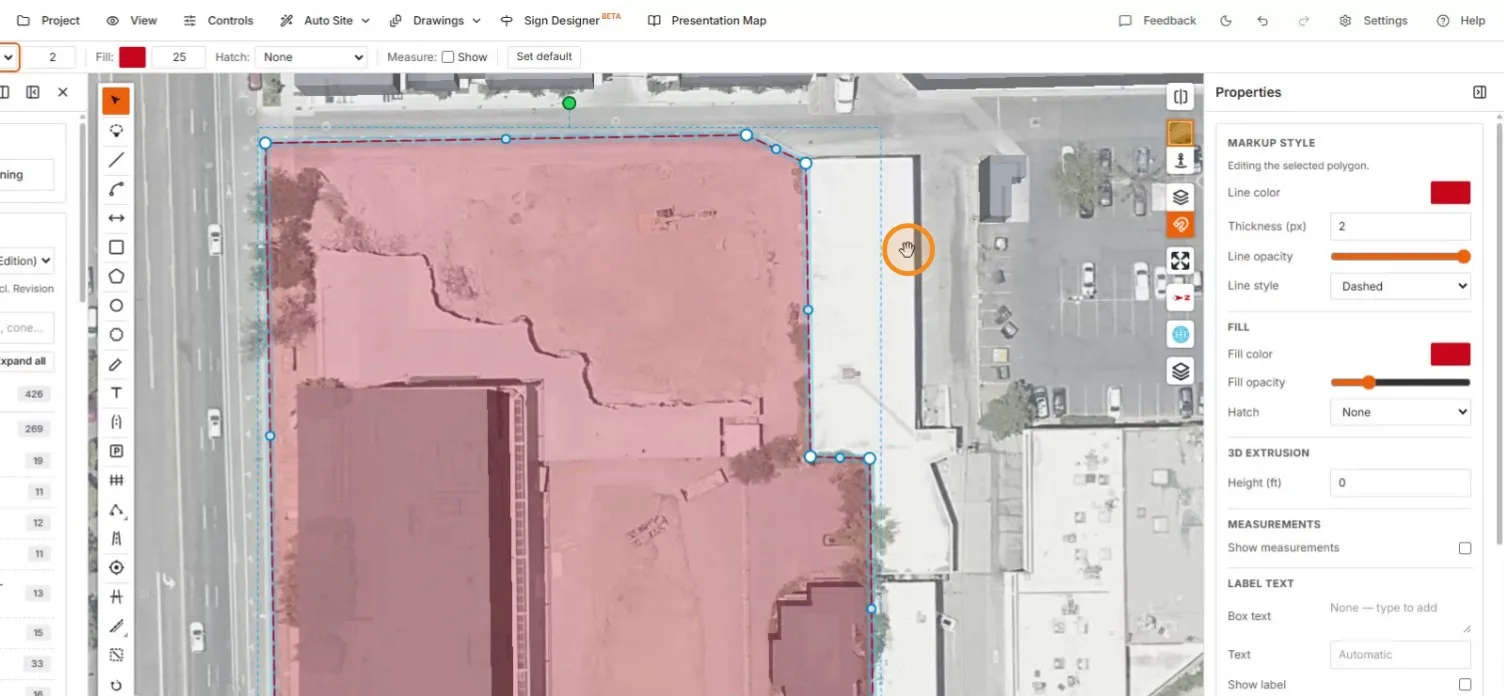
Style the boundary so it reads instantly on the imagery.
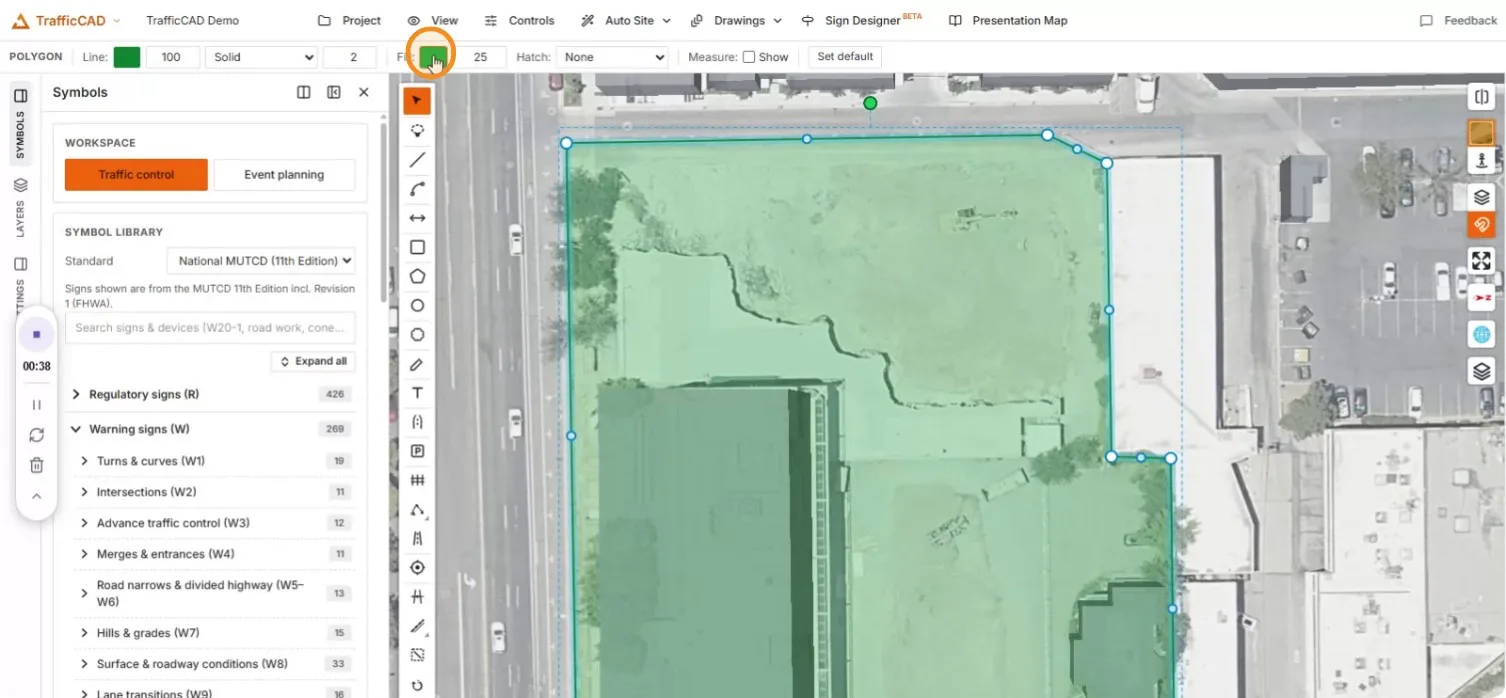
The completed boundary with a translucent green fill, fill swatch under the cursor

The boundary restyled to a dashed red outline with the full markup style panel

3. Mark up the demolition building

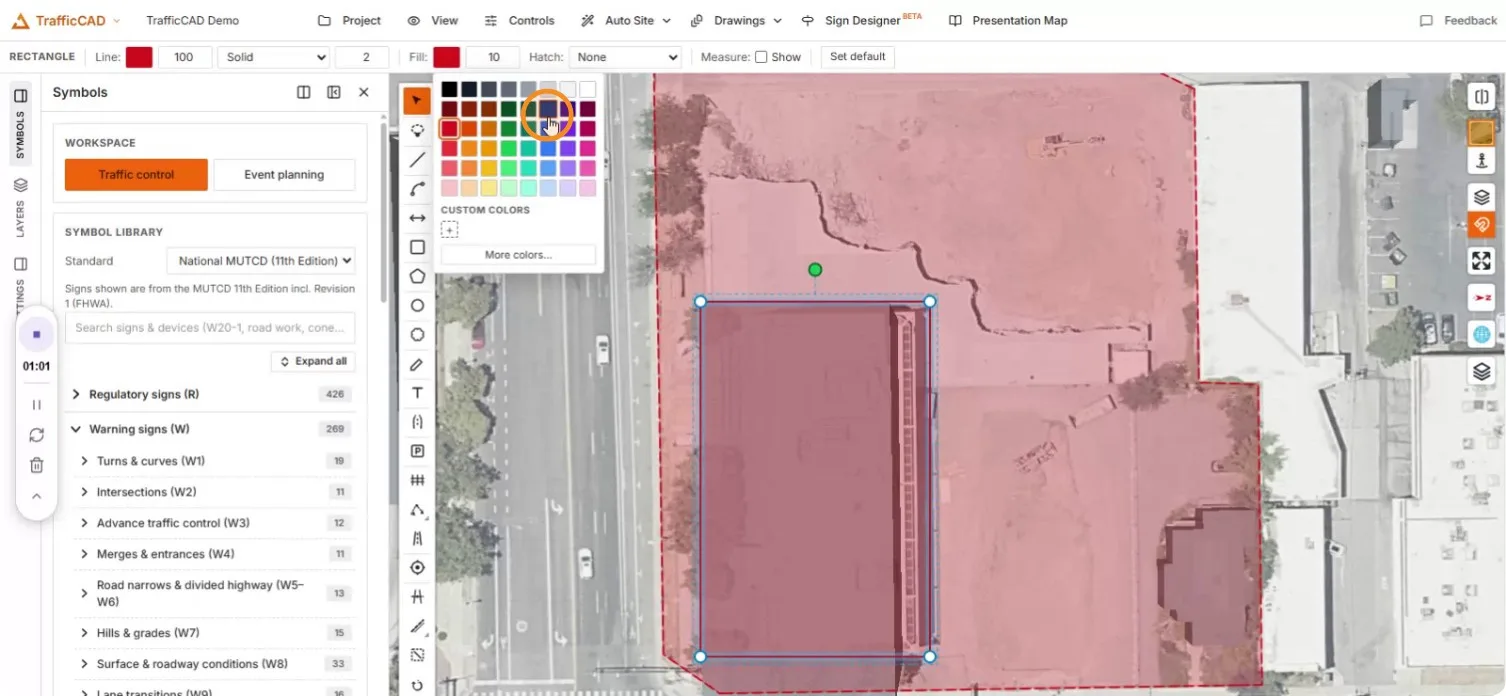
Mark the building scheduled for demolition separately, with a crosshatch fill so it stands out inside the site.
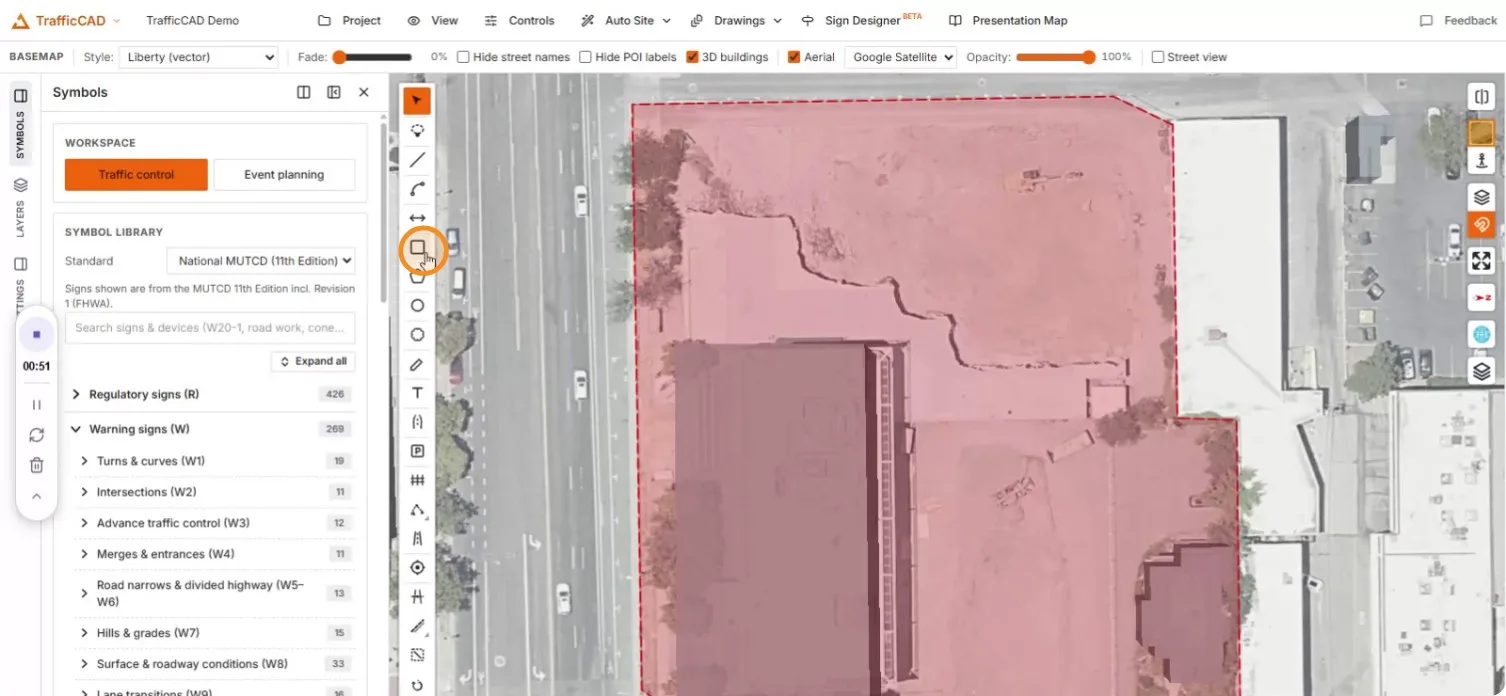
The rectangle tool chosen with the red site boundary in place

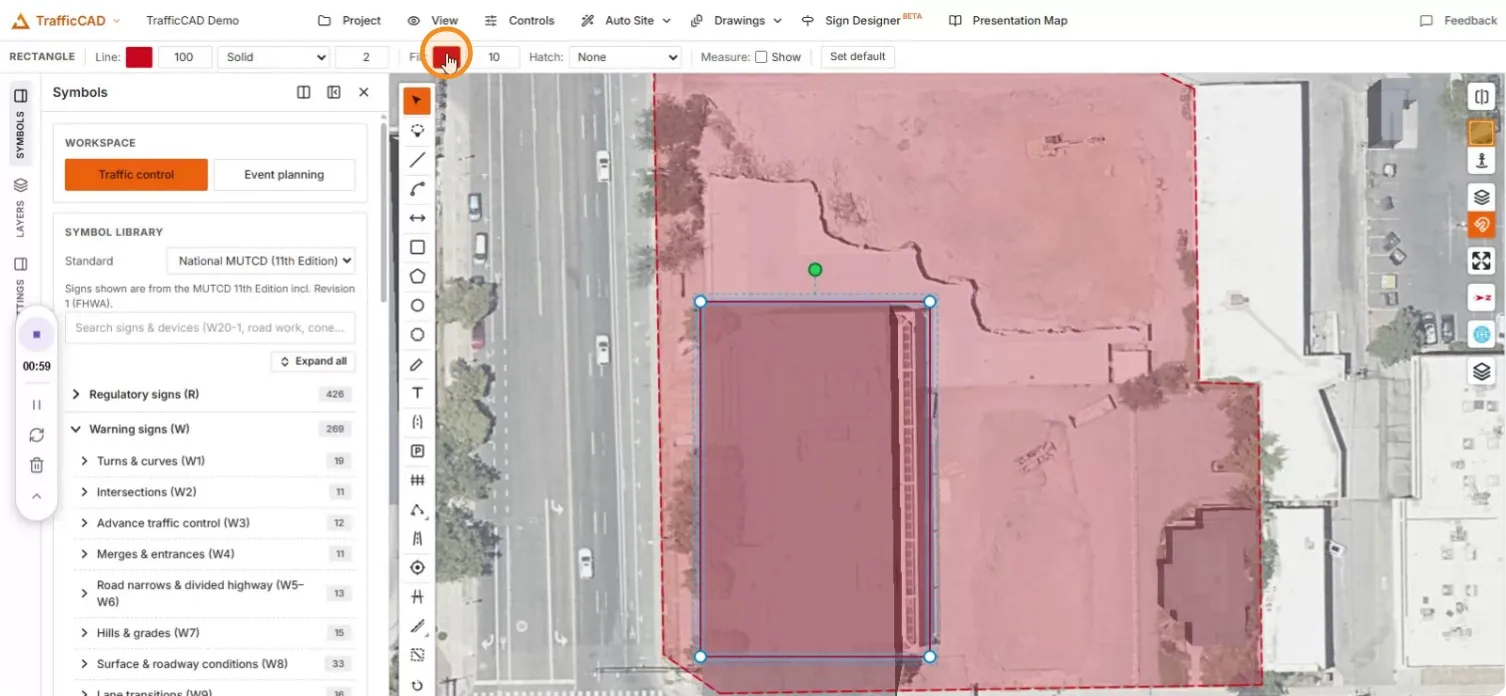
A rectangle drawn over the demolition building

The fill color palette open over the map

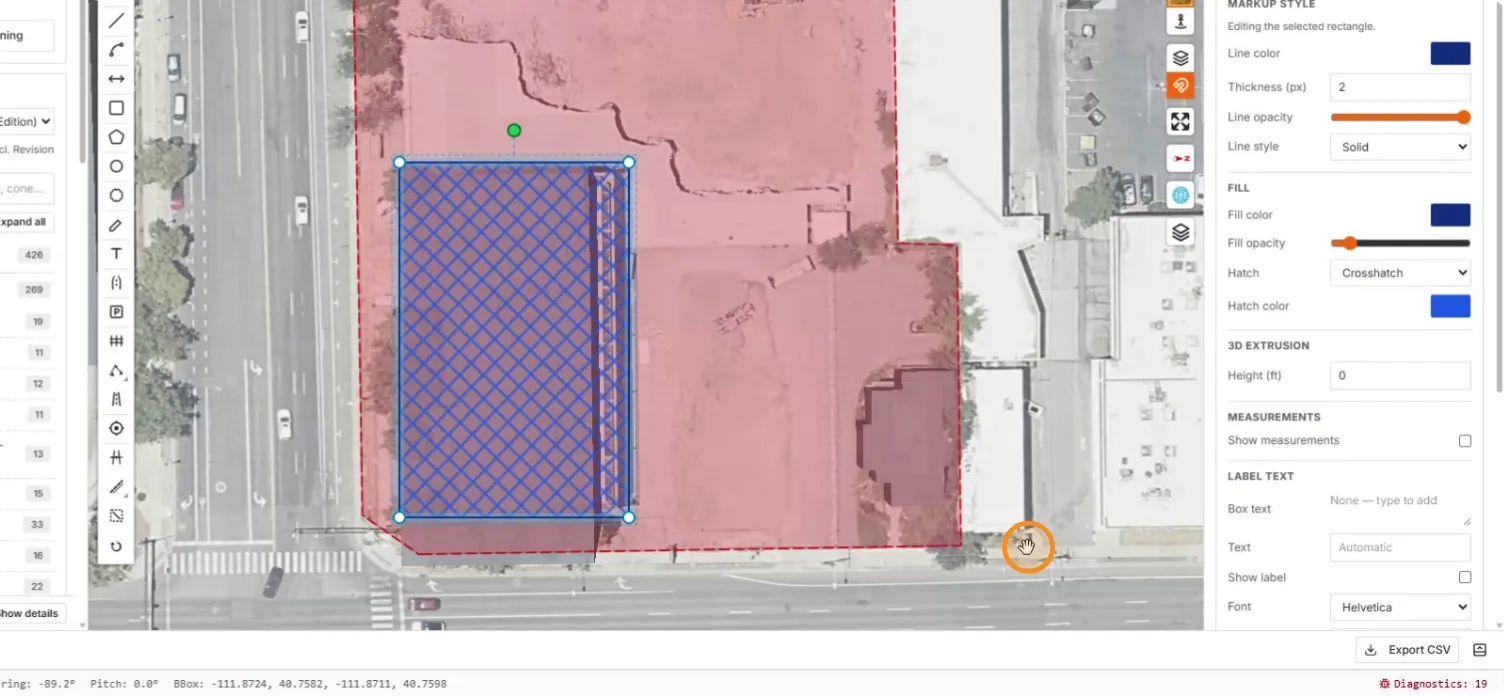
The building rendered with a blue crosshatch fill inside the red boundary

4. Add the site office and meeting room

Facility boxes are plain rectangles with labels and strong fills.
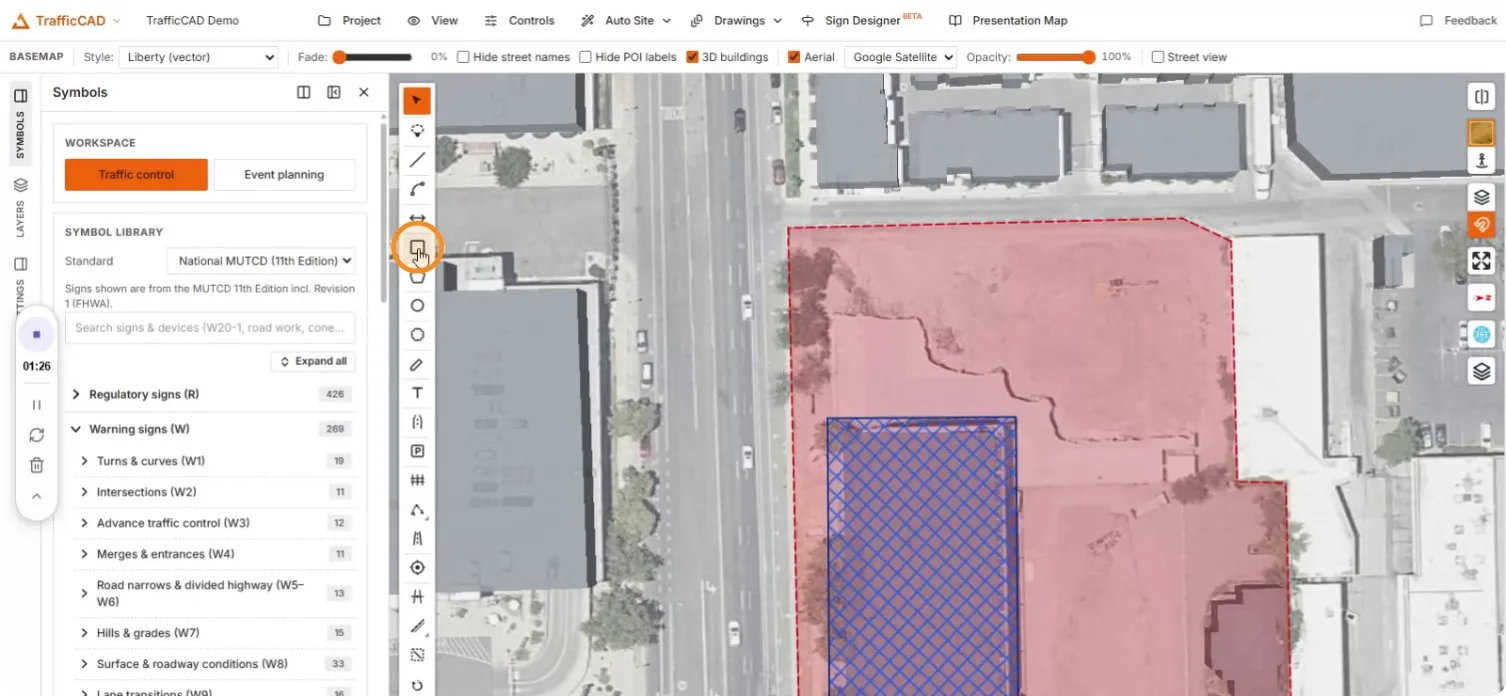
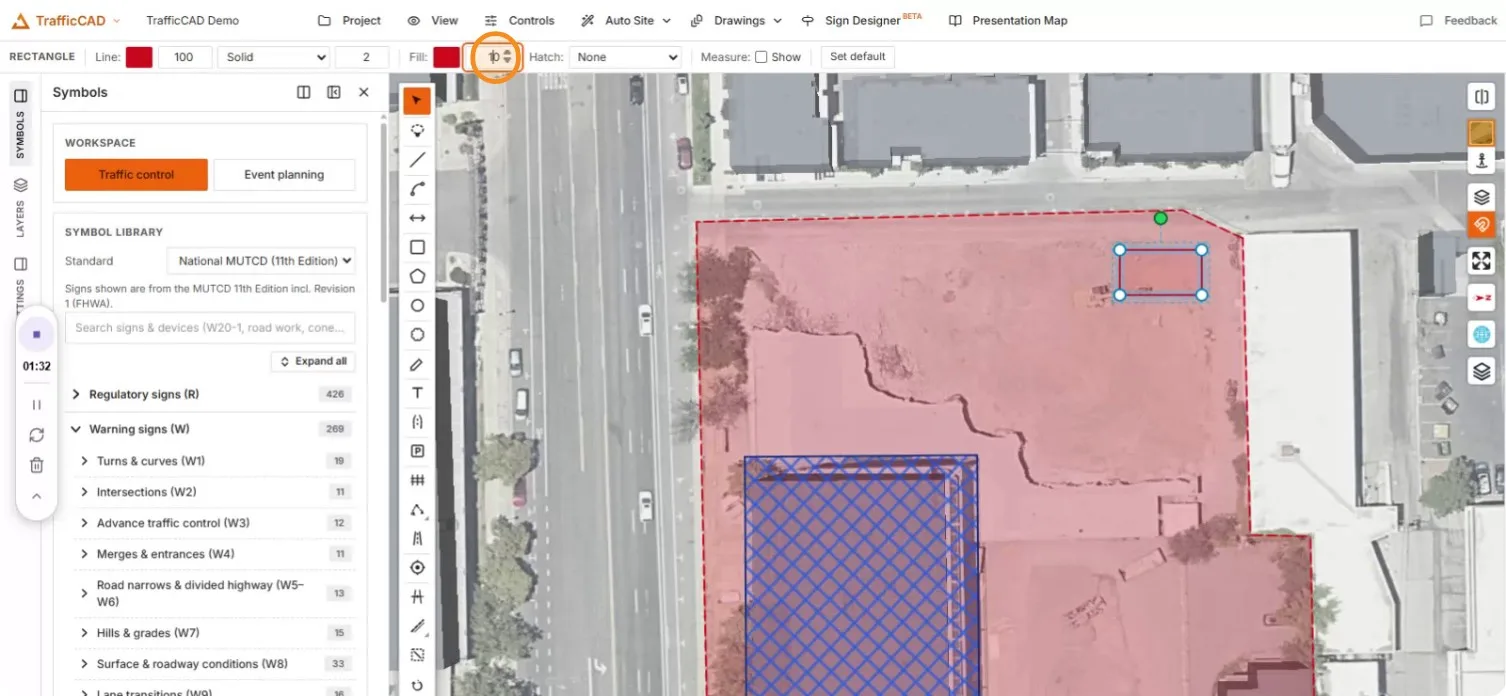
Starting the site-office rectangle

The site-office rectangle drawn in the site's corner

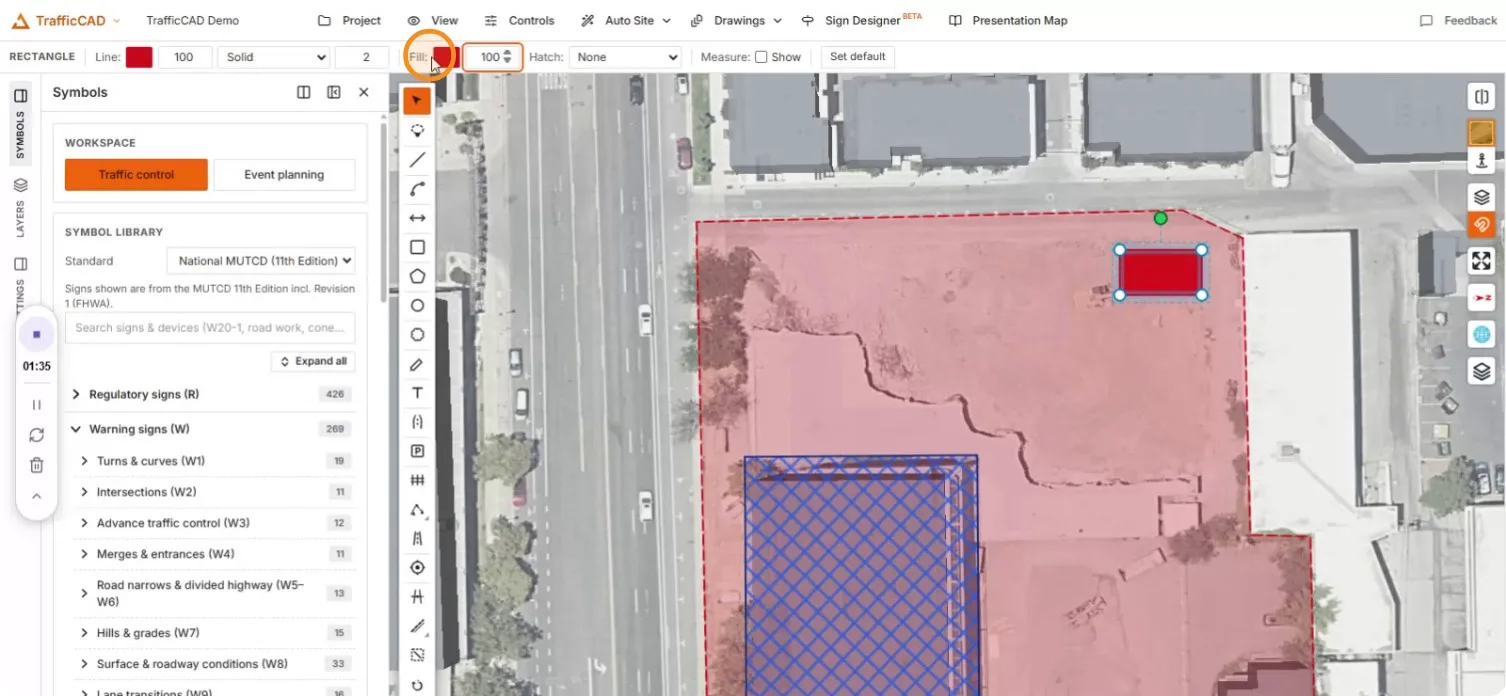
The office given a solid fill

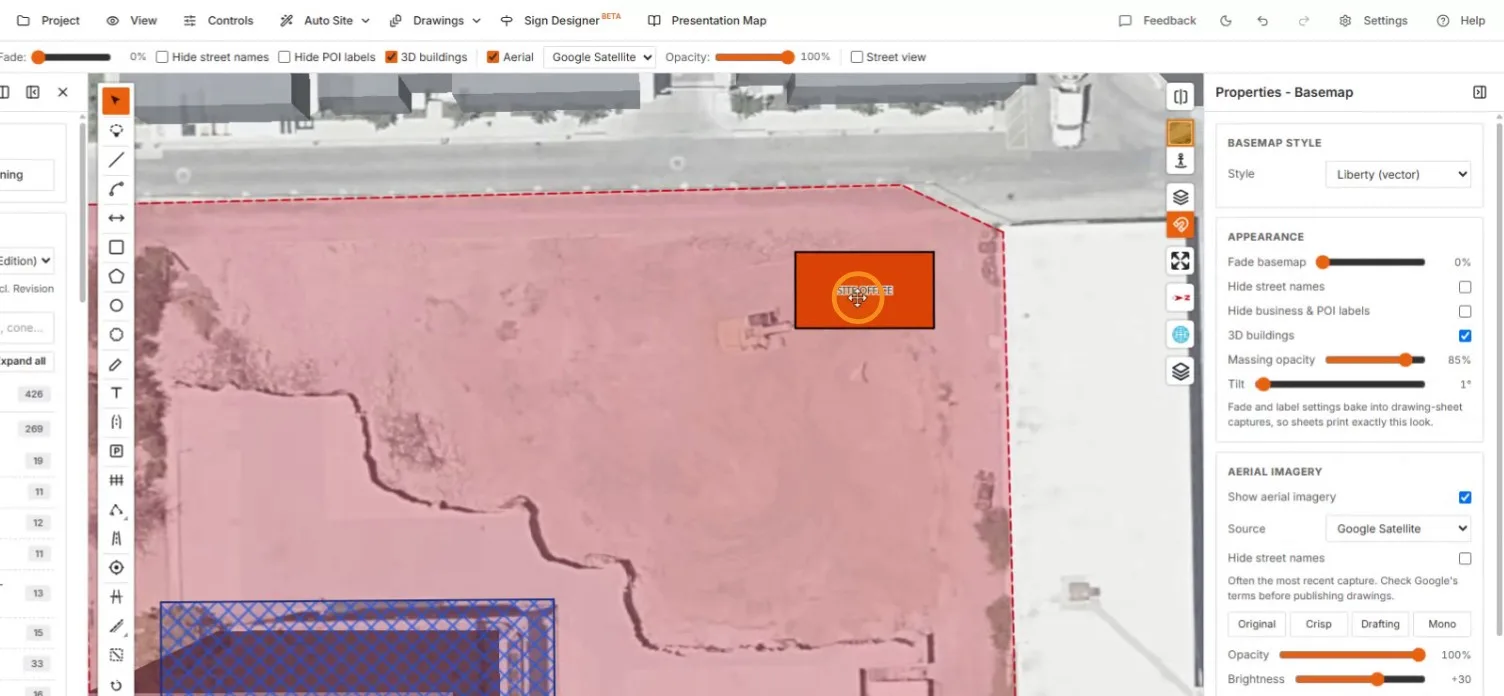
The orange SITE OFFICE box labeled on the plan

Adding the meeting room with the rectangle tool

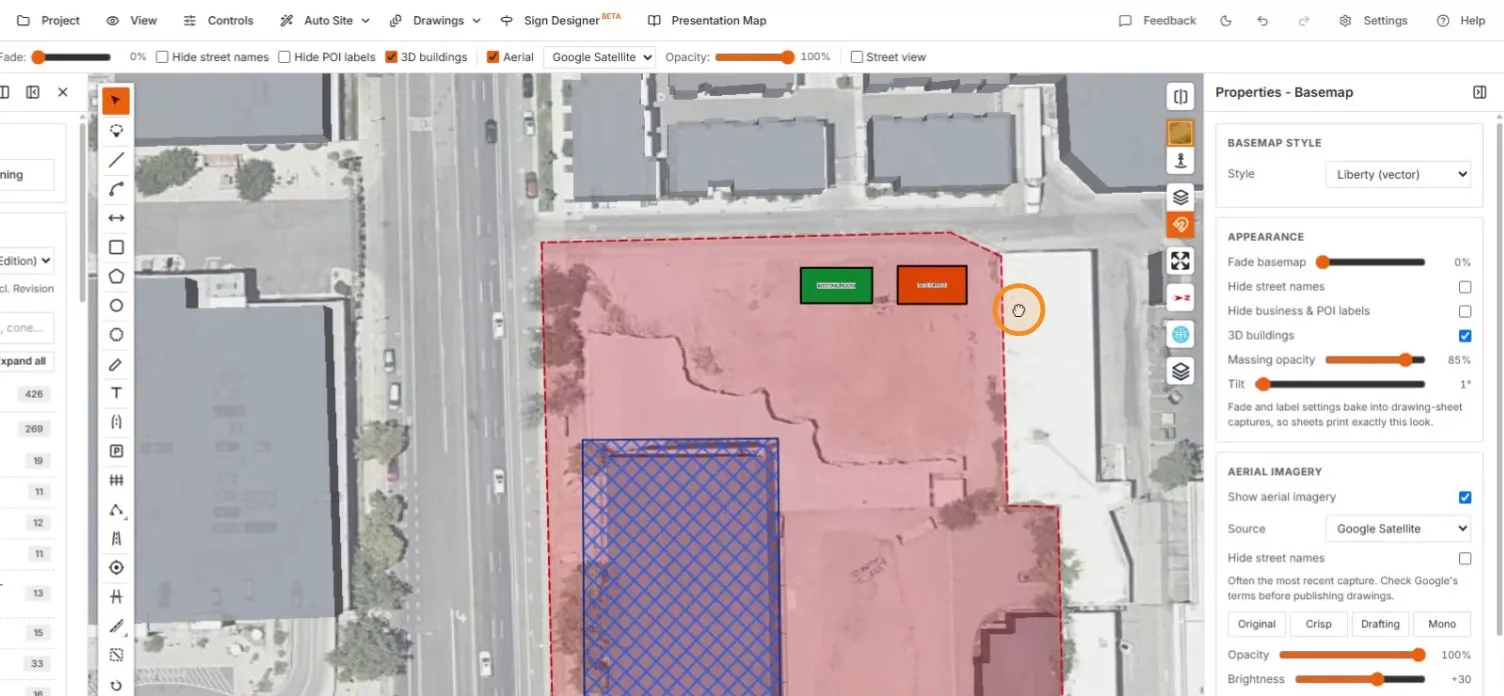
Green MEETING ROOM and orange SITE OFFICE side by side in the site

5. Fence the site

Pick the fence tool and click the perimeter alignment around the site.
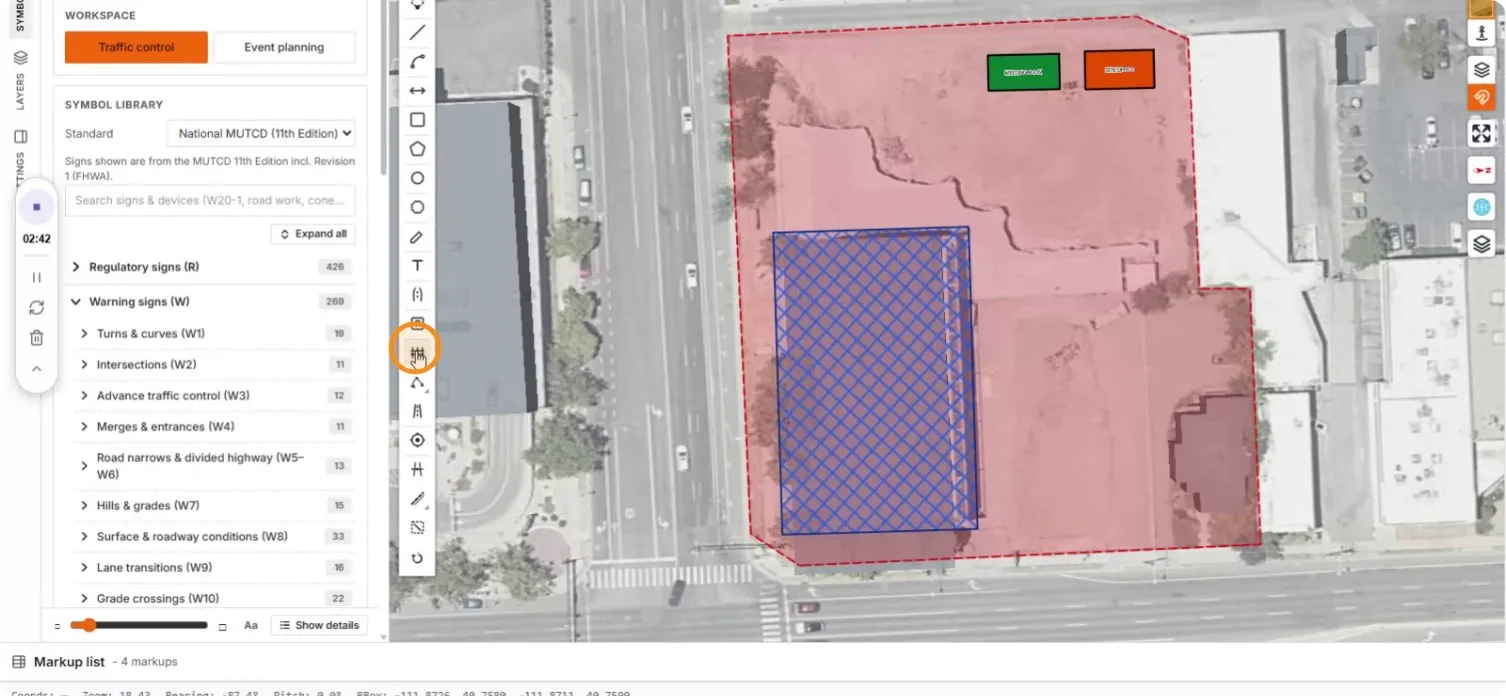
The fence tool selected with the annotated site below

First fence vertices placed along the southeast edge

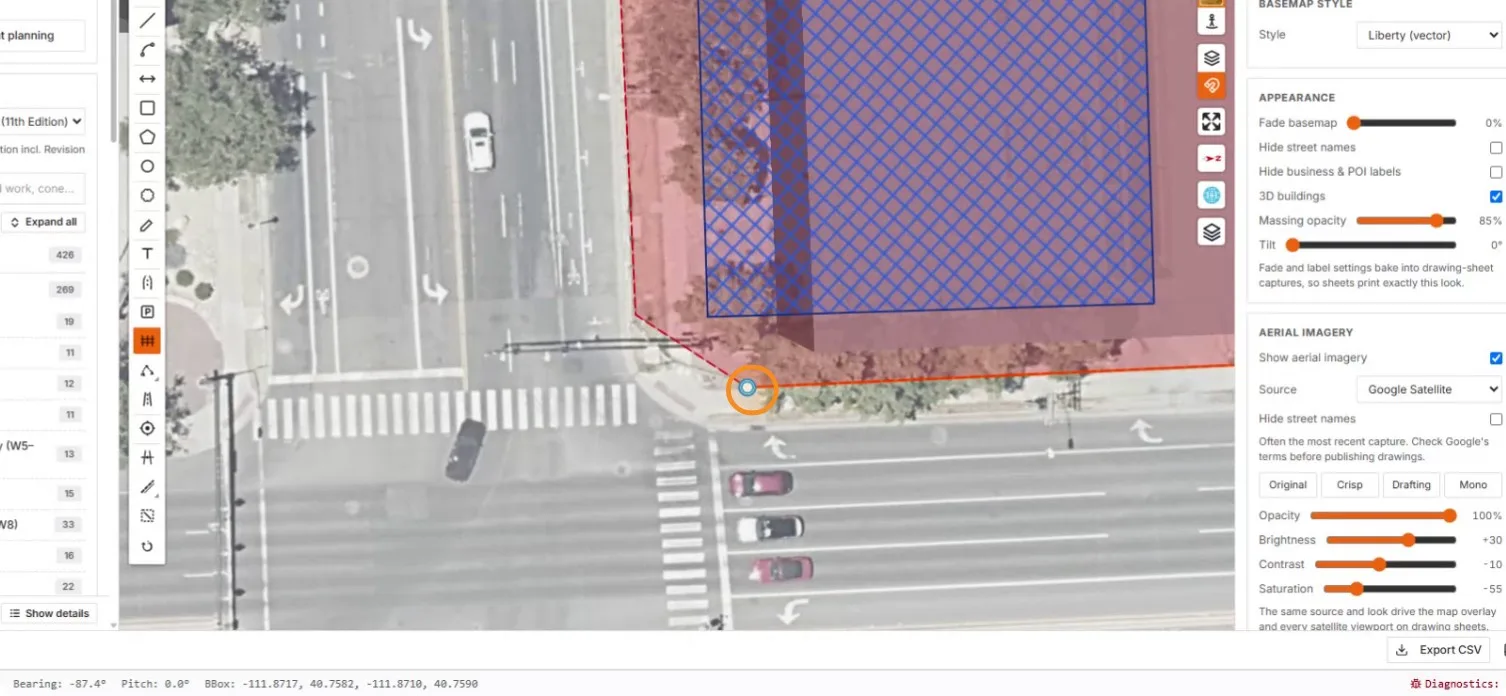
A fence vertex at the street corner by the crosswalks

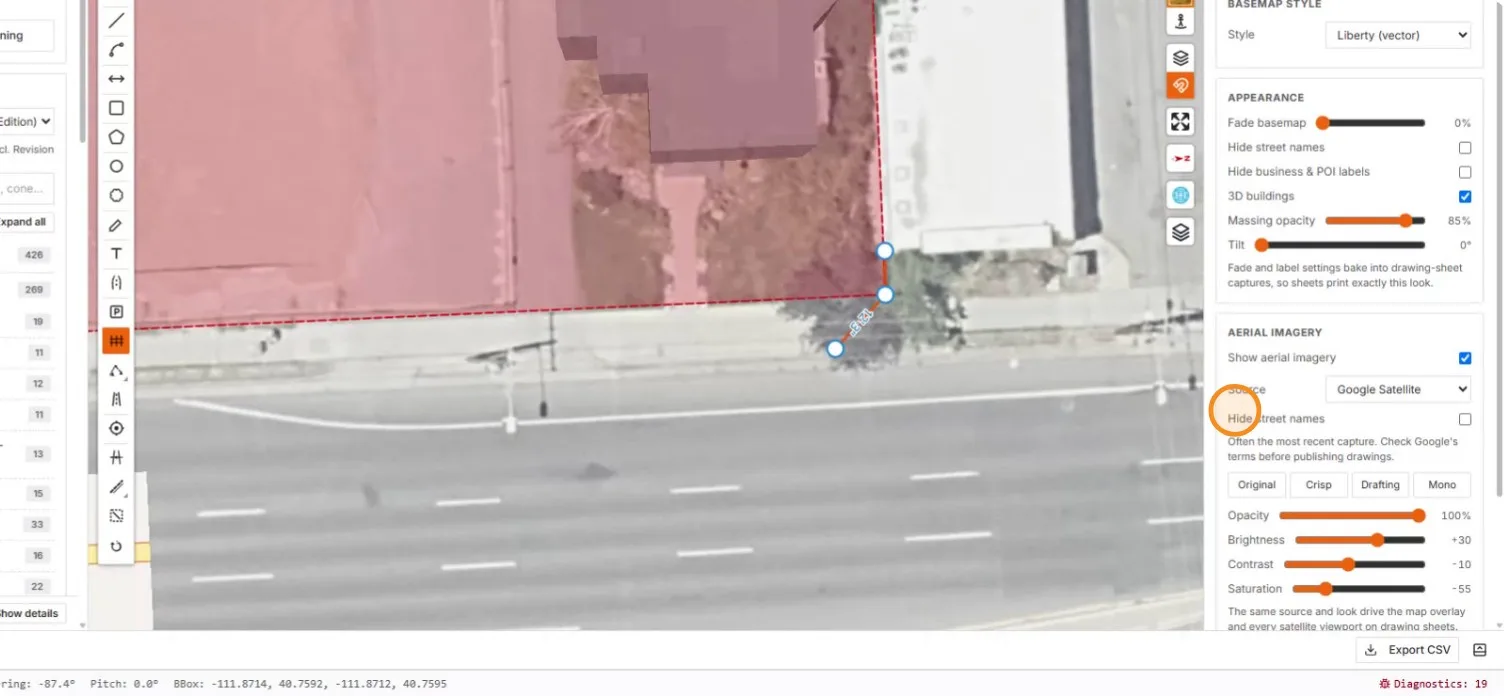
The run up the west edge showing a segment length label

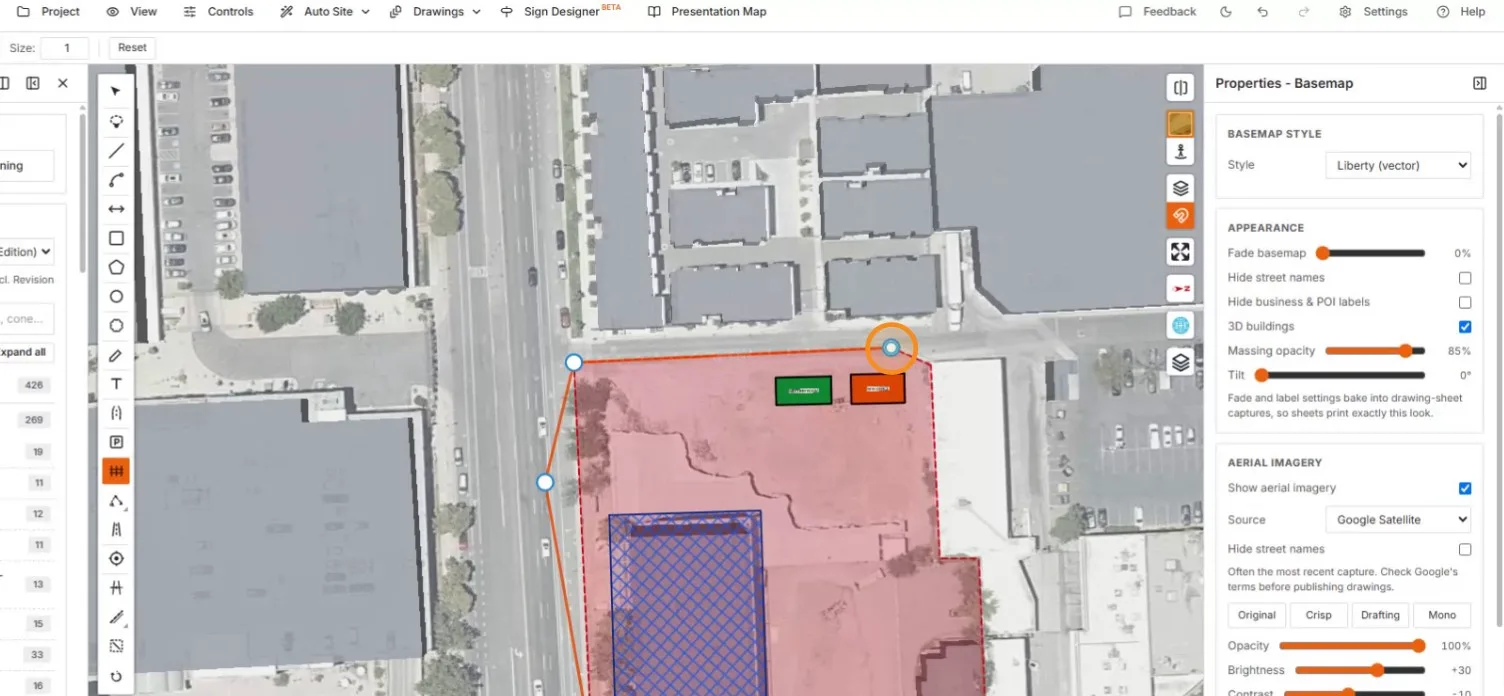
The fence continued across the north edge

Made a mistake? Select the fence and edit the path — then review its style options.
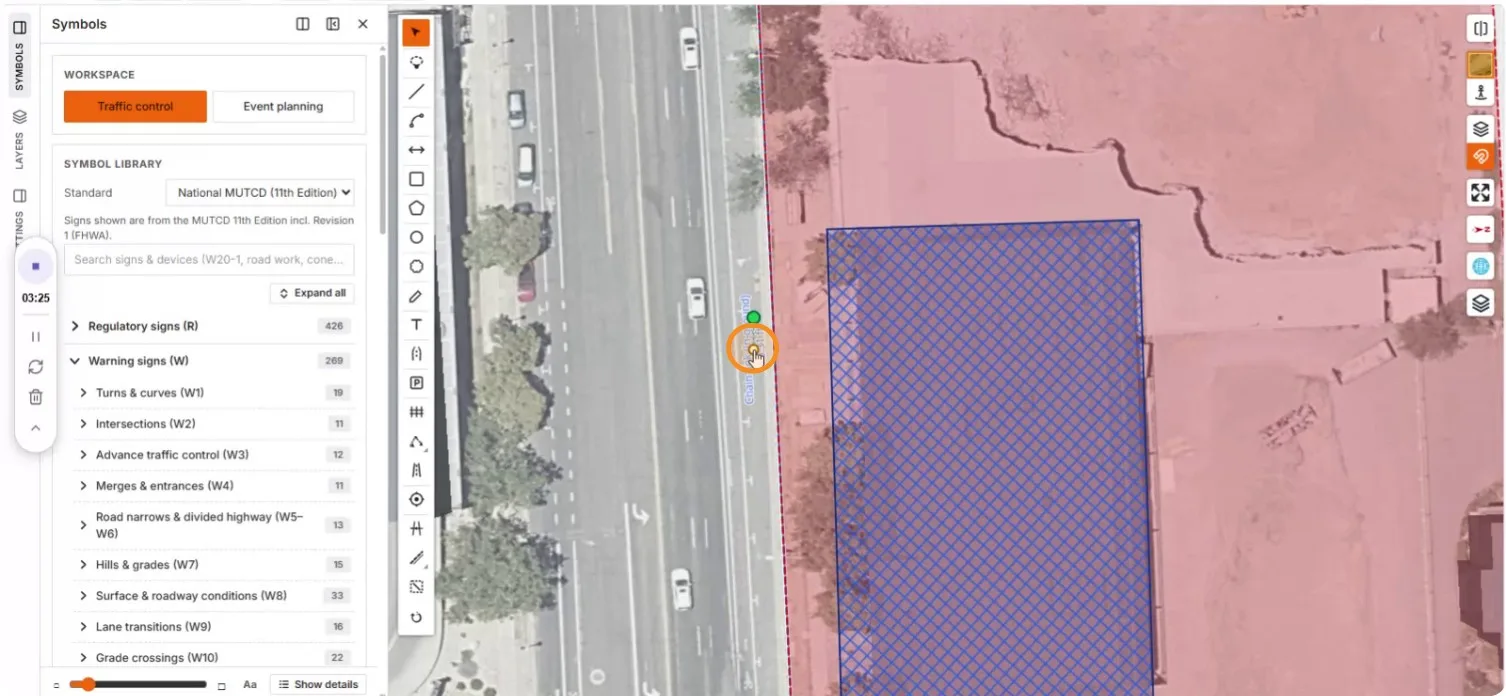
Selecting the placed chain-link fence to edit it

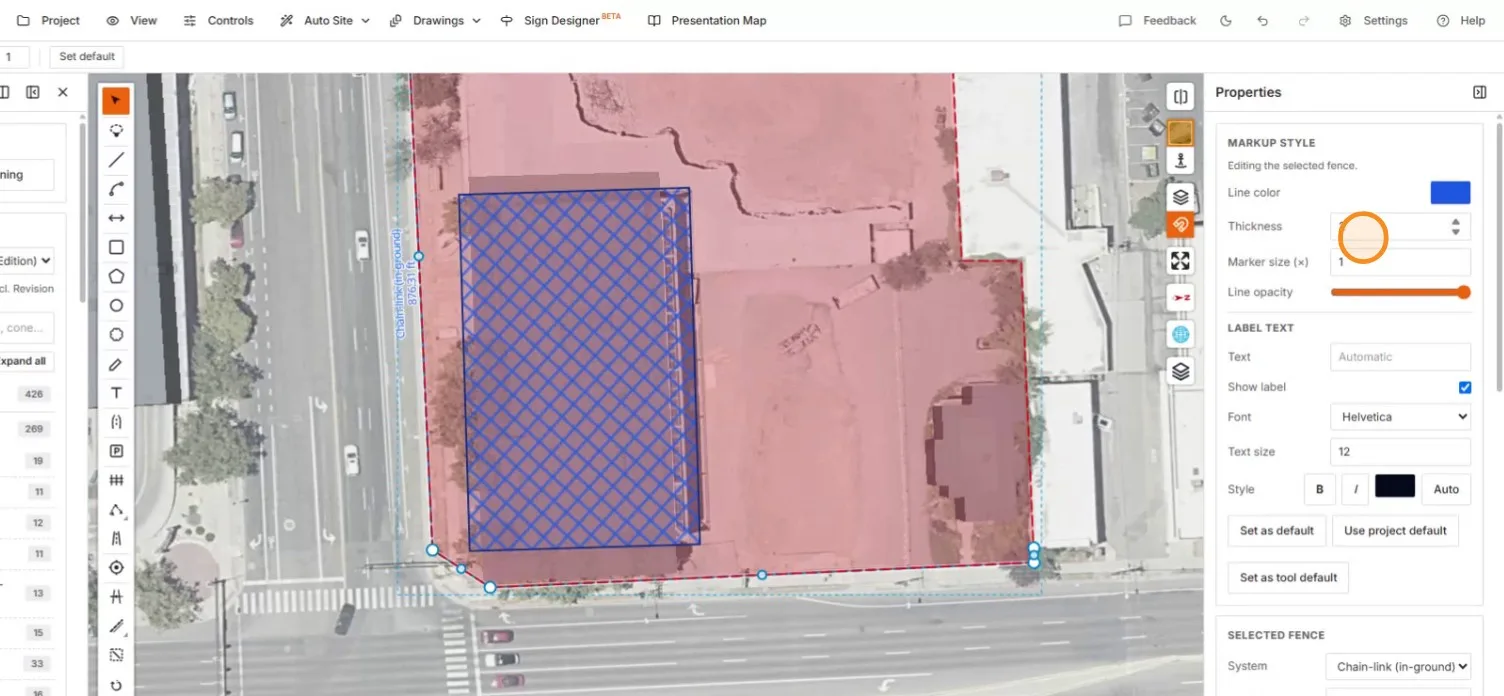
The completed perimeter selected with the fence properties panel

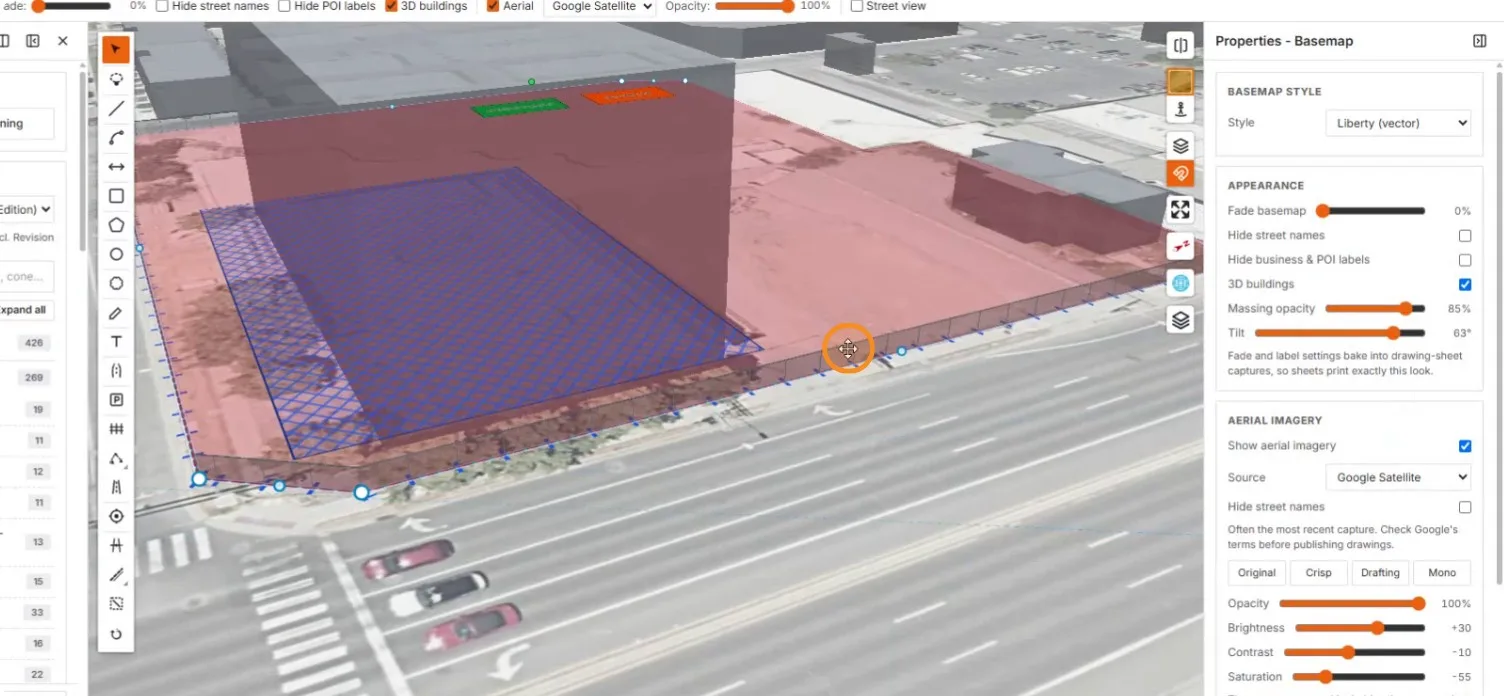
Tilt to 3D — the chain-link fence stands up around the site.
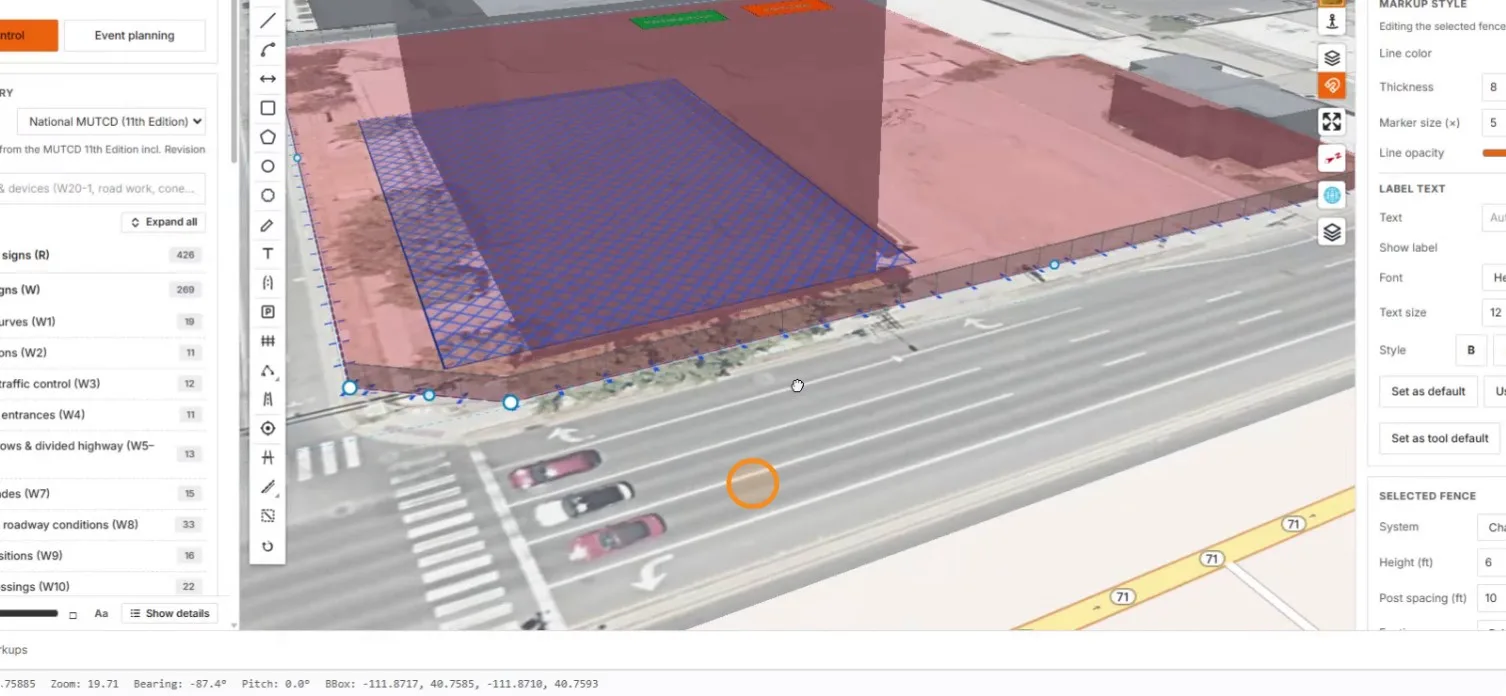
The chain-link fence standing in 3D around the red-tinted site

A tilted 3D overview of the fenced demolition site

When markups overlap, a picker cycles between them.
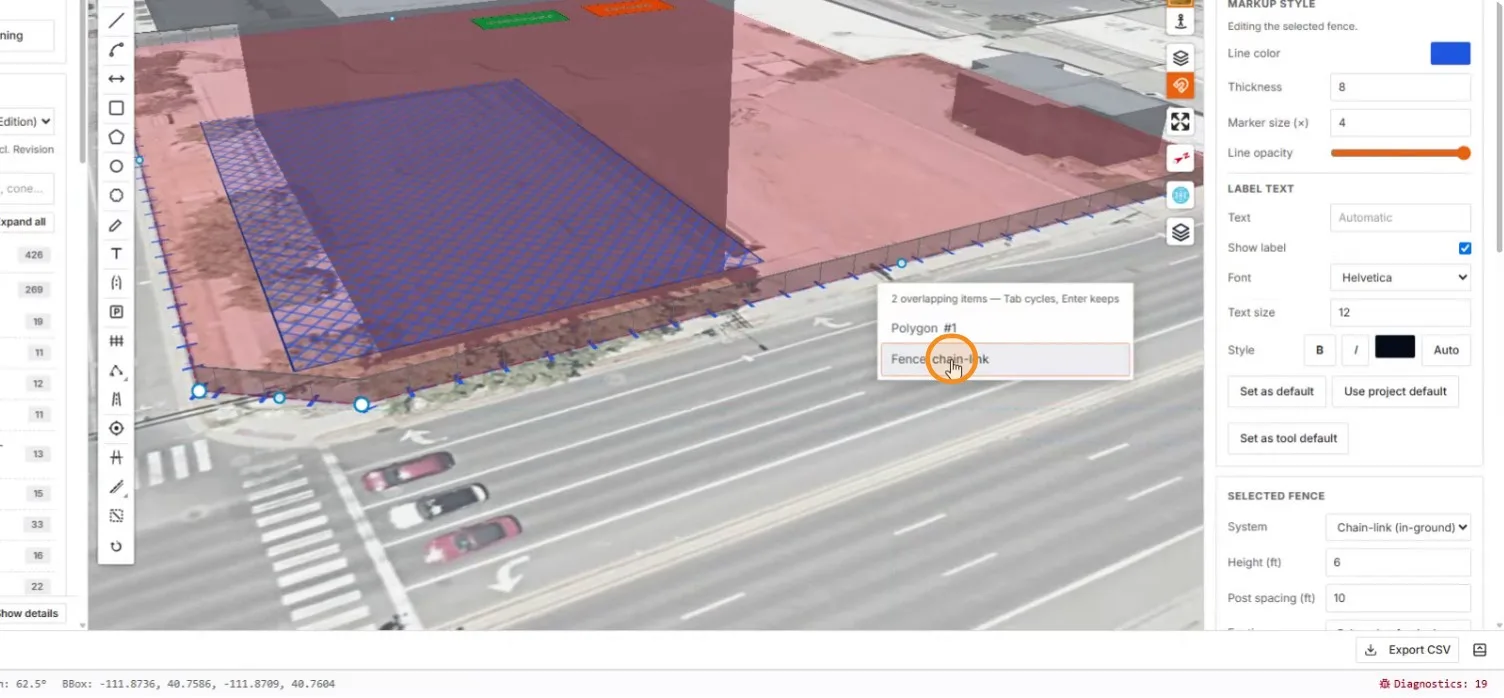
The overlapping-items picker listing the polygon and the fence

6. Choose the fence system and add a gate

Fences are parametric systems — switch the type and the 3D model, heights, and bill of materials follow.
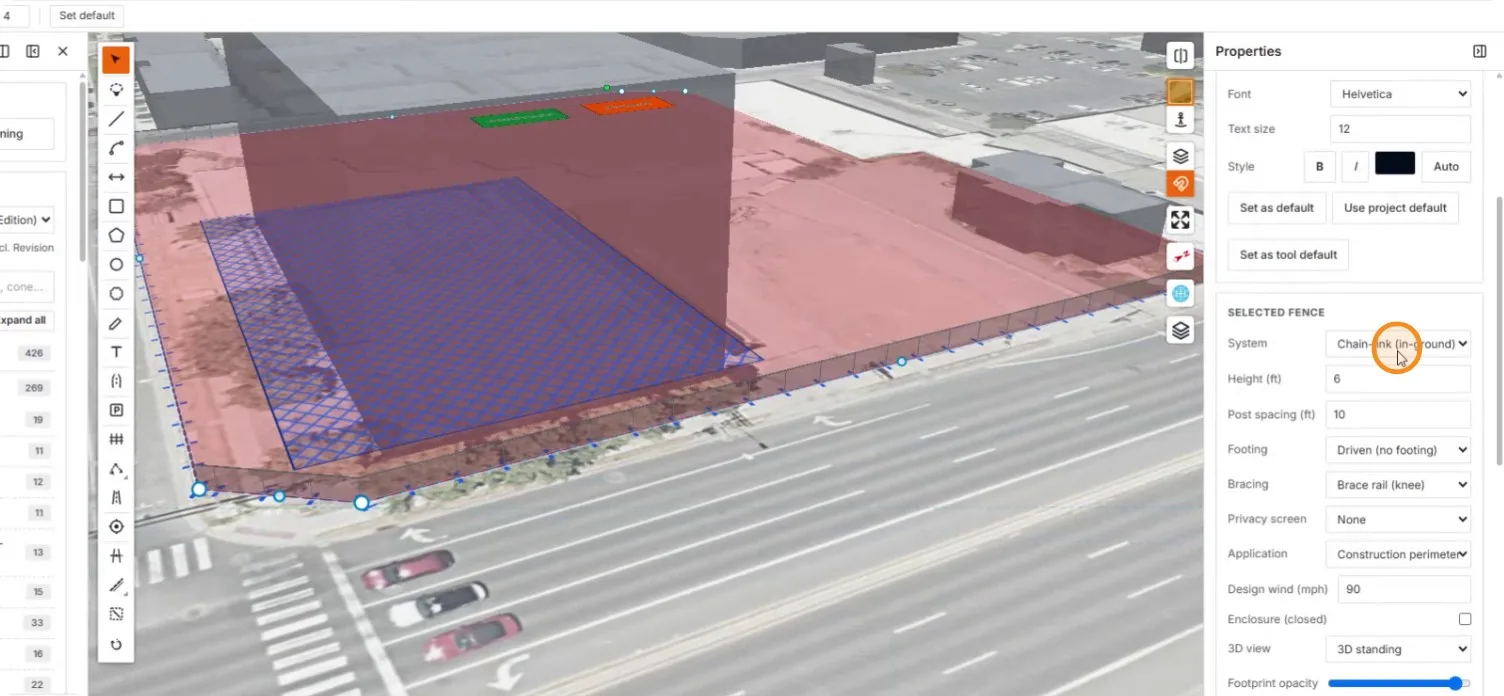
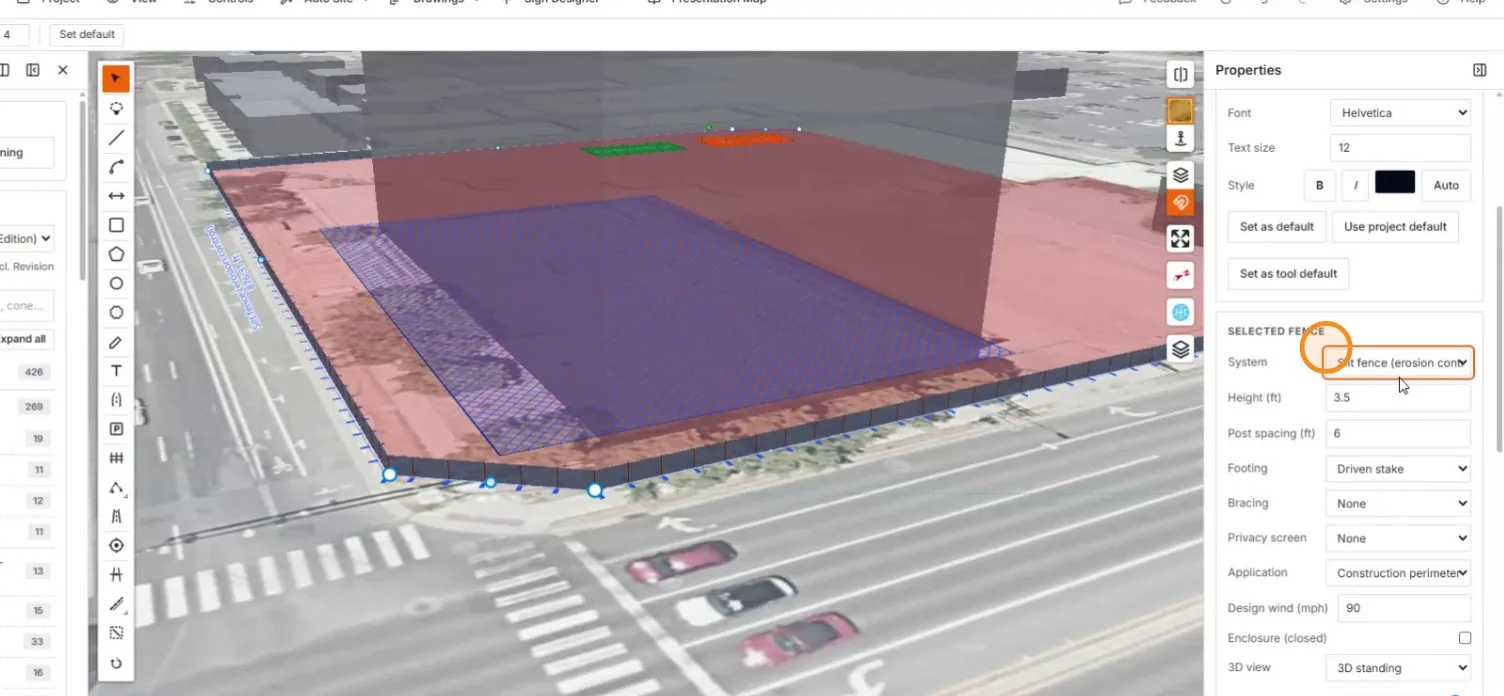
The fence system options: height, post spacing, footing, bracing, screen

The same run switched to a silt fence for erosion control

Add a gate at the access point. The bill of materials picks up the posts and hardware.
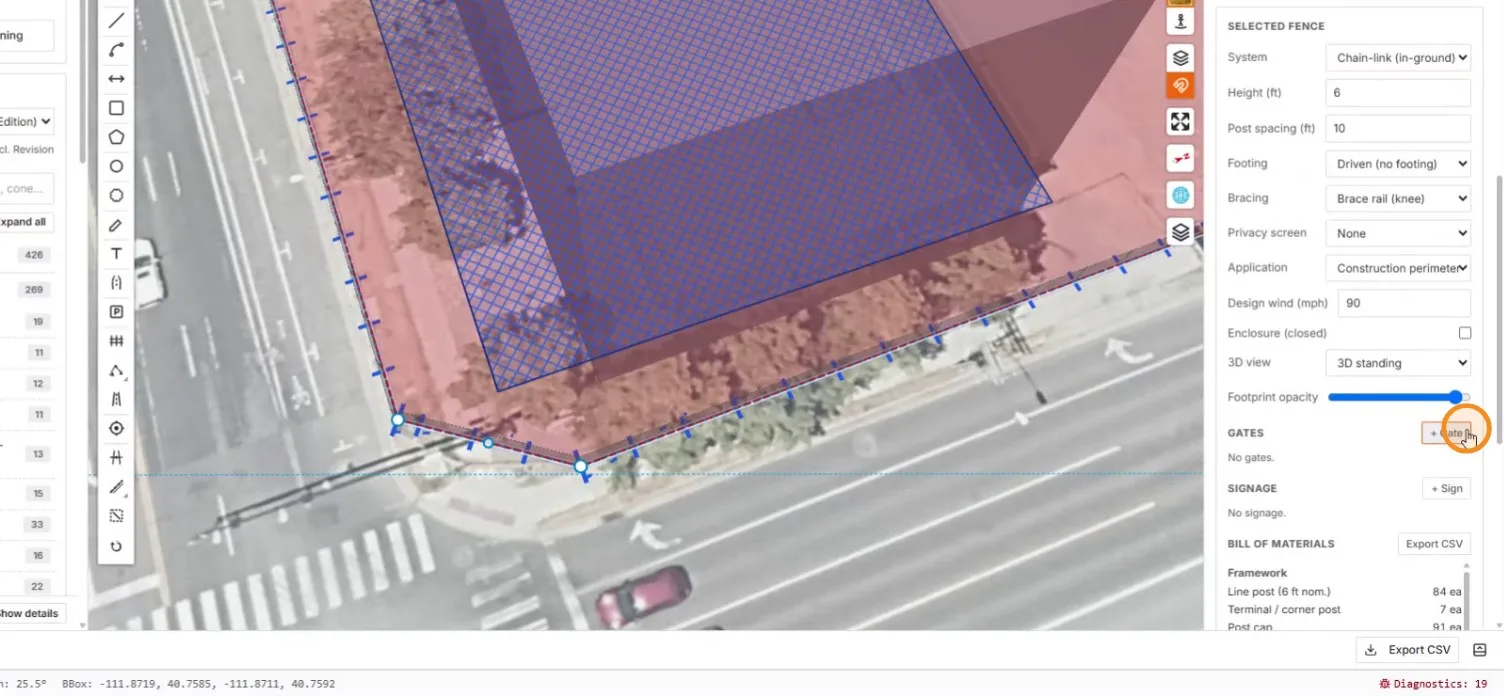
The + Gate button with the fence bill of materials below

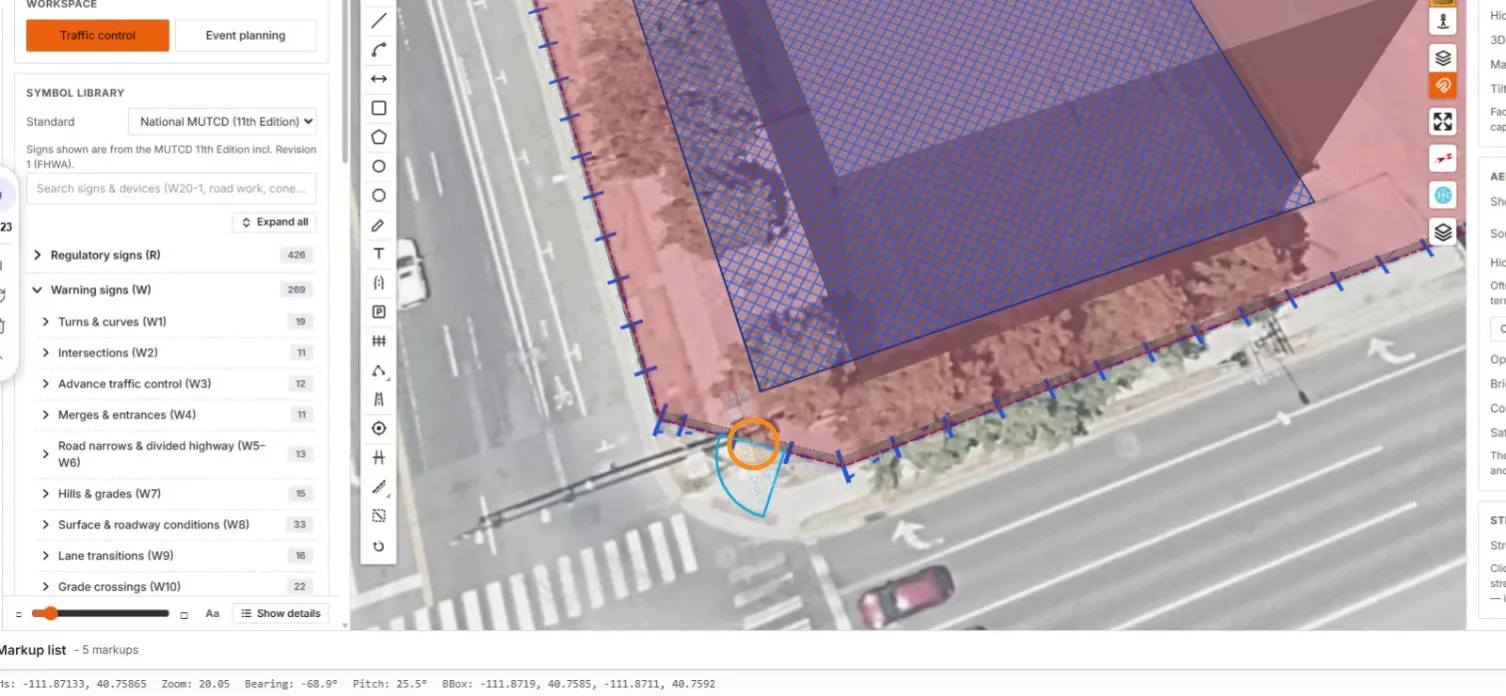
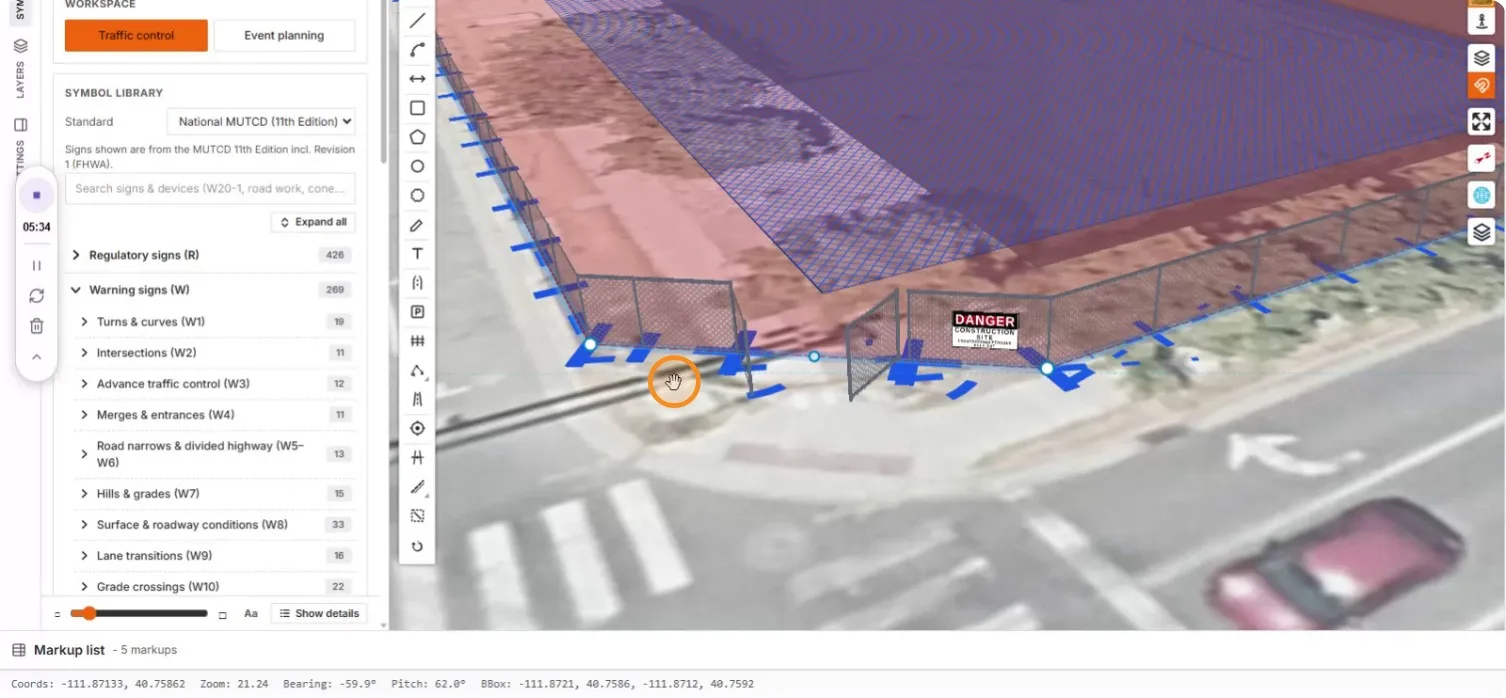
The gate swing arc placed at the corner near the crosswalk

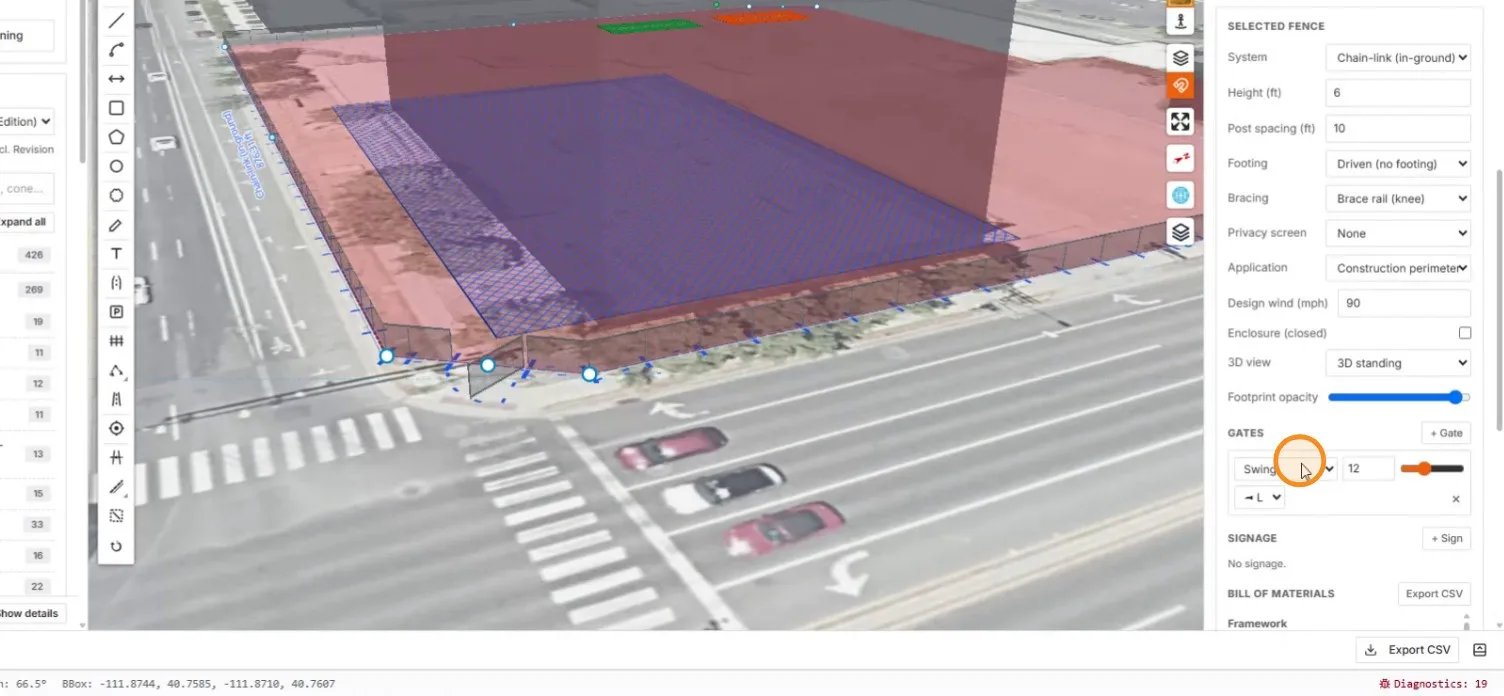
The gate configured as a swing gate with width and direction

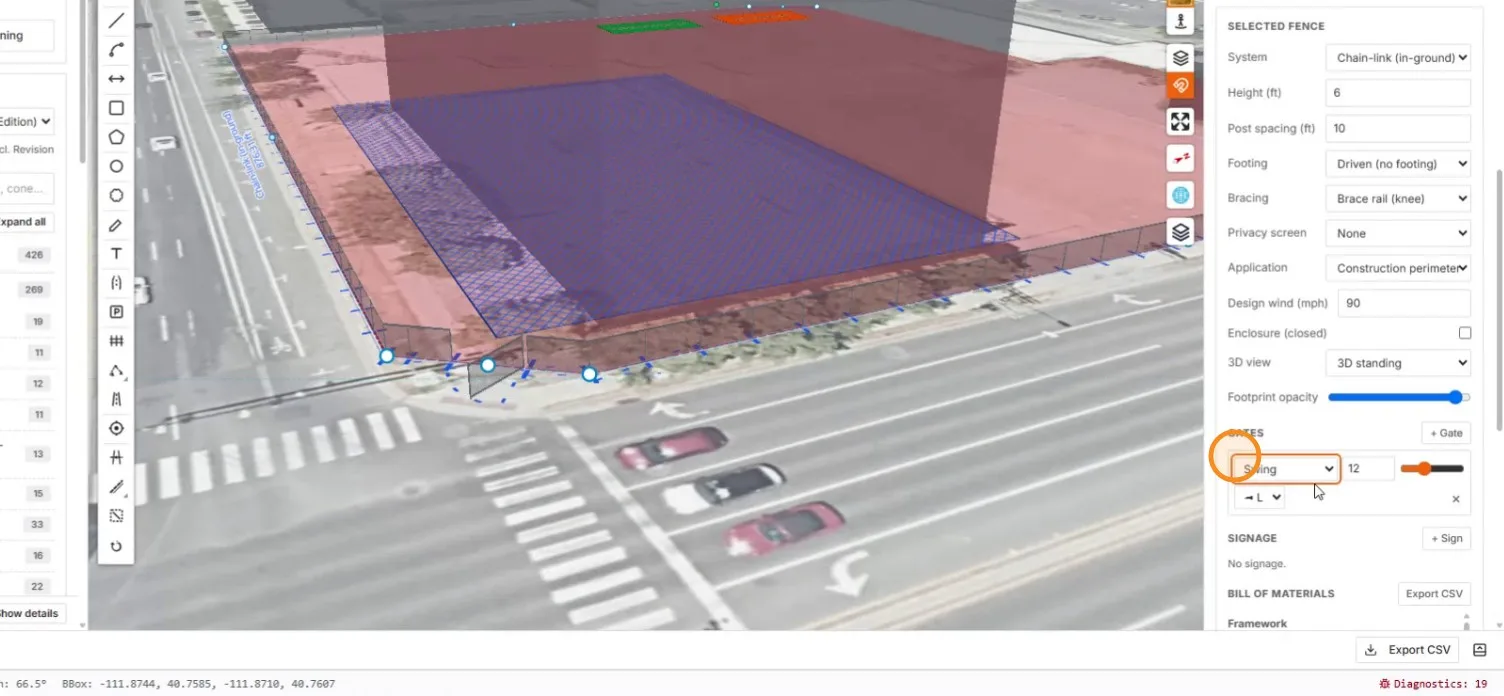
The gate options reviewed before switching to double swing

7. Post the safety and entry signage

Fence-mounted signage is part of the fence system — add faces, pick the sign, and set the quantity.
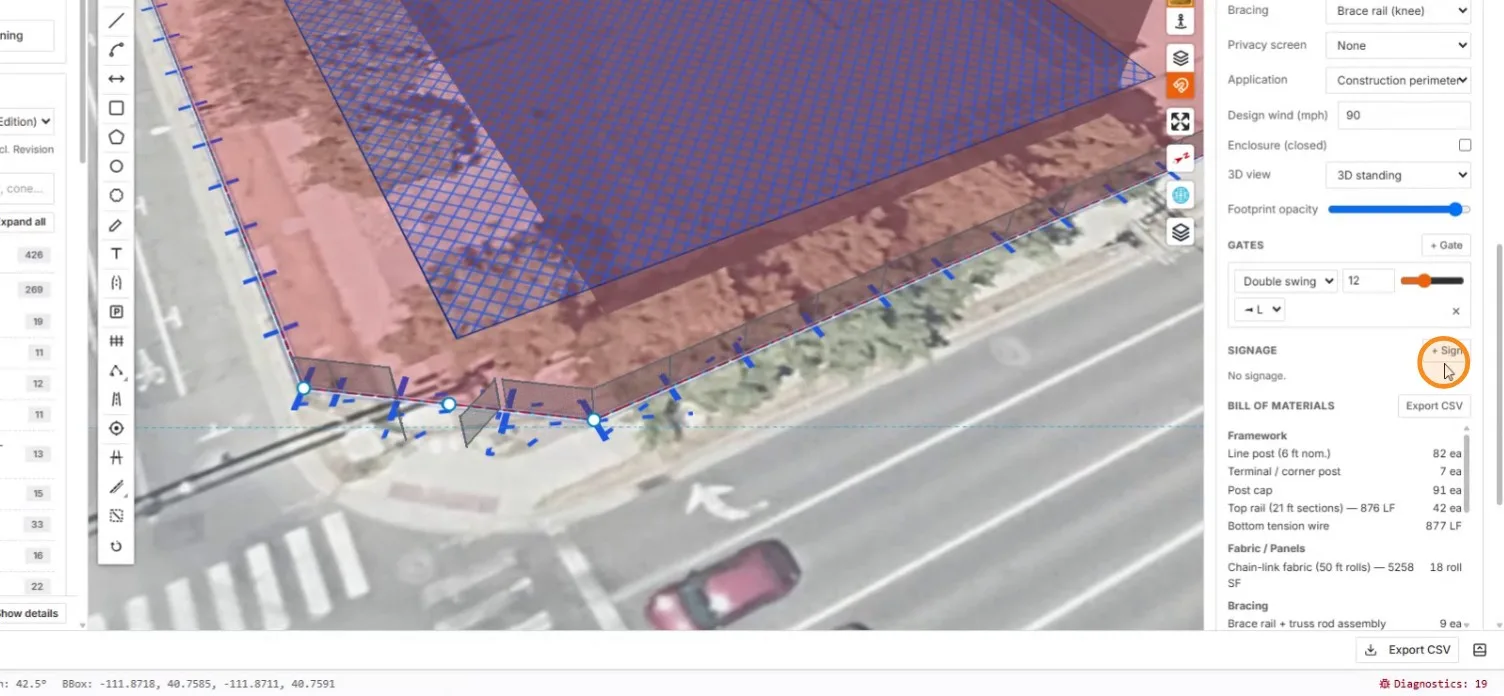
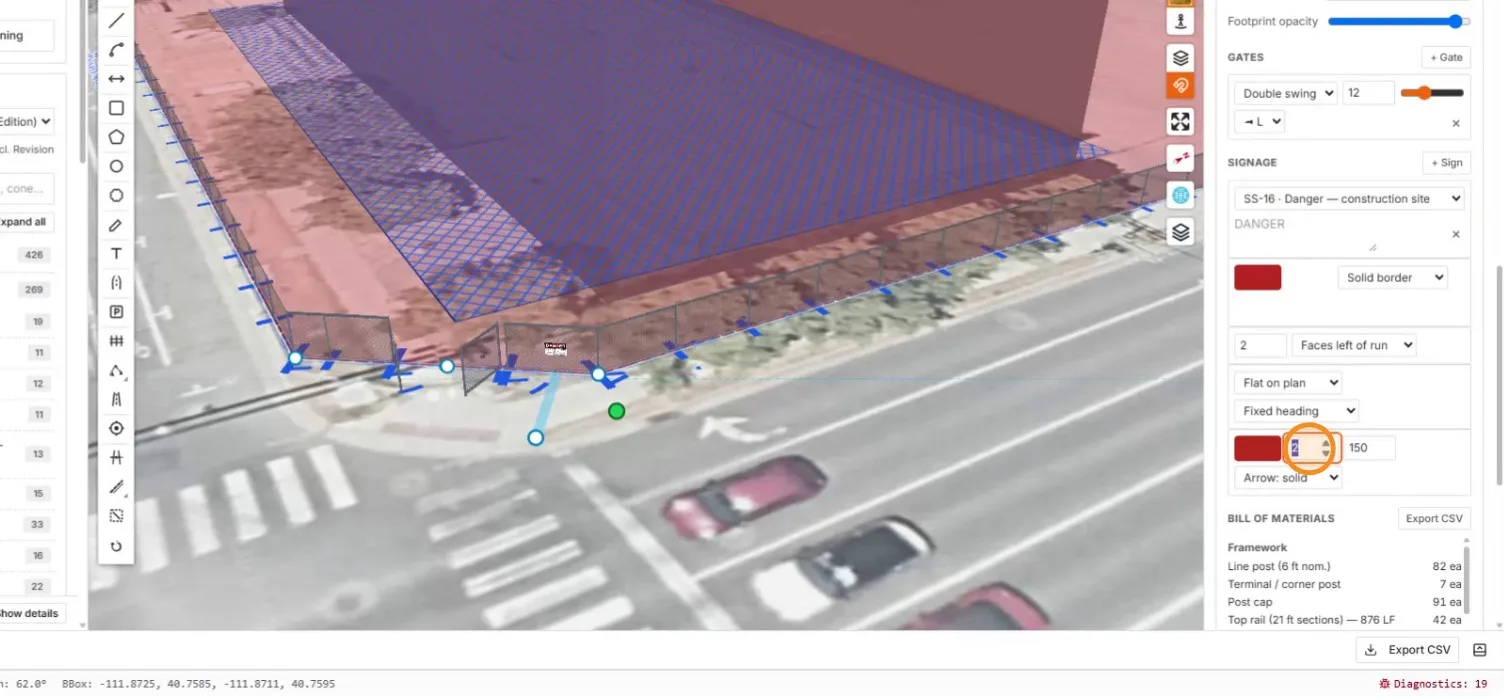
Double swing gate leaves in 3D with the + Sign button under the cursor

The SS-16 Danger — construction site sign configured on the run

The DANGER placard mounted on the fence by the gate

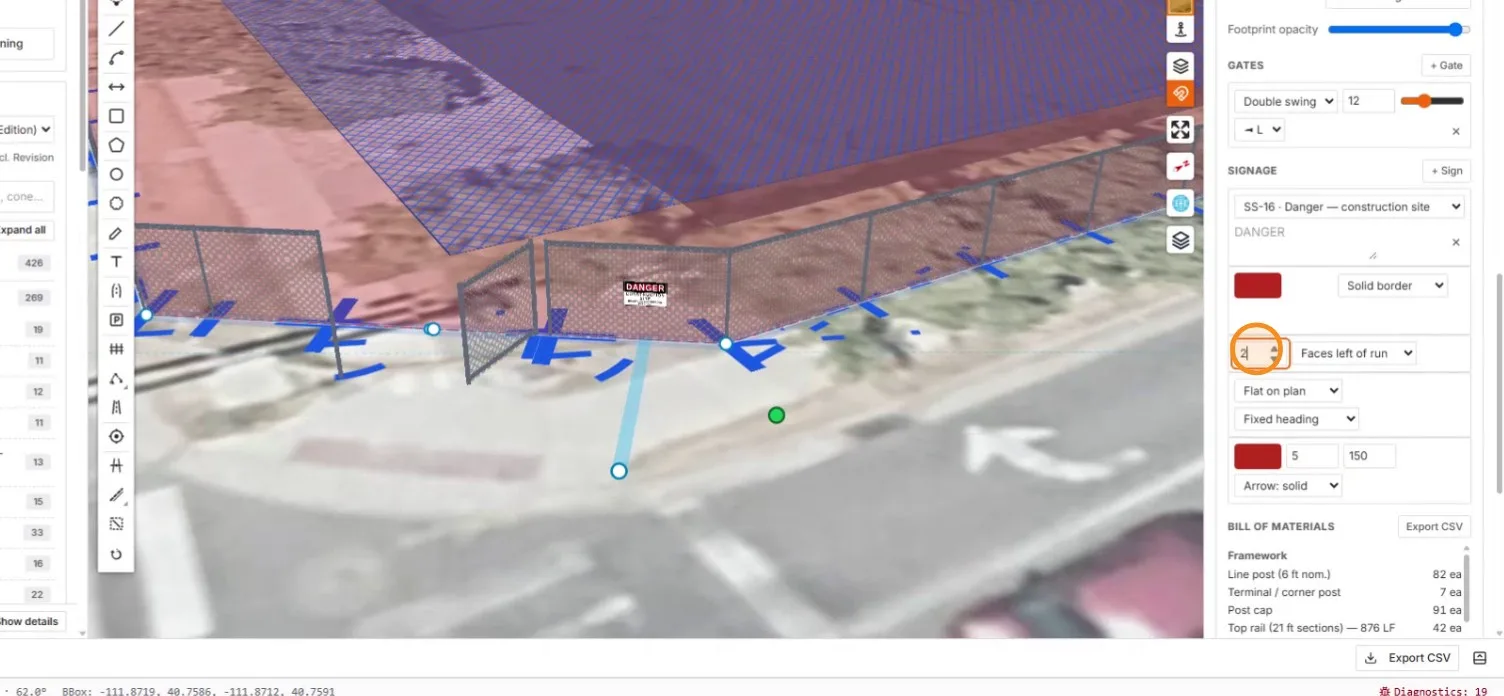
Scale the sign until it reads clearly.
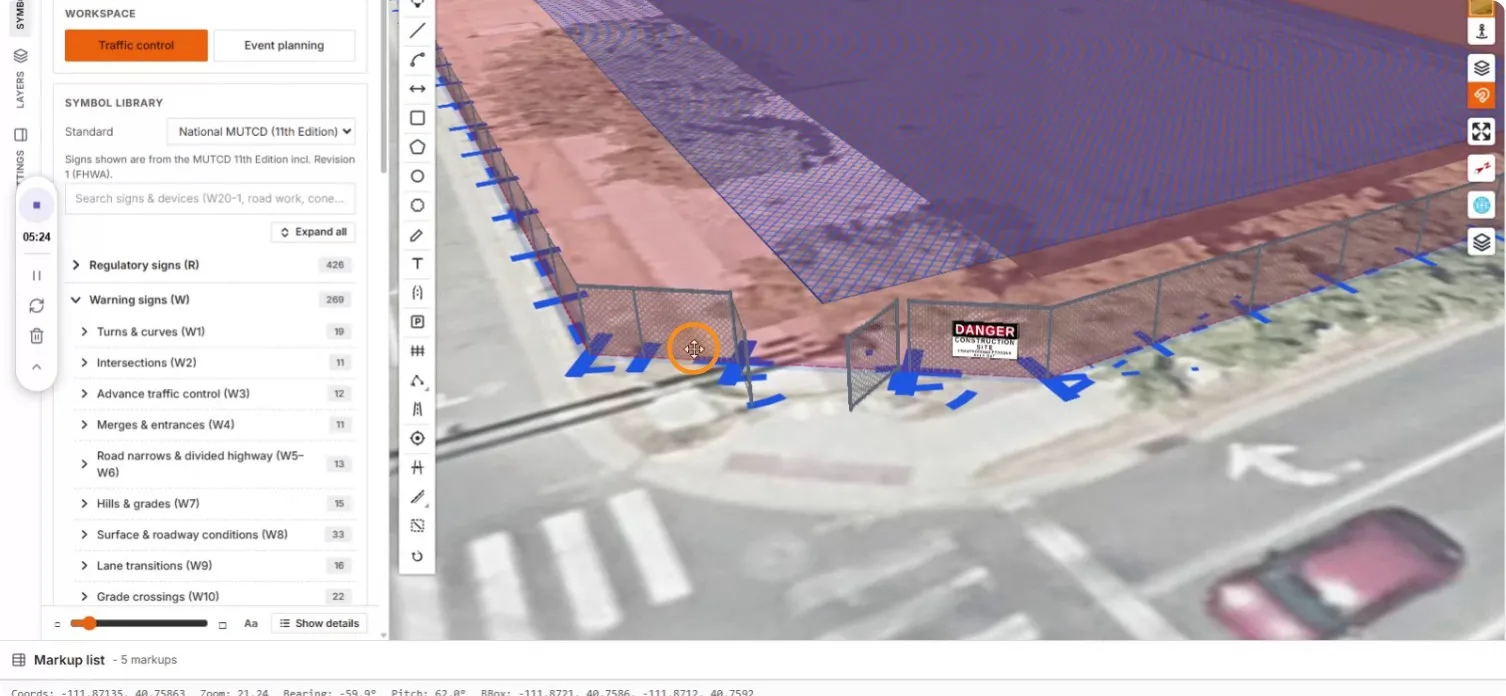
A close 3D view of the open gate with the enlarged DANGER sign

The same corner from a second angle

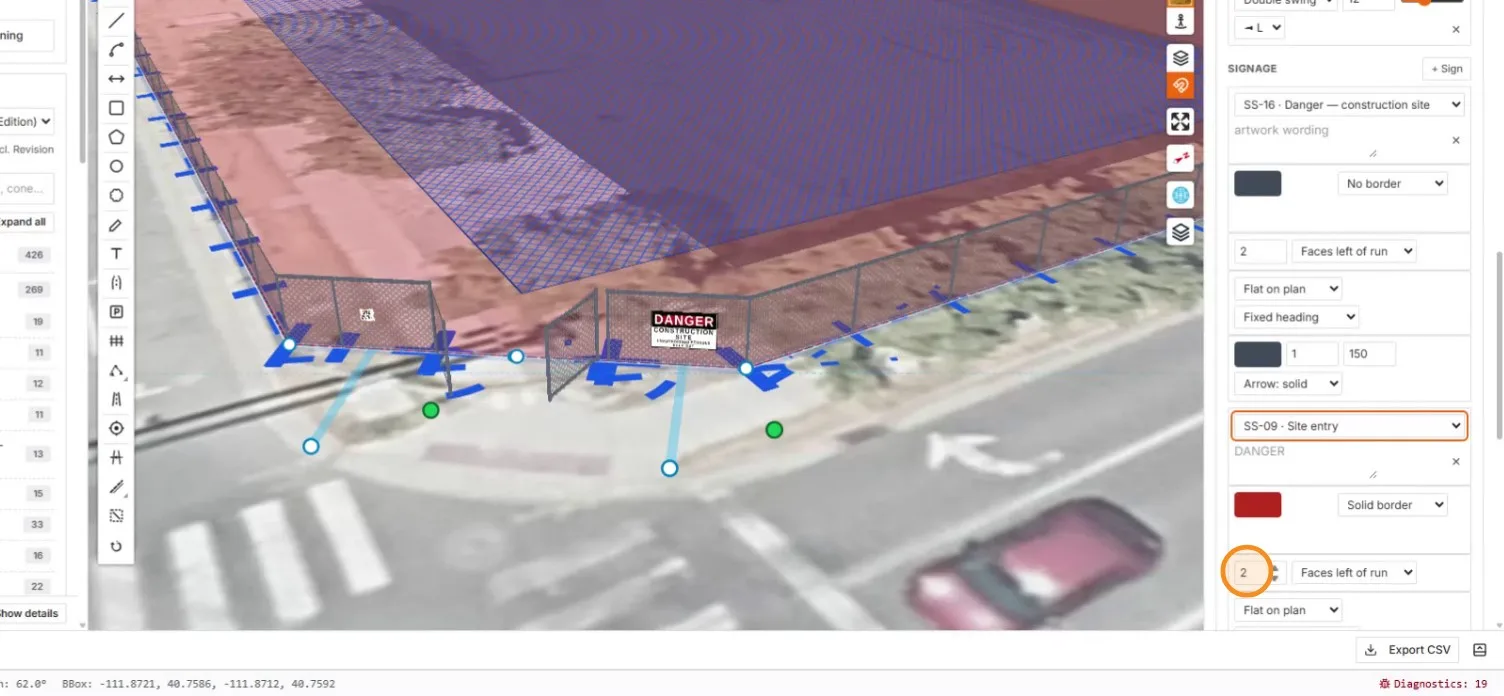
Add a second face for the site entry.
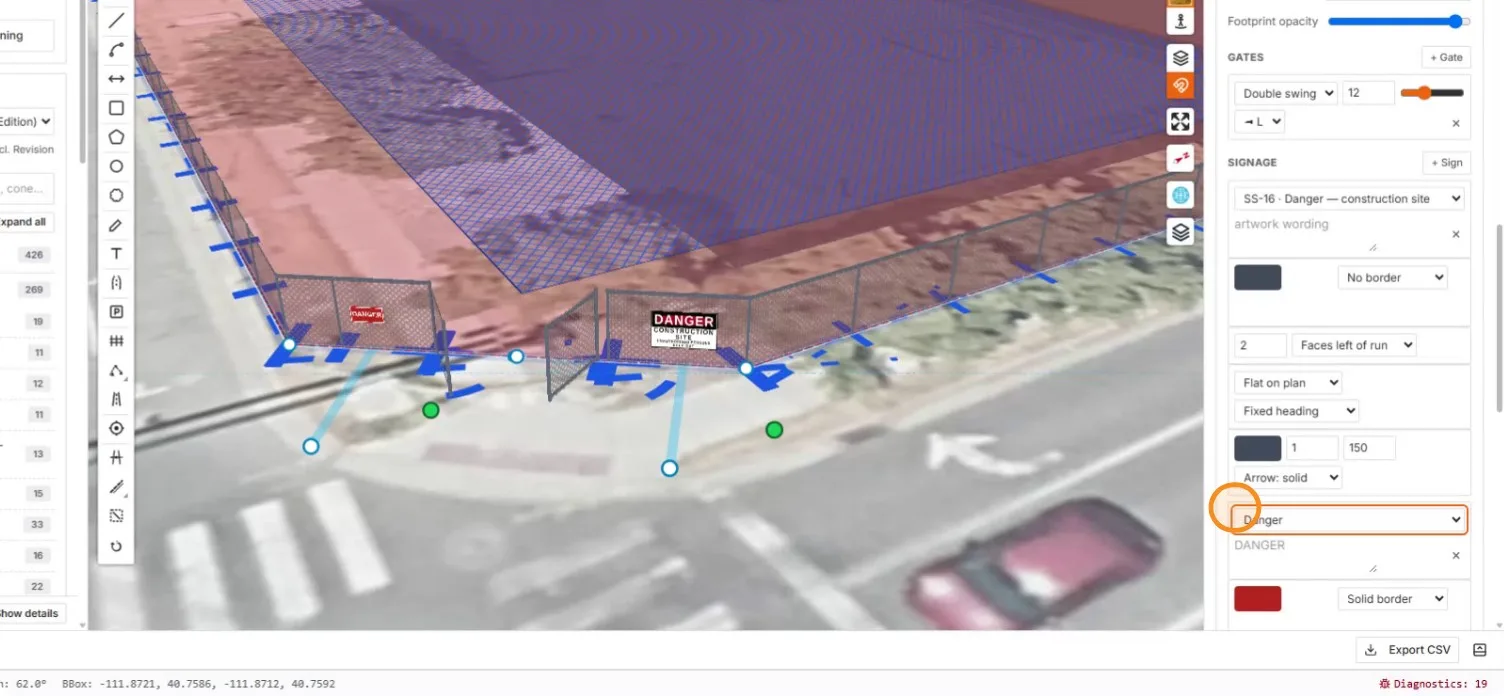
Adding a second signage entry to the fence

The SS-09 Site entry sign selected

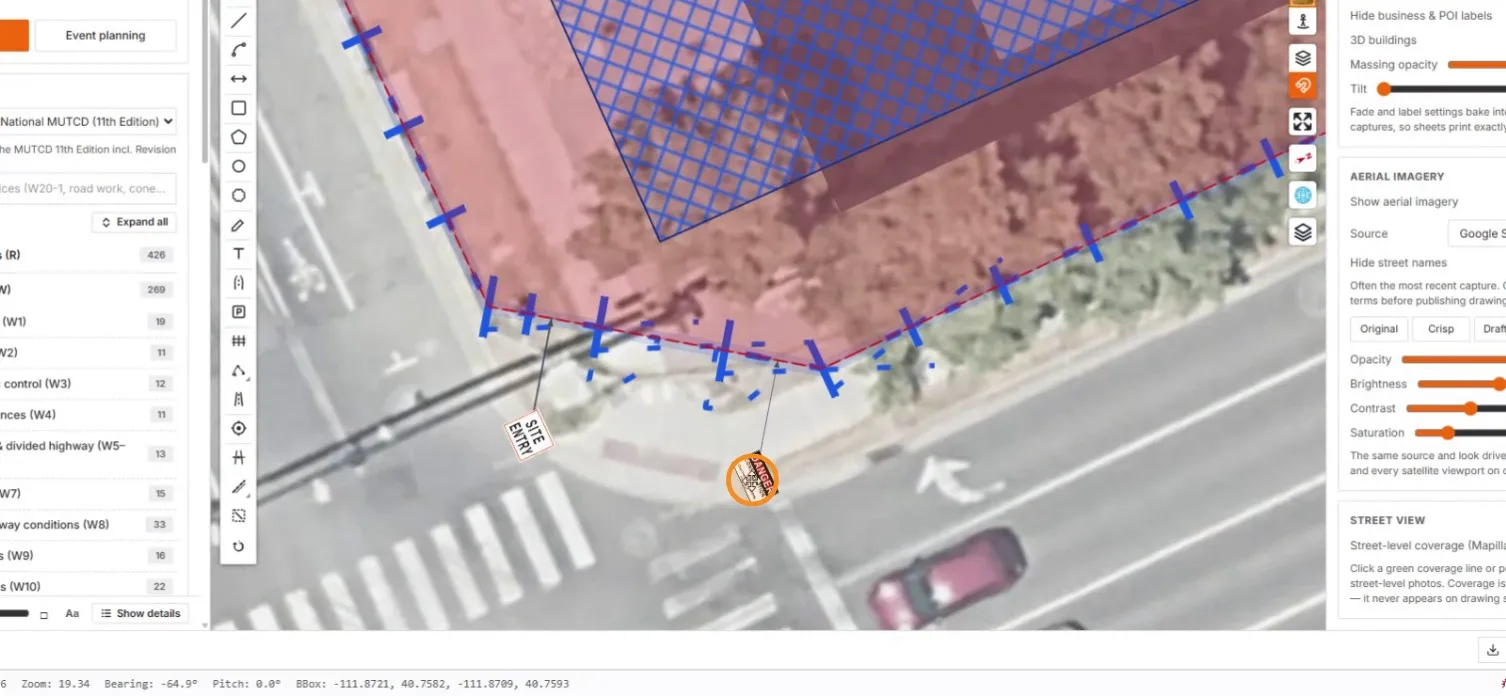
In plan view the signs render flat with leader lines to their positions on the fence.
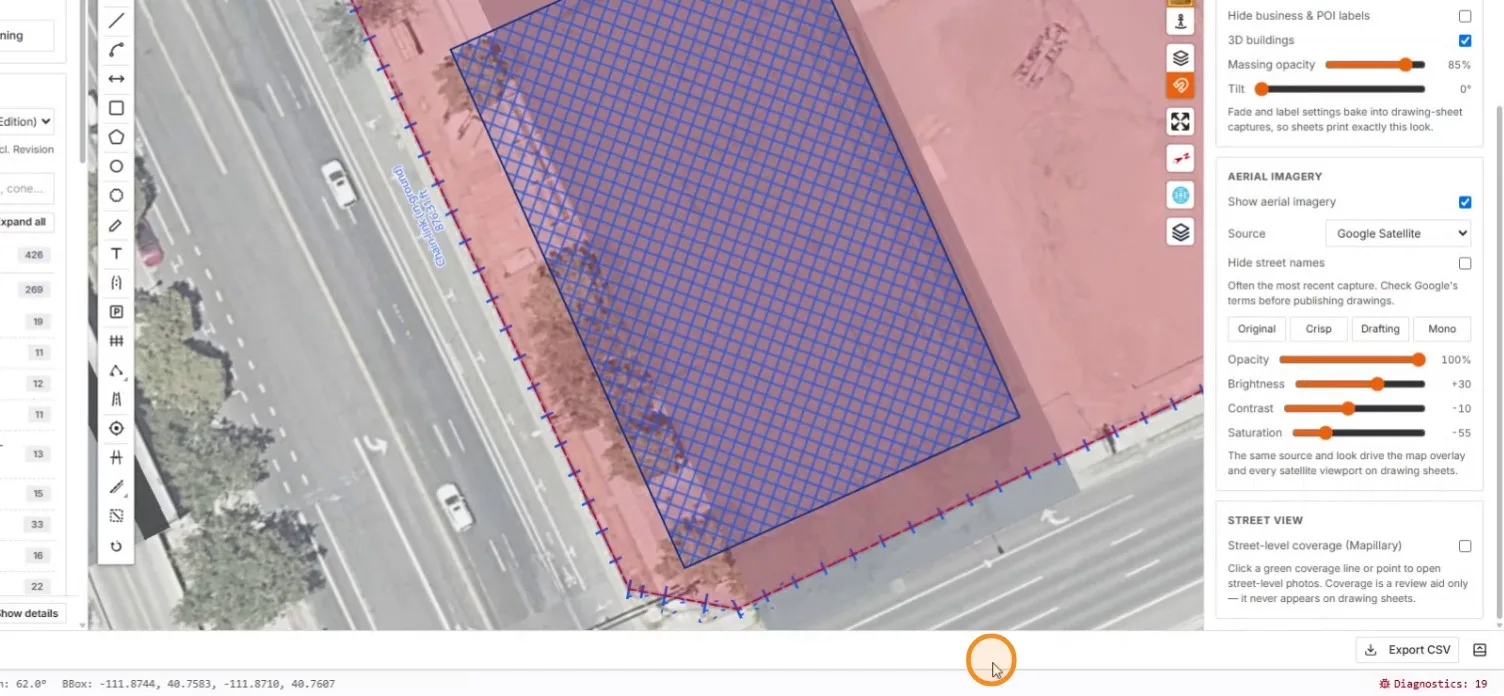
The fence in plan with post tick marks and its length label

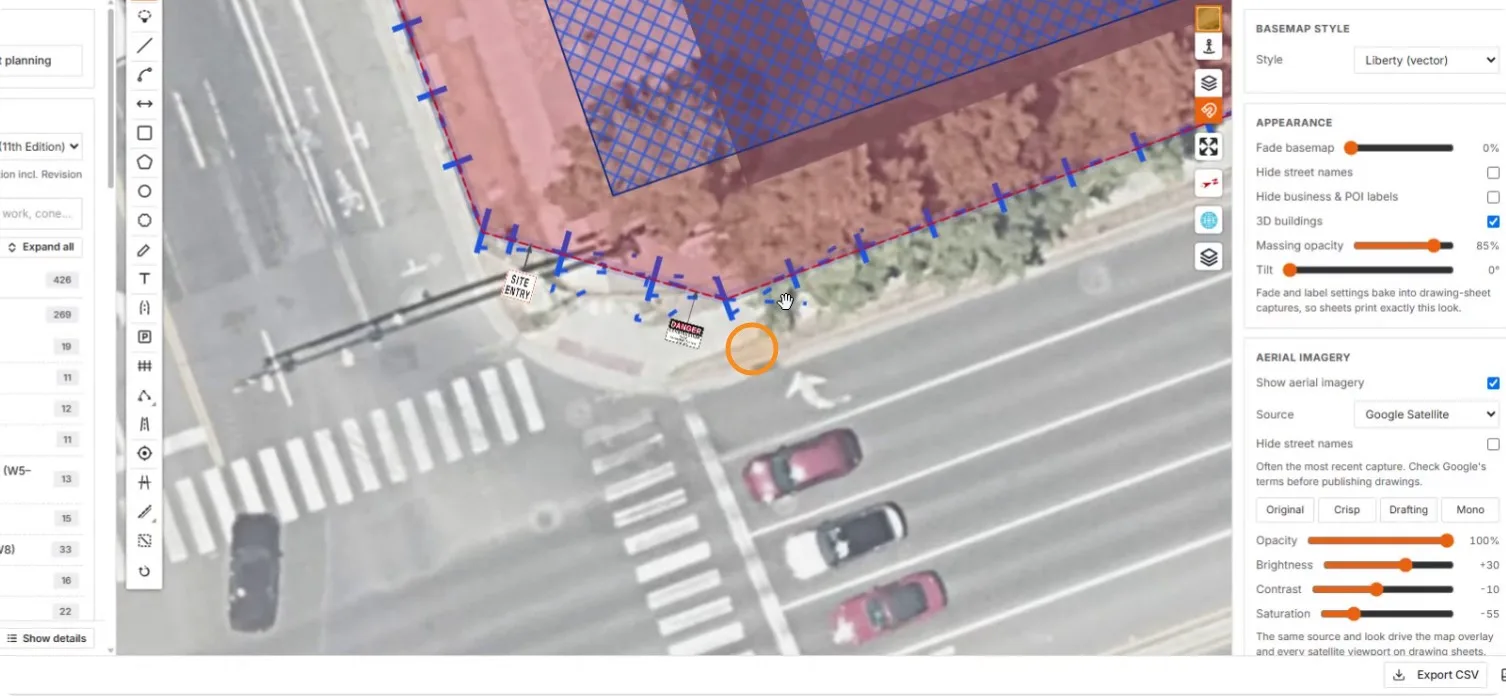
SITE ENTRY and DANGER symbols with leaders at the gate corner

The finished signage reviewed in plan


Reference: Markup Tools & Styles · Fencing & Site Protection · Site & Facility Signage

Next steps: Place & Edit Signs — assembly points, parking areas, and sign display modes on the same site.