Plan an Event Site
Lay out a small festival — zones, routes, parking, and infrastructure — in the metric event workspace. About fifteen minutes.
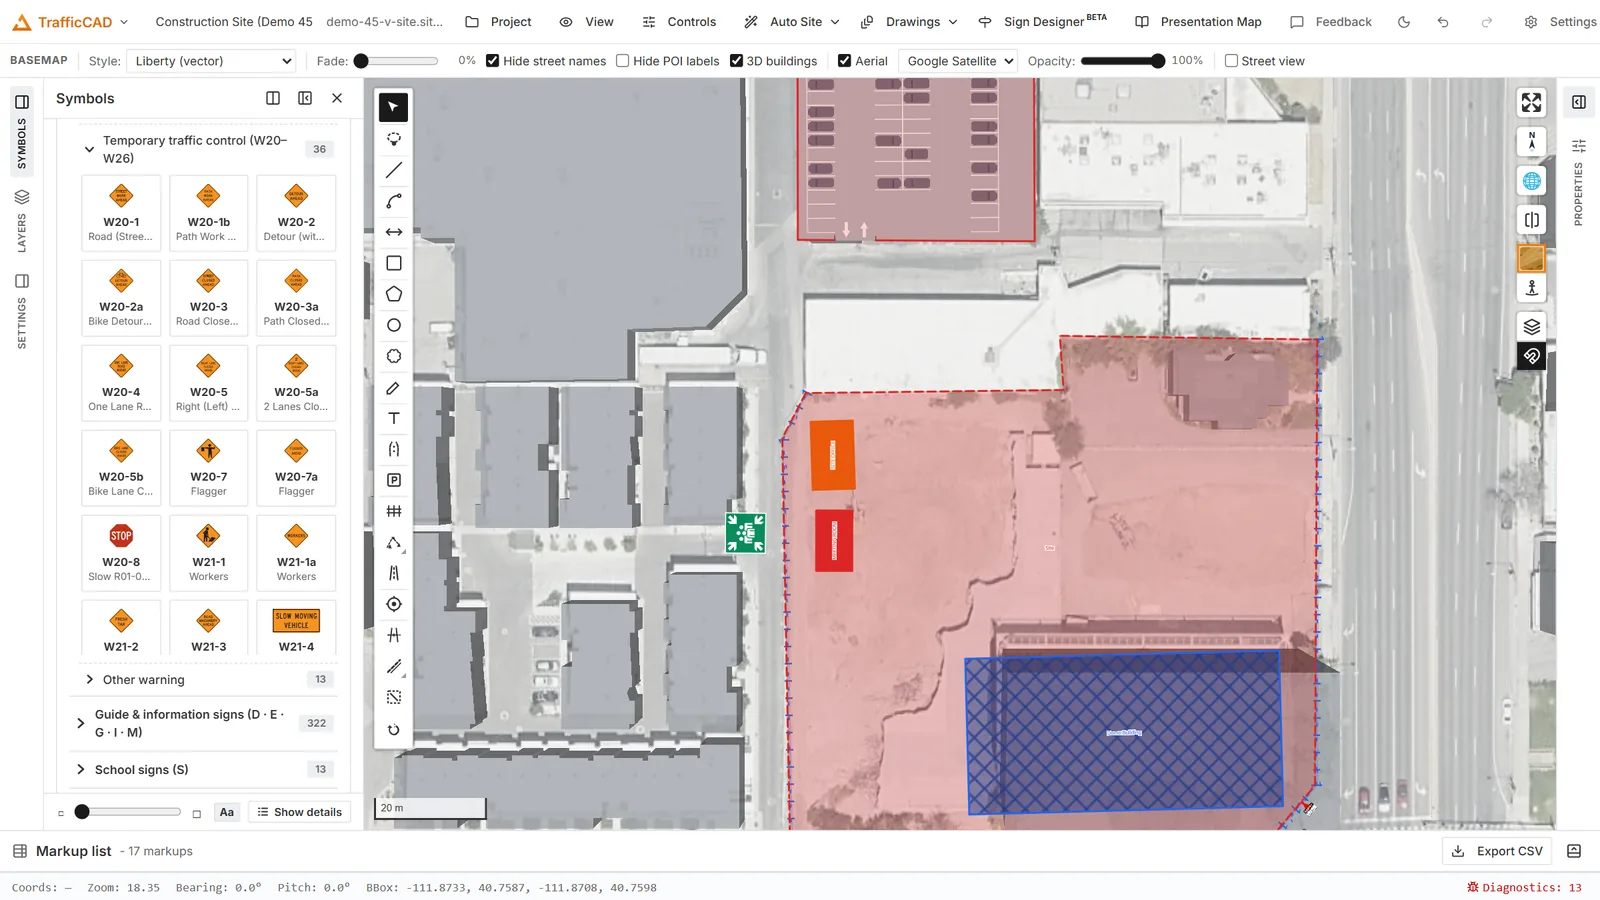
Zones, circulation and parking over real imagery — the event workspace uses the same drawing model.
1. Switch workspaces
In the Tool Chest's Workspace section, click Event planning. The toolbar swaps to the event tools, the symbol catalog becomes event objects, and units flip to metres.
2. Zone the site
Use Zone polygon (or rectangle/circle) to lay out the site:
- A Stage / production zone at the north end.
- A Crowd area in front of it — the auto m² label is your capacity math.
- Vendor area along the edge, Medical / welfare by the entrance, Camping in the far field.
Each zone's kind, label, and area label are editable in Selected zone.
3. Draw the circulation
With the Route tool, draw a Pedestrian route from the entrance through the site, a Vehicle route for service access, and an Emergency route that stays clear — each with automatic length labels. Add a Walking path where the route needs real width: set surface to Trackway / matting over turf, edges to Barrier, and check Accessible (it warns if the width can't pass two wheelchairs).
4. Generate the parking
Draw the parking field with the Parking lot tool. Set Stall angle 90°, leave the aisle blank (auto-minimum), and let the rows align to the longest edge. Arm Add entrance and click the boundary where vehicles come in from the access road — the outline opens at the curb cut, arrows mark the two-way flow, and cross aisles connect every parking aisle so drivers can reach each row, whatever the field's shape. Every stall in the layout is guaranteed reachable: a corner no route can serve is left out and counted in the panel until you give it an entrance or a Add drive lane connector of its own. Click stalls near the entrance to mark them accessible; set occupancy to preview a busy day. The count line totals stalls, entrances, and area.
5. Furnish it
In the Symbols panel, search the event catalog — tent, stage, toilet, generator — and place from Tents & structures, Sanitary & welfare, Power & infrastructure, and Access & safety (Heras fence and mojo barrier live there). Objects are true ground size and stand up in 3D.
Attach an Info popup to the stage: title, Capacity, Contact, Schedule. Reviewers see it on click in a shared link.
6. Fence and share
Fence the perimeter (Fence a Site), then click Share live map… in the Workspace section — a view-only session link for the safety team, who watch the plan live in their browsers while you walk it. See Sharing & Collaboration.
7. The event pack
Open Drawings: ISO paper (A3/A1), metric scales (1:500), a markup legend, and a QR code item pointing at the live link — the printed site plan that's never out of date.
Reference: Event Planning Mode
Next steps: Sign a Construction Site — the same site-signage and fire-evacuation libraries work in the event workspace · Review the Plan in 3D & Street View to walk the routes before the gates open.